Office 2013 has a Touch mode incorporated into it. By adding a little more space around the buttons and icons, a user on a touch interface can select these options more easily.
Microsoft just released Office 2013 Preview Version. Like Windows 8, Office 2013 is also tablet friendly. It has numerous touch based gestures for easier access. By enabling Touch mode, more space is added around the items. This should create better accuracy when using your finger to select options or menu items.
For our example we will enable Touch mode for Word 2013, but other Office applications such as Powerpoint and Excel should work the same way.
Enable Touch Mode
1.Launch Word 2013 and select Blank document. (Actually, you can select any document template.)
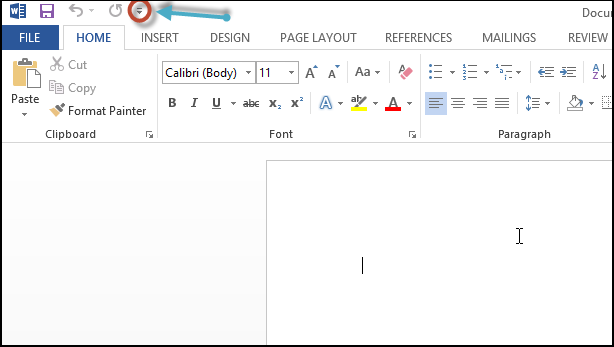
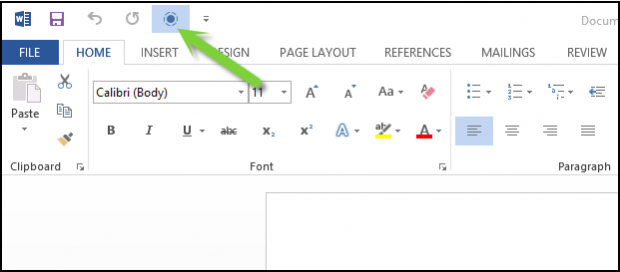
2.Switch to the Quick Access toolbar which is located at the top. Select the down arrow icon which is located in the right of Redo button. I have it marked in the screenshot below.
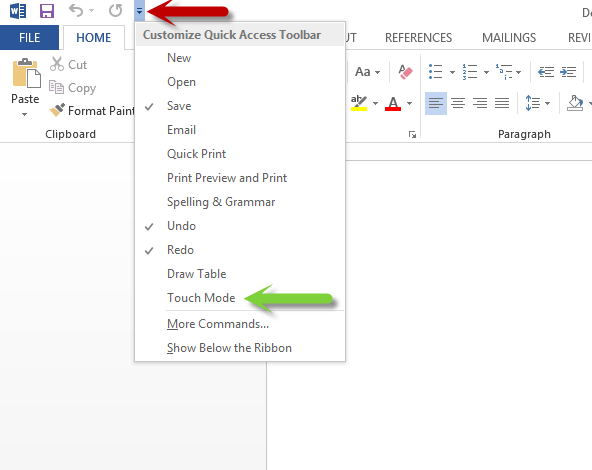
3. When the menu appears, select Touch mode option from the list.
4. Now a new option will appear in right of the Redo button with a circle like icon.
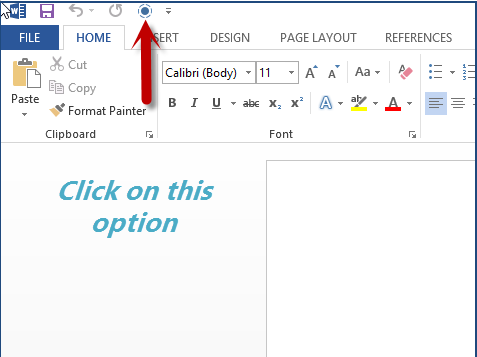
5. Selecting that icon will enable Touch mode.
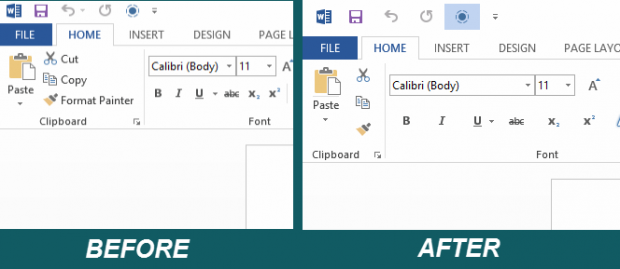
Comparison
Here is a side by side image comparing the look when Touch mode is enabled and disabled. This additional space should allow users in touch environments such as a tablet to be able to press the menu options more easily.
Disable Touch Mode
To disable Touch mode, just click on the round Touch mode circle again.

