With the latest trend in online security requirements, having a password is not enough to keep your iPhone account safe. If an unauthorized person obtains your password, you need another layer of security, specifically two-factor authentication. Two-factor authentication will ensure that your Apple account is safe and can only be used on trusted devices. When accessed from a new device, your account will ask for your account password and a six-digit verification code. The verification code will be displayed on your trusted devices. Furthermore, the verification code will be sent over SMS to your trusted phone number. Once the correct account password and verification code are entered, the new device will become one of your trusted devices. This tutorial demonstrates how to enable two-factor authentication on iPhone.
What is a Trusted Device?
A trusted device should be an Apple mobile device that runs on iOS 9 or later or a Mac with OS X El Capitan or later. Supported mobile devices are iPhone, iPad, and iPod touch. A trusted device should be already set up to use two-factor authentication – an indication that you own the device.
What is a Trusted Phone Number?
A trusted phone number is a mobile number that will be used to receive the verification code through SMS or a phone call. A trusted phone is required for you to enable two-factor authentication for your Apple account.
How to Enable Two-Factor Authentication on iPhone
If you are on iOS 9.3, you can use these steps to enable two-factor authentication on your iPhone:
1.Go to your iPhone’s Home screen by pressing the Home button once.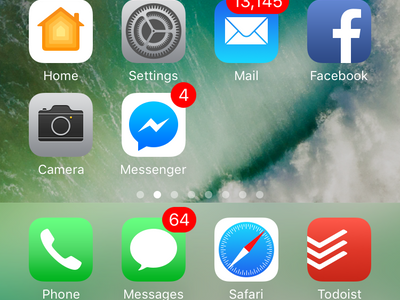
2.From the Home screen, open Settings.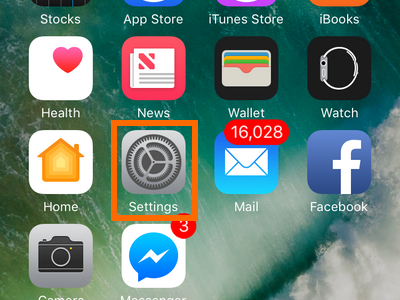
3.In Settings, tap on your profile in the top-most portion of the screen. This is also the Apple ID page where all information about your account such as iCloud, iTunes & App store, and other account details are displayed.
4.Once you are on the Apple ID page, tap on Password & Security option.
5.In the Password & Security page, tap on the Two-Factor Authentication option.
6.To enable the two-factor authentication feature, tap on Turn On.
7.You will be asked to enter your phone number. Select your country, and enter your phone number in the appropriate fields.
8.Choose between the two verification methods: text message or phone call.
9.You will receive the code via SMS or phone call accordingly.
10.Enter the verification code.
11.After entering the verification code, you will be taken to the previous page. Tap on the Turn On option again.
12.Enter your iPhone passcode. The passcode you use to unlock your phone will be used to confirm your identity when signing into iCloud on a new device.
13.You will be taken again to the Suggestions page, tap on the Turn On option again.
14.Enter your iCloud Keychain Security Code.
15.You are done. The list of trusted devices will be displayed at the bottom-most part of your Apple ID.
Note: If you are using iOS 9.2 or an earlier version, you can go to Settings > iCloud > tap your Apple ID > Password & Security > Turn on Two-Factor Authentication. You can proceed with Steps 6 to 15 in this tutorial.
Having that extra layer of protection for your Apple ID is a must. This way, personal and confidential data stored in your Apple account are protected. If you have some questions concerning enabling two-factor authentication on your iPhone, let us know in the comments section.

