
Sometimes photos turn out either too bright or too dark due to the camera’s exposure settings. With digital photography, these photo errors can be corrected after the fact using editing software like the Windows 10 built-in Photos app. There are two main settings to tweak when dealing with overexposed and underexposed pictures: brightness and contrast. Editing the brightness will result in all the pixels in your photo becoming lighter or darker. Increasing the contrast will simultaneously make the whites whiter and the blacks blacker, while decreasing the contrast will move them towards equilibrium. The goal is usually to balance the brightness and contrast to make a natural looking image. Using the steps in this tutorial, you can fine-tune the brightness and contrast settings on your Photos app to create impressive pictures.
1.Open the picture you want to edit with Photos. Photos is the default app for viewing photos in Windows 10, so your picture will open in Photos when you double-click on it in File Explorer. Alternatively, open the Photos app from the Start menu, and scroll through your collection or albums to find your picture. I usually prefer the first method because Photos does not organize your pictures into folders, which means you have to scroll through all the images in your collection to get to the one you want.
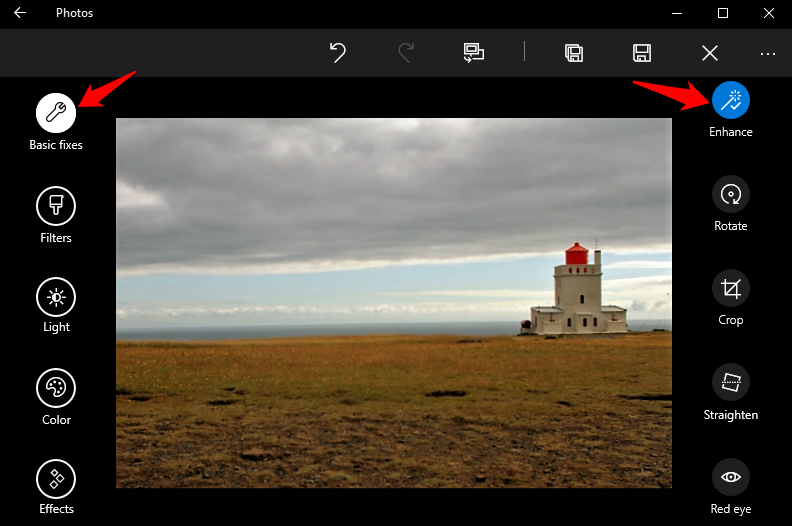
2.Click the Edit icon on the top menu bar. It looks like a pencil.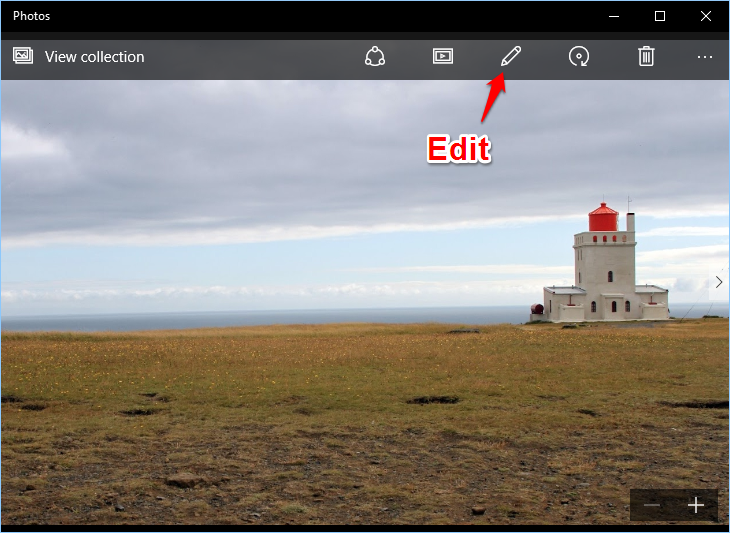
3.Select Light on the left side of the window. The top option on the right will be Brightness. Clicking it will give you an adjustment knob. Click and drag the white knob around the circle clockwise to make the picture brighter and counterclockwise to make it darker. 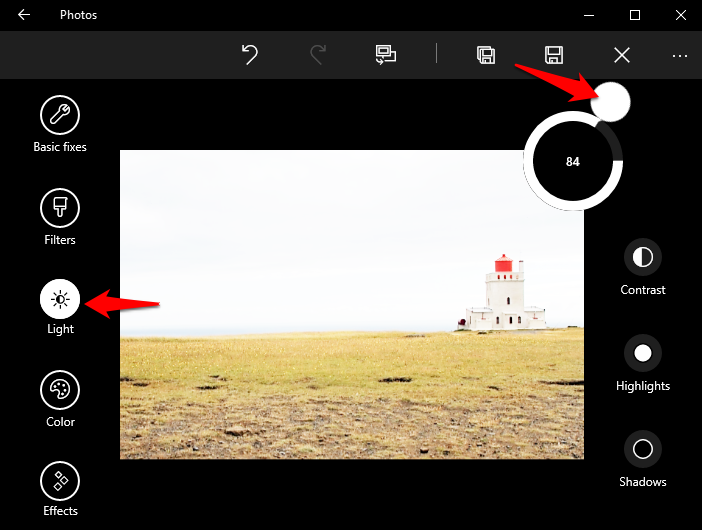
4.The second option on the right is Contrast. Use the indicator knob the same way as you did when adjusting for brightness. Rotating the white knob clockwise will make the distinction between light and dark areas more pronounced, while rotating counterclockwise will give your image more greys instead of black and whites. 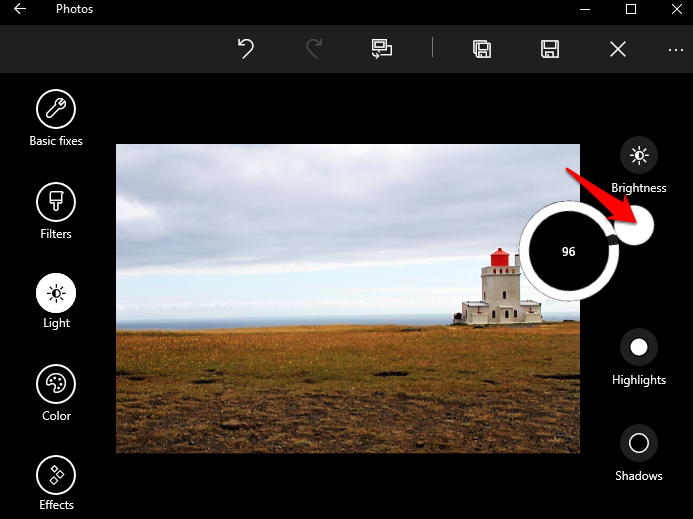
5.Once you are done, you have two options to save your edited image. You can replace the original image by clicking the save icon (the floppy disk) to the left of the “x.” The icon to the left of that (the floppy disk with a shadow) will leave your original file alone and save your edited image as a new file.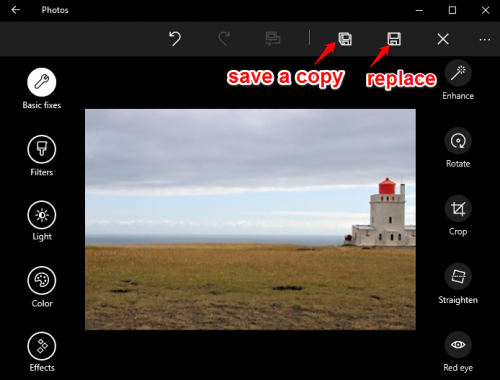

