
Some documents will contain confidential information that is for your eyes only. You probably want to keep it that way. Encrypting your document with a password is an easy way to do that. Discussed are directions for all modern versions of Word including Word 2013.
This tech-recipe will cover adding an extra layer of security to your file. This is especially useful if you are storing your document on a public location such as a home group or a shared computer. Please note that if you lose or forget your password, you can not recover your data.
We will discuss Word 2013 first and then older versions of Microsoft Word below.
Word 2013
1.Select the FILE tab from the Word ribbon. 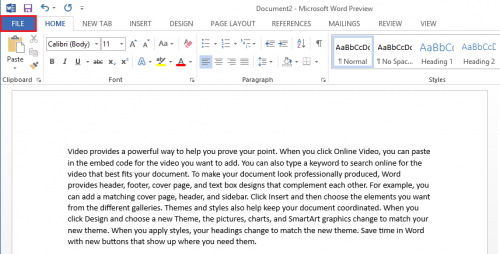
2.Make sure the Info tab is selected from the list on the left hand side. Then select Protect Document.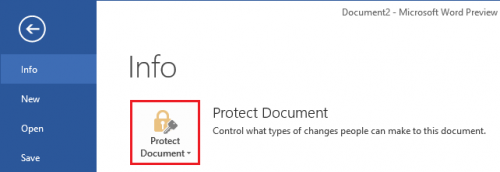
3.Now select Encrypt with Password from the options in the drop down list. 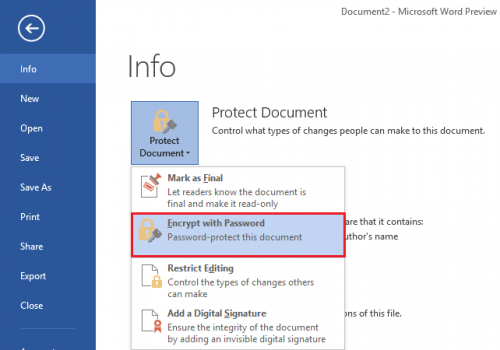
4.Enter your Password. Make sure that you remember this password or you will not be able to open your document. 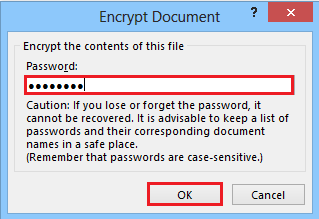
Your document is now password protected.

Word 2003, 2007, 2010, and Word 2011 for Mac
1. Click on Tools in the menu bar.
2. Select Protect Document….
3. A window will pop-up asking you why you want to protect your document.
The Tracked Changes option allows you to track every single change that is made. It changes the color of the text to red and underlines it if changes are made. The Comments option only allows the user to put in comments. (To insert a comment, go to Insert>Comment. To view a comment, go to View>Comments.) The Forms option only allows you to edit forms in the document. You cannot edit anything else.
4. Click on the option that you want.
5. If you want a password, then type one in the Password (optional): text box. Word will ask you for the password when you want to unlock your document.
6. Hit OK.
7. If you did not choose a password, Word will now protect your document. If you did, another box will appear and ask you to confirm your password. Click on OK.
Your document is now safe and protected.
If you want to unlock it, use the steps below:
1. Click on Tools.
2. Click on Unprotect Document.
3. If you have a password, then type it in the box that appears.
Note: Word will protect your document until you unprotect it. The password is for one time use. The next time you select to protect a document, you need to type the password again.

