
The Windows 10 Photos app comes with intuitive photo editing tools that make it easy to give your pictures an artistic flair. Two of my favorites are the Vignette and Selective focus effects. Vignette creates a black or white tinted edging to your photo that creates the effect of your image fading into the background without a definite border. The Selective focus effect allows you choose one part of your photo to stay in focus while blurring the rest. The steps in this tutorial explain how to use both options to create eye-catching photos.
1. Open the picture you want to edit with Photos. Photos is the default app for viewing photos in Windows 10, so your picture will open in Photos when you double-click on it in File Explorer. Alternatively, open the Photos app from the Start menu and scroll through your collection or albums to find your picture. I usually prefer the first method because Photos does not organize your pictures into folders.
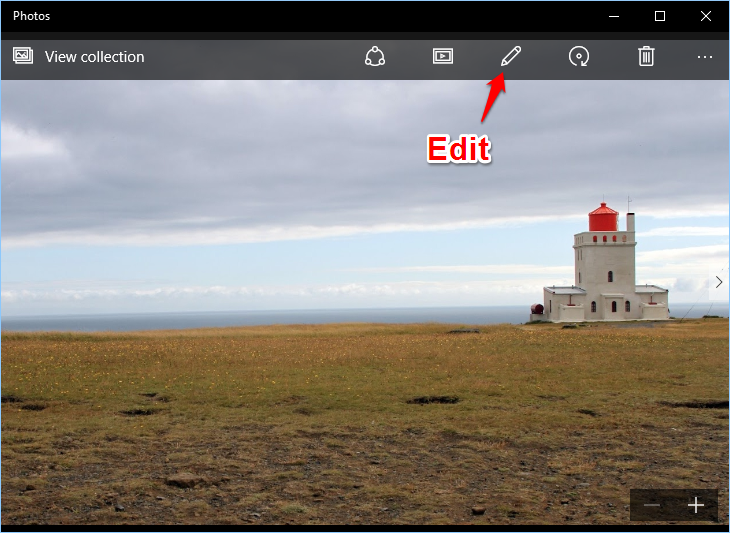
2. Click the Edit Icon on the top menu bar. It looks like a pencil.
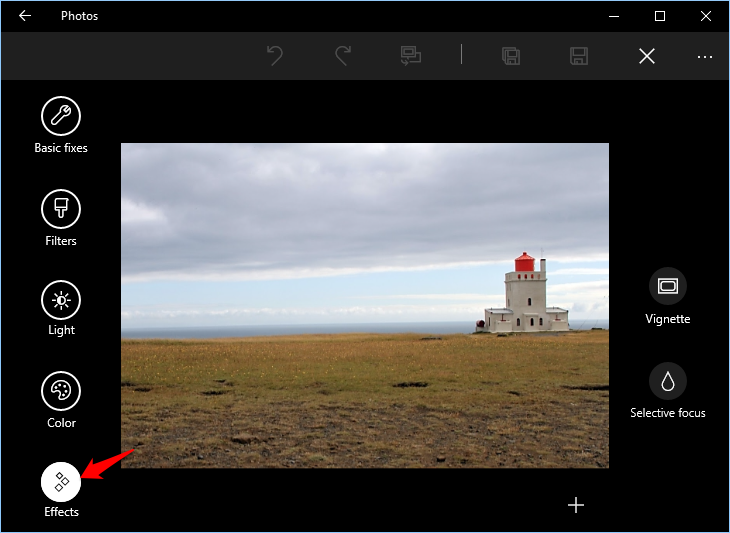
3. Click Effects from the list on the left side of the window. The two effects options, Vignette and Selective focus (aka blur) appear on the right.
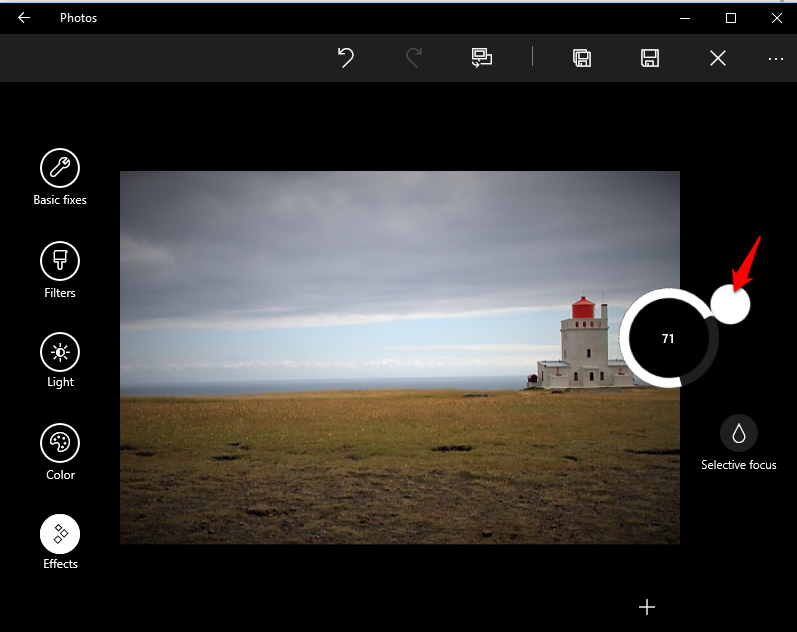
4. Click on Vignette. The icon will change to a large black circle with a white indicator knob sticking out to the right. Click on the white circle and drag it around the black circle to change the vignette level. Rotating the knob clockwise creates a black tint around the edges that will increase in size and intensity as you move it around. Rotating counterclockwise will do the same thing with a white tint.
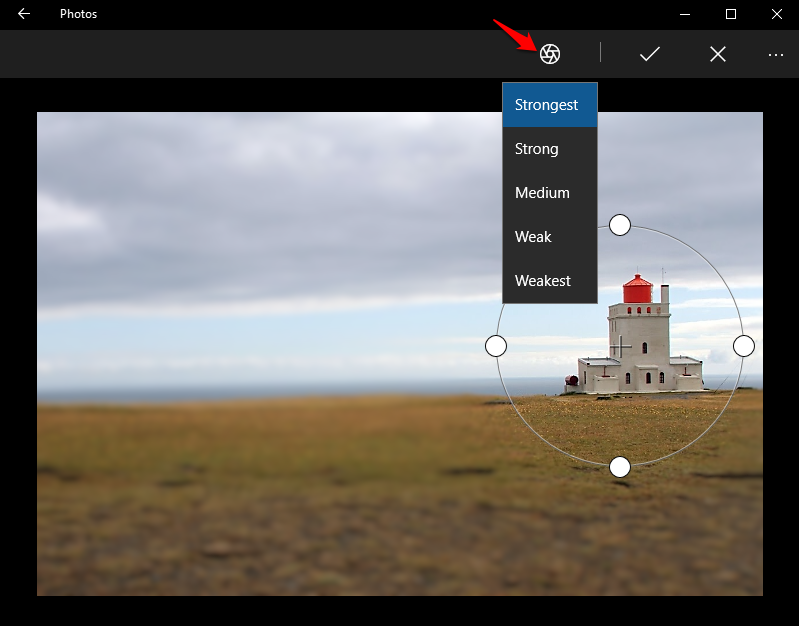
5. Click on Selective Focus. You will see a circle with four white grab points on it. Click and drag on these grab points to resize/reshape your circle. Click and drag inside the circle to move it around. Everything in the circle will stay in focus while everything else will become blurred. Click on the blur icon on the top bar to change the strength of the blur applied to your image.

