
Although Powerpoint has a vast shape library, there may be times you need to add a custom shape to a presentation that cannot be found in the program. Fortunately, Powerpoint offers an easy solution to help users modify existing shapes to suit their needs.
This tutorial has been tested with Powerpoint 2010 and the preview version of Office 2013. Please let us know in the comment field if changes are needed for the future versions of Office.
1. Launch Powerpoint, and open your desired document.
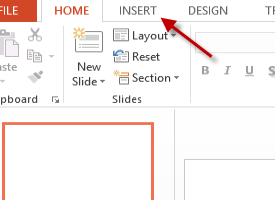
2. Switch to the Insert tab.
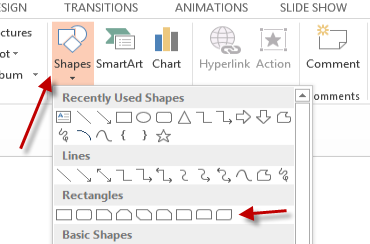
3. Click the Shapes button to show all the available shapes, and choose the one that you need from the list. After that, draw the shape on the slide, and move it to your desired location.
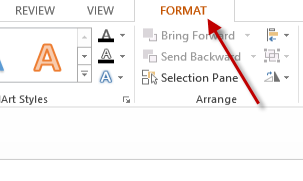
4. Select the new shape, and then choose the Format tab on the ribbon. This tab will only appear when the shape is selected.
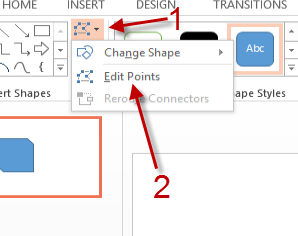
5. In the Format tab, select the shape icon with the points at the shape’s corners, and then choose Edit Points.
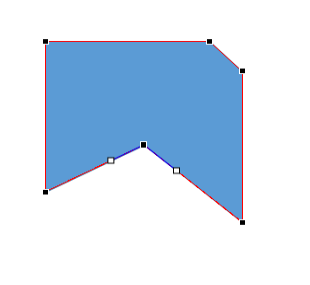
6. The shape can now be edited using the points at the corners. You can use your mouse to drag the points to wherever you want, and the shape will be changed.
7. When you are done editing, click on an empty space to preserve the changes you made to the shape.

