
If you don’t know how to wrap your words in word (around images), you’re going to have problems. Your document is not going to have the look you had in mind. In the end, you will have to send it with a lackluster presentation. This will, in turn, leave a tepid impression on your recipient. Although not necessary but knowing how to center a photo in word, and resizing images can help you better perform this tutorial.
But there’s no need to fret!
I love including illustrations, images, and all kinds of graphics in my word documents. And I’ve kinda become an expert at it.
Before we dive into the actual process of wrapping text, here are some things you need to know.
Different Ways You Can Wrap your Text Around Pictures
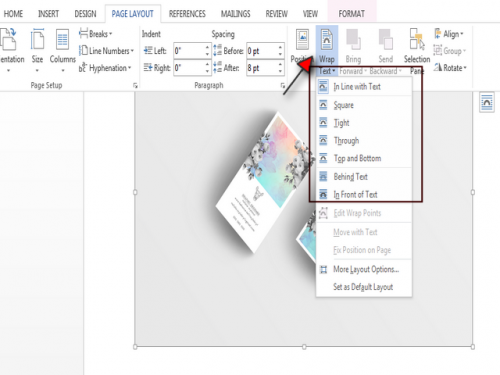
Microsoft Word gives you many different options to wrap text around an image. Some of them are given below.
-
In-Line with text
In this orientation, the text is wound around your image in a way that it runs against its toe-end. 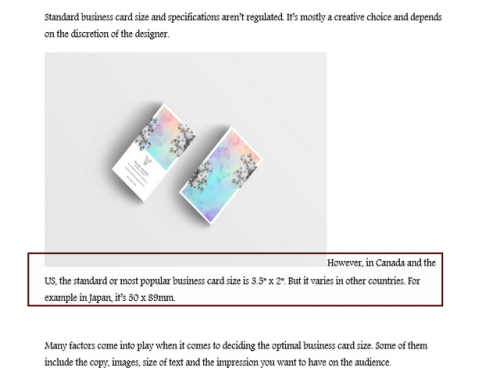
-
Tight
The text is tightly squeezed against your image if you choose this option. 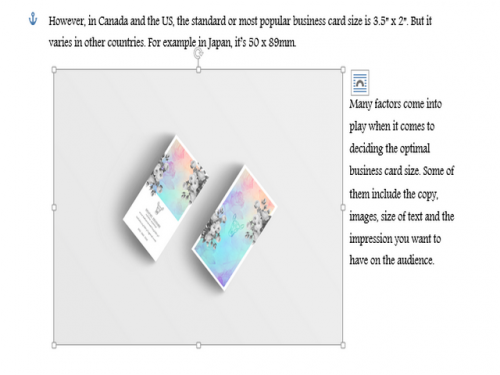
-
Behind the Text
The text runs inside the image, visible and occupying a frontal position.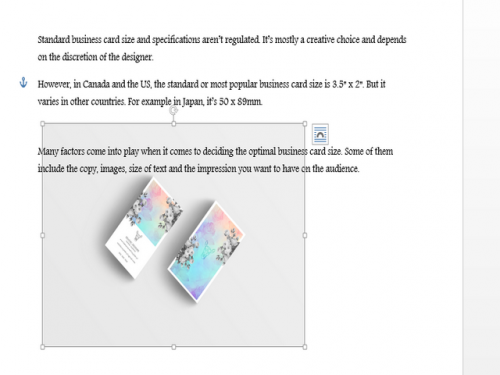
-
In front of the text
The text runs behind your image and isn’t visible if its background is not transparent.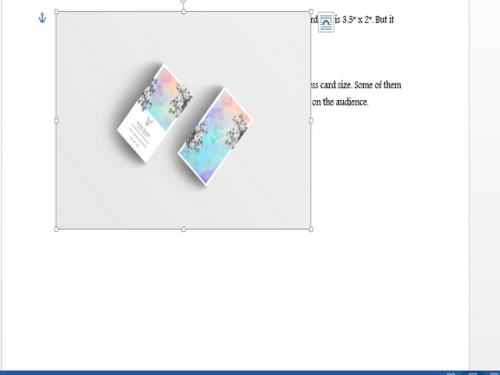
Some other options are:
-
Square (the text is squared and justified next to your image)
-
Top and bottom (text is placed below and above your image)
-
Through: (The text cuts through your picture)
Note: As you can see, these wraps don’t work with every image, so you will have to make a decision on your own depending upon the nature of your image.
Read Related: How to Bend your words in Word with WordArt
Wrapping your Text in Word: Step by Step
Now onto the main task at hand: Before wrapping text.
1. Open Your Word Doc.
2. Go to the Insert Tab and tap Picture.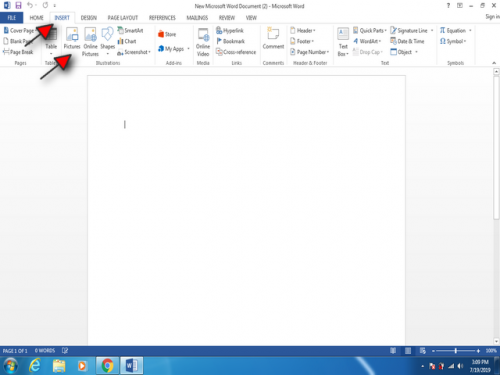
3. Insert a picture from your hard drive. 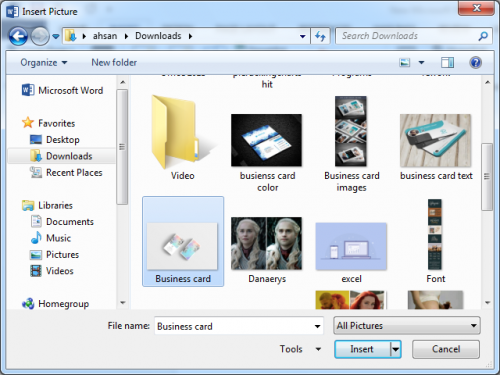
4. Type the text you want to wrap next to your image.
5. Now click on your image, go to the Page Layout tab and tap Wrap text (right-mid spot).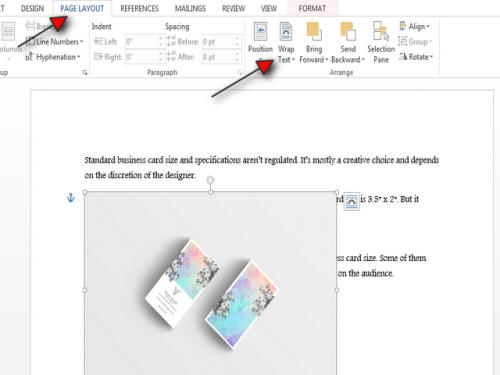
6. Select your preferred wrapping orientation from the drop-down menu.
You text is now perfectly aligned or wound with your image. There’s no hint of chaos or disorder in your word document now. Well done!
Wrapping Text in Excel
If you’re interested in wrapping text in Microsoft Excel, check out the tutorial below. It will explain the process to you in detail, and guide you every step of the way.
Tech-Recipe: How to Wrap your Text in Excel

