
Unlike other previous Microsoft operating systems, Windows 10 comes with in-built auto updates that enable the computers to work efficiently. This version of Windows is a data monster, especially if you are tethering with limited bandwidth. But you don’t have to worry about running out of your data plans anymore. Our step by step guide will help you learn how to stop Windows 10 from eating up your data bundles while browsing or enjoying online games on your laptop. Although Windows 10 auto updates play a significant role in data consumption on your computer, applications are also highly involved. Thus, it is essential to understand the amount of data each app on your laptop is using.
How To Check Network Usage
You can see the network usage in Windows 10 powered computers in two ways.
Option 1: Using Task Manager to Check Network Usage
The fastest way to access the Task Manager is by using the keyboard shortcut ( CTRL+SHIFT+ESC) or by typing “task manager’ in the Start Menu search box.
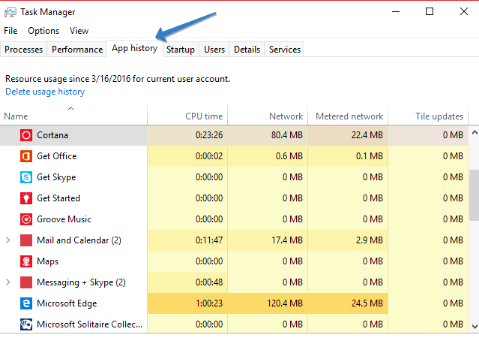
Go to the Task Manager and click on the “App history” option. Here, you will see two columns labeled “Network” and “Metered network.”
The downside of this option is that all visible apps in the ‘task manager’ are either core Windows apps or Windows Store apps. This feature lacks the regular old Windows application where you can see the amount of data each application is consuming. This brings us to option two.
Option 2: Using the Network Setting Section to Check Network Usage
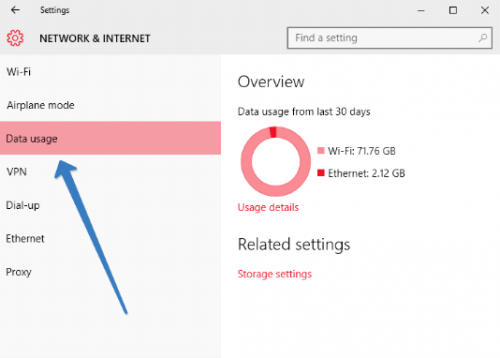
Go to Settings-Network & Internet. Click on the top option on the left hand named “Data Usage.” This will show you a breakdown of the past 30 days. You will see a circular graph showing the amount of data used over different types of connections like WiFi, Bluetooth, or Ethernet. Click on the small links under the graphed marked “Usage Details” to get a more broad view.
How to Reduce Data Usage on Windows 10
- Set Your Connection to “Metered”
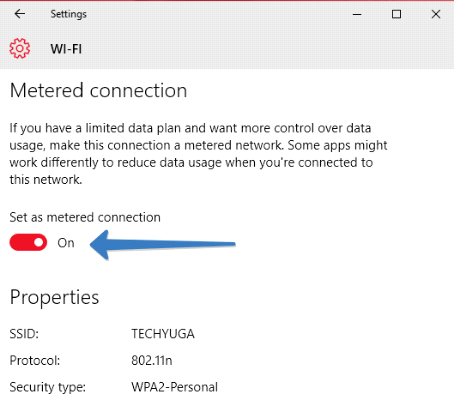
The first thing you should do is ensure to switch your connection as ‘metered.’ This will inform Windows 10 that you dont need substantial automatic updates at the moment. Follow these steps to set your connection as ‘Metered.’
Go to: Settings-Network & Internet-WiFi-Advanced Options.
Toggle the button to set as metered connection.
2. Disconnect All Background Apps
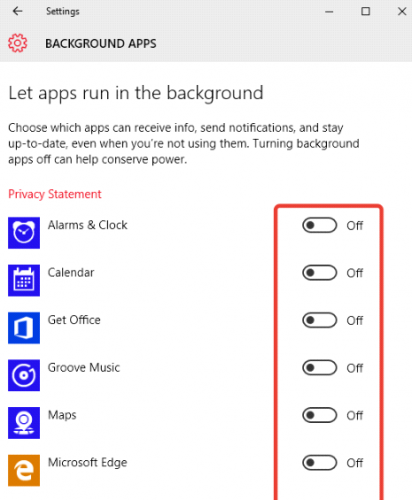
As aforementioned, Windows 10 runs some application in the background, and they use a lot of data. Always remember to turn off all applications that are not in use. Here is how to turn off background applications in Windows 10:
Go to: Settings-Privacy-Background Apps
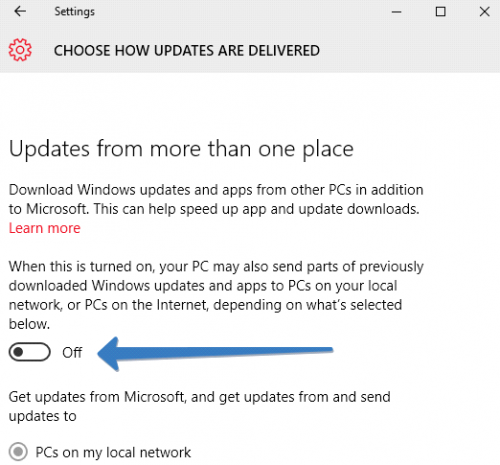
3. Stop Automatic Peer to Peer Update Sharing
Windows 10 is designed to automatically use your internet connection to upload Windows and application updates on other Windows 10 powered computers. The good news is that all these become impossible if you set your connection to metered or switch it off directly. The following steps will help you to stop automatic uploads across all networks.
Open the Settings app: Click on Update & Security-Windows Update and then on the Advanced Options. Go to “Choose How Updates are Delivered” and switch this option to just “PCs on My Local Network” or disable it.
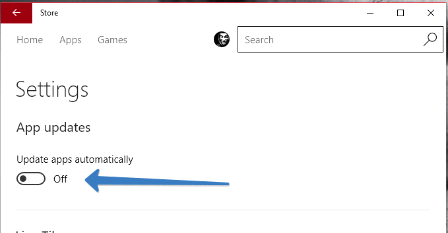
4. Stop Automatic App and Live Tile Updates
Setting your network as metered prevents Windows 10 from automatically installing app updates and collecting data for live tiles when you are connected to your network. This can be done on all other networks as well. Here is how:
Click on your profile picture next to the Search Box and chose Settings. Turn off “Update Apps Automatically.”
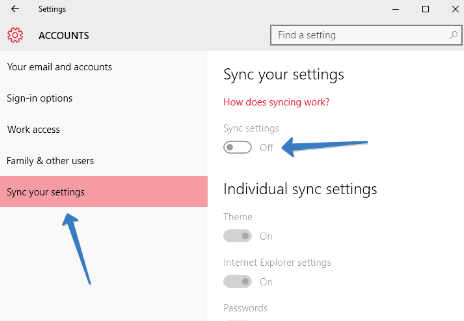
5. Turn Off PC Syncing
PC syncing is one of the essential features of Windows 10. But it does not have to be active throughout. You can disable it when you don’t want your system to be synced. Follow these steps to turn it off:
Go to: Settings-Accounts-Sync your settings and turn Sync settings off.
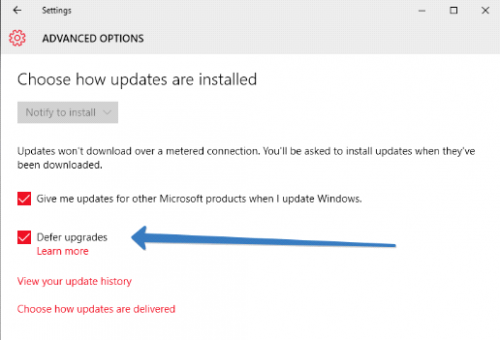
6. Defer Windows Upgrades
Windows 10 comes with an option that allows you to defer upgrades for a couple of months. The only problem is that the features are extensive and needs a huge amount of data. Follow these steps to Defer Upgrades:
Go to: Settings-Update & Security-Windows Update-Advanced Options. Scroll down to Defer Upgrades.
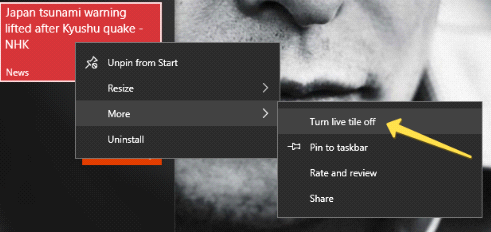
7. Turn Live Tiles Off
Did you know that the small live tiles on the Start Menu also use data? Well, now that you know, it’s time you turned them off. These steps will help you to stop tiles from automatic downloads and updates. Right click on the Start Menu, select More and then Turn live tile off.
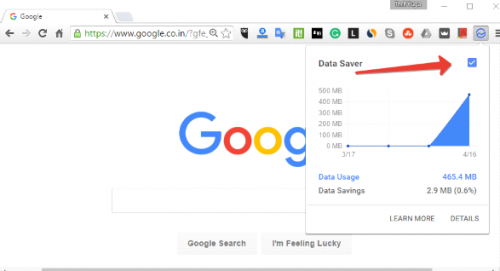
8. Save Data While Browsing
A lot of data is used by your web browser, thanks to technology, you can how much by checking the Data Usage screen. Using a browser with a built-in compressing proxy feature will enable you to save data while browsing. With the emergence of new modern technology like HTML5 and Flash, most games, especially online casino variations can be played directly through mobile or desktop browser. Whether you choose to play at German casino online or any other European based website, you will be able to save data while gaming.
A good example is Google’s Chrome browser that comes with Data Saver extension and works in the same way as Data Saver for Android and iOS devices. Download the app, and you will be good to go.
Have we missed out a step? Of course, you don’t have to apply all the options. Chose the one that is simple and suite your requirements.

