
Google is a large community of people that are interested in different things amongst connecting between themselves. It offers a platform where files can be shared as well. If you are a big fan of Google Drive like me, This article is going to show you how to set an expiration date when sharing files on Google drive.
Using G Suite has a lot of benefits. This is Google’s paid application set which has incorporated Gmail, documents, drive, and calendar for the proper organization of your account. It is pertinent to know how to set an expiration date when sharing files on google drive. For people to see your files and documents but not being able to download them, you can set an automatic expiry date on them. This special feature will help preserve the privacy of your files from external influence. To use this, it is of necessity to have a paid G suite account.
To set an expiry date when sharing files on google drive, follow the steps below:
How To Set An Expiration Date When Sharing Files On Google Drive
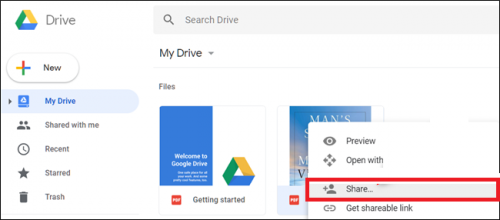
1. Right click on the file you want to share. From the drop-down menu you see, click on share.
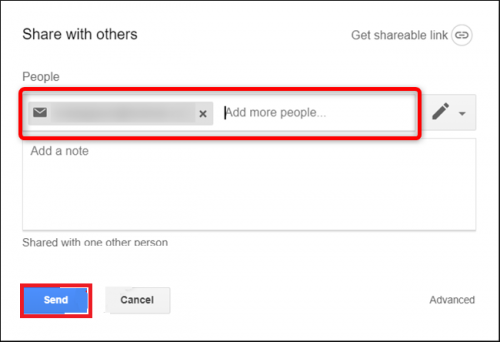
2. Input the mail addresses of the people you want to have access to the file and hit the “Send” button. You should also note that if you include mail addresses from @gmail.com, those owners will automatically be beneficiaries of the file sent but if otherwise, then those emails will have to go alongside a link to view the file sent.
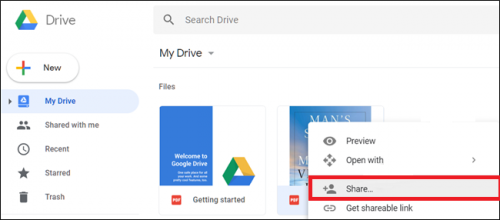
3. At this point, you will have to right click the file and go to the “share” button again.
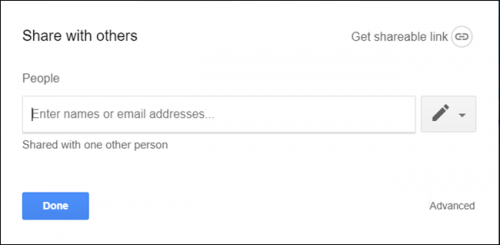
4. Instead of inputting any mail address again, go to the “advanced” option and tap on it.
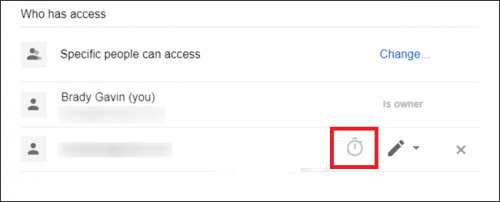
5. Every contact information you see there will have a timer or stopwatch icon just beside it. The timer or stopwatch will be used to configure the expiry date of the file.
6. A drop-down menu will be displayed on the screen. Click on “access expires:” and set the timer to either 7 days or 30 days or you can custom it to suit specifically what you want.
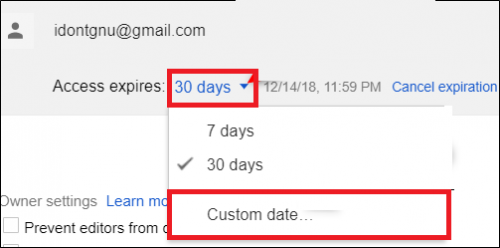
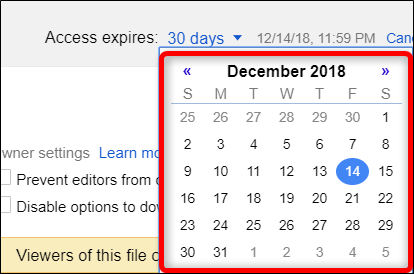
7. On the other hand, if you want to custom the expiration date, as soon as you click on the “custom date” option, a calendar will be displayed so you can choose specifically what you want.
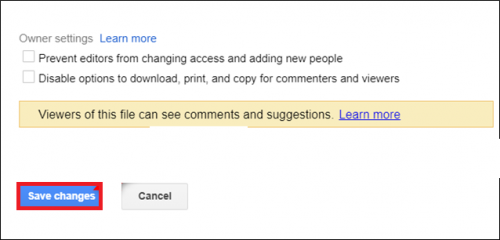
8. You can do the same for all of the mail addresses you have chosen to send the file to. As soon as you are done, click on the blue labeled option, “Save Changes” and you are done.
To remove the expiration date, you will have to do it one by one from where the timers were set for the expiration dates to begin.
Conclusion
That’s a wrap folks, I hope this article was helpful and you enjoy reading it as much I enjoyed writing it. You can contact me via the comment section if you encounter an issue while trying the steps. Thanks for stopping by.

