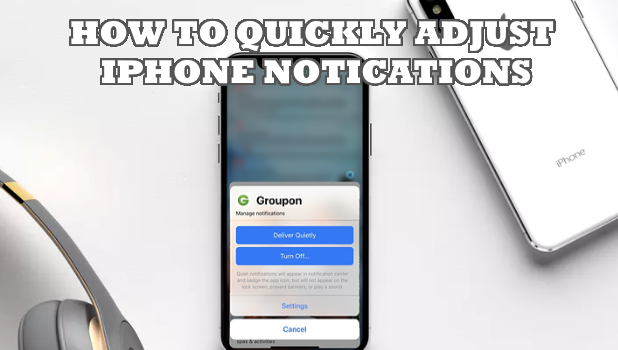
Notifications keep you on top of the things. iPhone notifications inform you of important messages and calls as soon as they reach your phone. However, too much of notifications can be distracting. Also, some apps can be annoying and may spam you with notifications. With iOS 12, you can adjust iPhone notifications quickly for specific apps. You can use Instant Notifications Tuning in iOS 12 to easily and quickly manage notifications right from the Home screen.
You may not notice it, but notifications are major productivity drainers. One study by Florida State University even shows that notifications can be as distracting as actual calls and messages. Apple recognizes the effect of notifications on people’s productivity thus they have released productivity-booster features on the iOS 12. One of the features is the Instant Notifications Tuning in iOS 12 where users can immediately change how app notifications behave right from the Notification Center. If you are interested in learning how to manage and adjust iPhone notifications quickly, then this article is for you.
How to Adjust iPhone Notifications Quickly Using Instant Tuning
You can instantly change app notifications settings without actually going to your phone’s Settings. Follow the steps below to learn how to use Instant Notifications Tuning in iOS 12.
1. Pull down your iPhone’s Notification Center by making a swiping gesture from the top-most part of the screen to the bottom part of it.
2. With the Notification Center in the display, select the notification that you want to instantly tune in and swipe the selected notification to the left. Alternatively, if your device supports, 3D Touch, you can long press the notification and tap on the three dots on the right part of the notification.
3. The screen shows the Notifications options for the selected notification. Tap on the Manage button to tune in the notification for the specific group or app.
4. In the app’s Notifications Management pop-up page, choose on how to tune in the selected group or app notification. Tap Deliver Quietly to switch the selected app to silent mode. When an app notification is set to Deliver Quietly, you can only see the app’s notification in the Notification Center.
5. You can tap on the Manage button again then tap on the Deliver Prominently option to switch back to the standard notification delivery service.
6. If you want to completely disable the notifications of a specific app or group, tap on the Turn Off… button. Once turned off, you will no longer receive notifications for the selected app or group.
7. You can also quickly go to the app’s notification option by tapping on Settings.
8. Once you are in the app’s Notifications Settings, you can choose alert styles, banner styles, sounds, badges, and other options.
Frequently Asked Questions
Q: Why would I even bother with Quiet Notifications? What is the difference between Quiet Notifications and Turned Off Notifications?
A: Turned Off Notifications are disabled notifications. An app with a Turned Off notifications will never give out any notifications – not on the Home screen nor in the Notifications screen. On the other hand, Quiet Notifications are less obstructive notifications that only appear on the Notification Center. Users will not be notified once notifications from the app arrive. The notifications are only available on the Notification Center.
You just learned how to use Instant Tuning to adjust iPhone notifications quickly. If you have questions about any of the steps outlined above, let us know in the comments section.


