
An Apple Watch app is different from its iPhone counterpart in the way that data is sent between screens. Find out how to do it in this tutorial.
Before you follow this tutorial, you may want to complete the first part of the series on how to work with segues in an Apple Watch app. I cover different ways to navigate between screens in your app.
The First method:
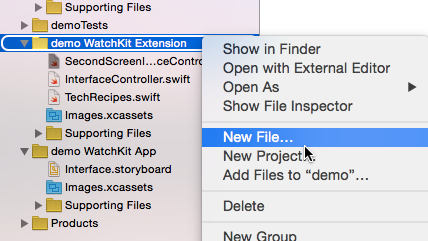
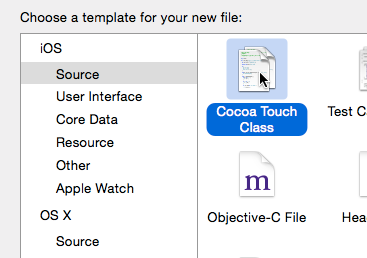
1. The second screen created in the last tutorial does not have its own View Controller yet, so we will need to create one before we can do anything. Right-click on the WatchKit Extension folder, choose New File -> iOS -> Source -> Cocoa Touch Class.
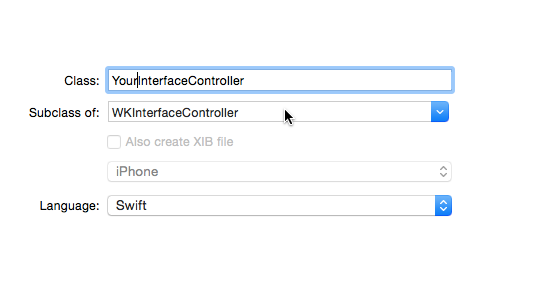
2. Name the new controller, make it a subclass of WKInterfaceController, and click Next -> Create.
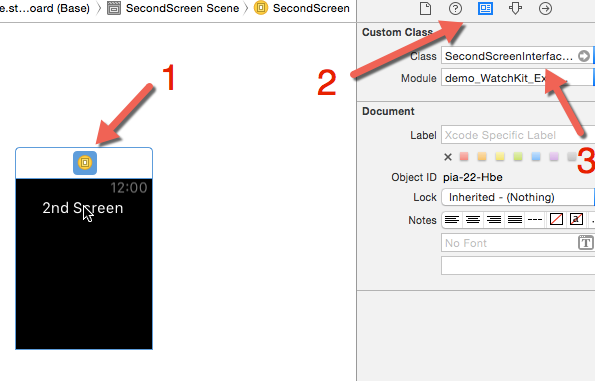
3. Go to the storyboard, select the second screen, switch to the Identity inspector, and set the class to the newly created interface controller.
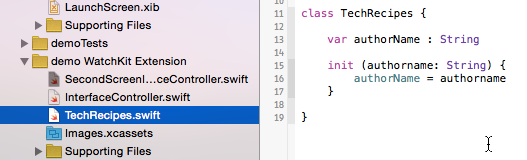
4. Repeat the steps above to create a new blank swift file under the WatchKit Extension folder. Once the file is added, create a new class, add a string property, and set its init method like so.
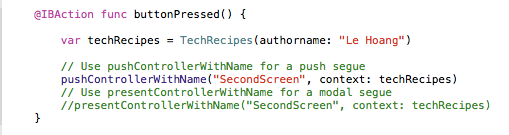
5. Go back to the InterfaceController.swift file, create a new variable of type TechRecipes inside the buttonPressed method (or any method attached to the button in the storyboard). Finally, pass the new variable in the context parameter of either pushControllerWithName or presentControllerWithName method.
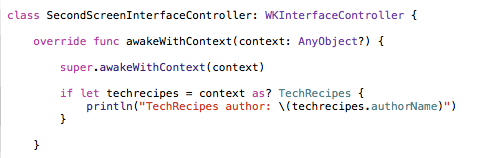
6. Switch to the second screen’s interface controller file. Under the awakeWithContext method, check to see if the context is of type TechRecipes, and assign it to the techrecipes constant. If it works, we print out the authorName property.
The Second method:
For segues created in the storyboard, you just have to override the contextForSegueWithIdentifier method.
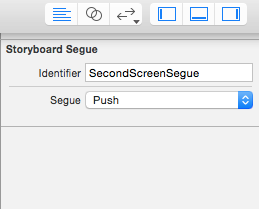
1. Switch to the storyboard, select the segue, and give it a unique identifier in the Utilities panel.
2. In the code file, add the contextForSegueWithIdentifier method, and check to see if the segueIdentifier is equal to the unique identifier you just added. If it is, return a new instance of the TechRecipes class. Otherwise, return nil.

3. Refer to Step 6 of the first method to see how you can get the data from the other end.

