
In the history of Windows the most popular one and the most widely used version was Windows 7. Even after the release of Windows 8/8.1 and 10 a lot of people did not want to upgrade to the newer version because “They look different”. They do, getting used to a new layout takes time, so a lot of users decided to sacrifice all the new features that the newer versions of Windows offered so that they can continue using the good old 7-style look.
Things started to change a few years ago, when Microsoft decided to drop mainstream support for Windows 7. This forced a lot of users to upgrade to Windows 10, which was not something that they liked. The changed look opened the doors for developers to start working on applications that will change the look of your operating system, not just the theme, but the look of everything.
One of the applications that enables a user to change the look of their Windows is Classic Shell. Using this application along with a few more tricks you can make your Windows 10 look exactly like Windows 7 without losing any features.
How to make Windows 10 look like Windows 7
1.Download Classic Shell. Make sure that you are downloading from their official site and make sure that you are downloading the latest version.
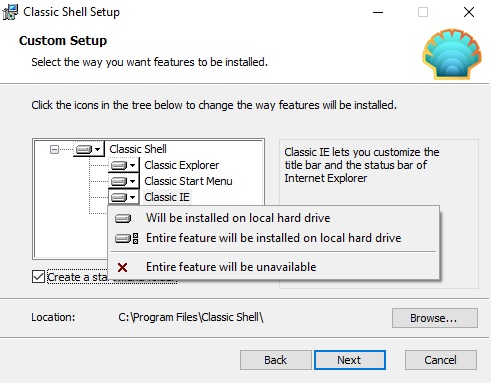
2.Install it. If you are a hardcore Windows 7 fan, you can leave the classic explorer and classic internet explorer to be installed. Otherwise you can disable them.
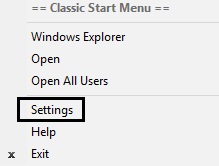
3.Once the installation is completed you need to make changes to the settings. In order to do that you need to right click on the Windows logo on the far left of the taskbar and click on “Settings”
4.When the settings window opens there are 3 things that you need to do. First, make sure that “Show all settings” at the top is ticked. Next, make sure that “Windows 7 style” in the middle is selected. Finally, tick the box near the bottom where it says “Replace Start button”.
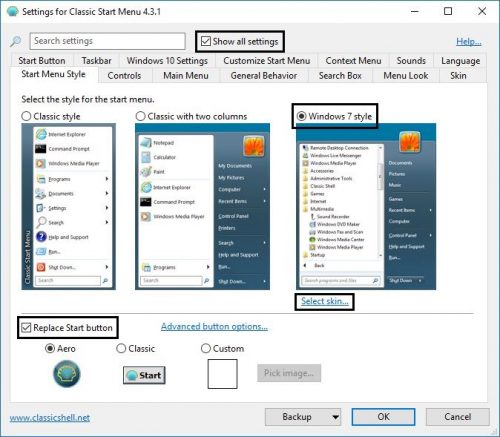
5.Under the Windows 7 style selection and image you need to click on “Select skin…”. Alternatively you can click on the “Skin” tab at the top.
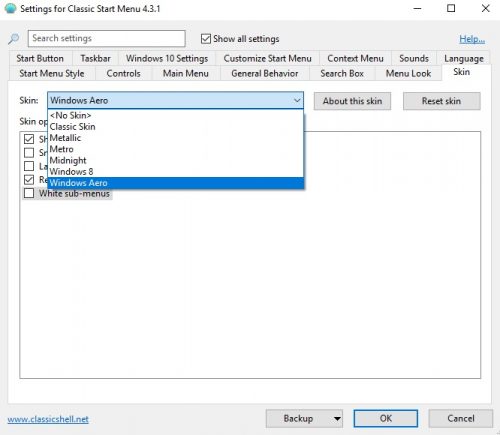
6.In this tab you need to select the Skin to be “Windows Aero”.
7.Below that you have the skin options that you can enable or disable. The options are: Show user picture, small icons, large font, reduce glass color and white sub-menus. You can set these as you want them. For this tutorial we have “Show user picture” ticked.
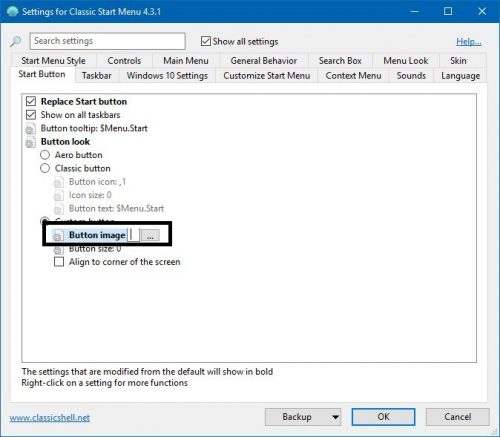
8.Next, you need to change the start icon. You can do that by navigating to the “Start Button” tab.
9.Select “Custom button”
10.In button image you will need to browse to the image that you want to have. On the Classic Shell forums there are a lot images for you to choose from. Download the logo from there.
11.Click on the 3 little dots next to “Button Image” and browse to the downloaded image. Note: if you are using a small taskbar make sure that you download the small icons, otherwise download the big ones.
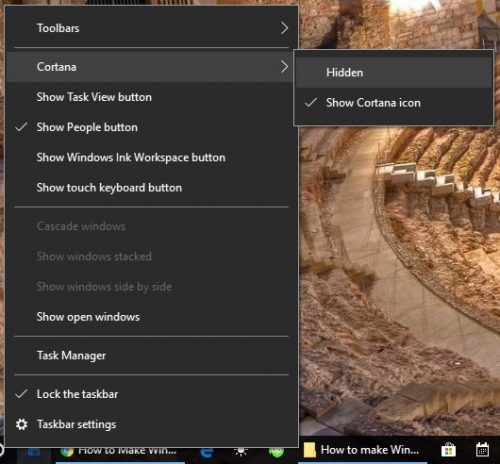
12.If you are using Windows 10 you have the Cortana bar or icon on the taskbar enabled by default. To remove Cortana from your taskbar you need to right click on the icon or bar, navigate to the Cortana menu and click on “hidden”
13.Another feature not present on Windows 7 is the notification or action center. If you are not using it, then you can disable it. Right click on a blank space on the taskbar and click on “Taskbar Settings”
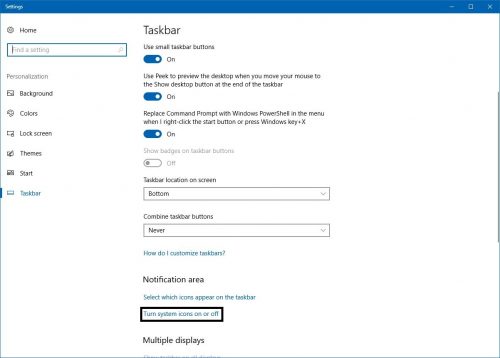
14.Scroll down and click on “Turn system icons on or off”
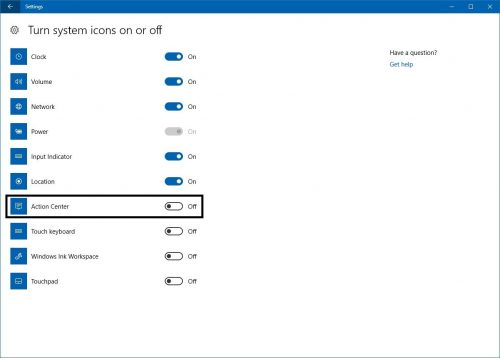
15.Turn off the option where it says “Action center”
16.Another thing that is very different in Windows 10 is the lock screen. So you would need to disable it. Here is a tutorial on how to do that.
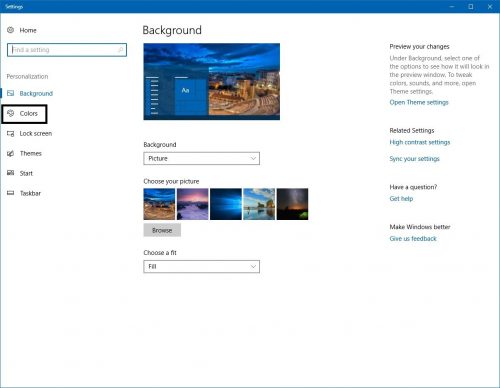
17.Finally, you need to change a few color settings. Right click on an empty space on the desktop and click on “Personalize”
18.From the left menu navigate to “Colors”
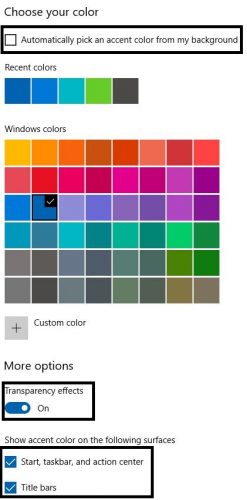
19.Untick “Automatically pick an accent color from my background”
20.Select a blue color of your choice
21.Make sure that the “Transparency effects” are enabled
22.Finally, “Start, taskbar and action center” and “Title Bars” need to be ticked.
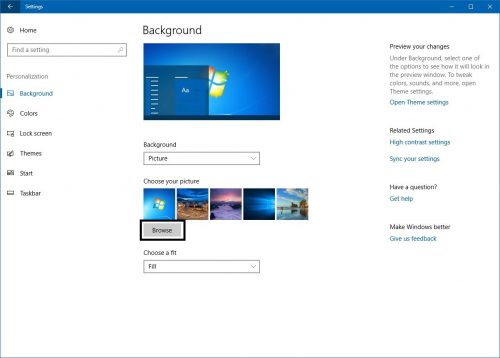
23.For this tutorial we found the default Windows 7 wallpaper and applied it. Return to the “Background” section of the personalization menu and click on “Browse” and select the Windows background that you downloaded. You can get it easily from a google search.
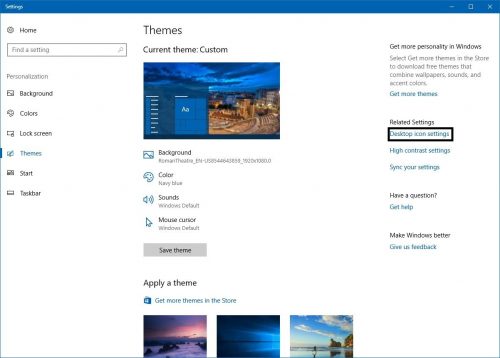
24.The last thing for this tutorial is the default icons that came on the desktop with Windows 7. While in the personalization menu, navigate to “Themes” from the navigation menu on the left.
25.Click on “Desktop icon settings”
26.From here you can tick the icons that you want to be visible on your desktop.
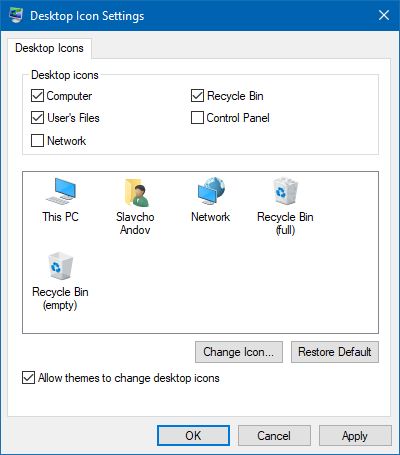
27.Once done, click on “Apply”
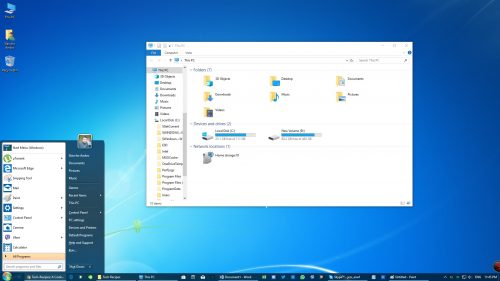
The final result should look like this
Frequently Asked Questions and Answers
Q: Can I go back to Windows 10 theme?
A: Yes, just uninstall Classic Shell and change the system settings back to what they previously were.


