
Do you find yourself constantly squinting at your computer screen or craning your neck to get a better look? This will put a considerable amount of strain on your neck and back that could cause permanent damage over time and give you more than your fair share of headaches in the short term. You have the option to change your display settings to make everything bigger by lowering the resolution. (Read how here.) However, this makes everything slightly blurry. Fortunately, Windows has a built-in magnifier that can be used to increase the size of a portion of your screen temporarily without sacrificing resolution everywhere. Getting used to the magnifier takes a little while, but it is well worth the effort to avoid unnecessary physical strain.
Magnifier has not changed in quite a while, so this tutorial should be valid for Windows 7, 8, and 10 computers.
1. Open Magnifier in the Start menu. 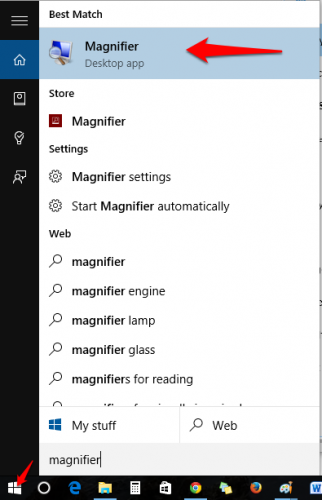
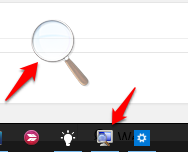
2. Magnifier is pretty unobtrusive. When you open the program, a small floating toolbar will appear somewhere on your screen. After a few seconds of being ignored, the toolbar turns into a translucent magnifying glass. The image below shows the floating magnifying glass and the taskbar icon for the program. Clicking either of these items will turn the magnifying glass image back into the toolbar. To move the magnifying glass to a less conspicuous area of your screen, turn the image into the toolbar, and click and drag it around your screen. Since the toolbar is so small, the only place to grab is the top left where it says “Magnifier” and shows the program icon.
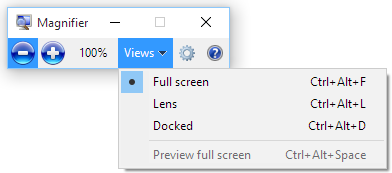
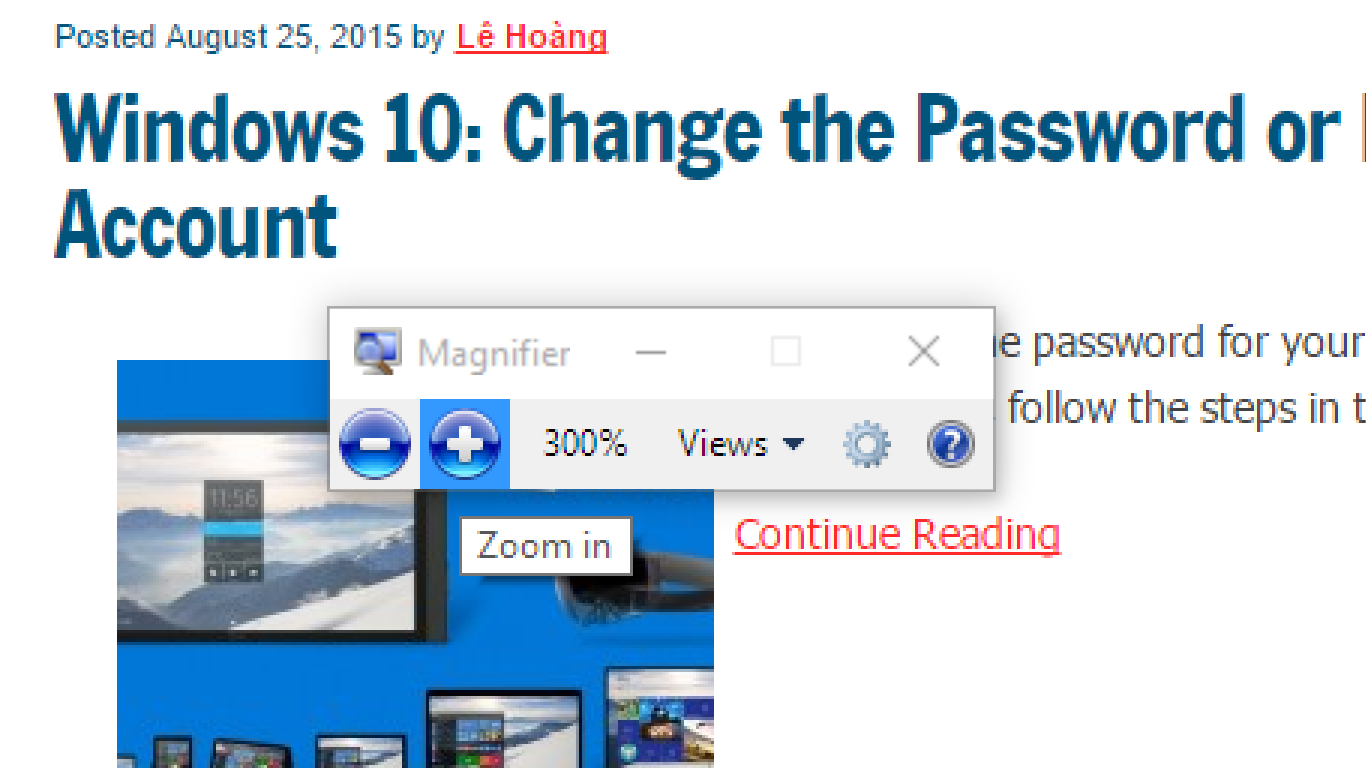
3. Magnifier has three views that you can use. You can toggle between them by clicking Views in the magnifier toolbar or by using the keyboard shortcuts described below. For all views, the level of magnification is controlled by the plus and minus buttons on the toolbar.
4. Full Screen (keyboard shortcut Ctrl+Alt+F): This is probably the most intuitive of the magnifier options. Press the + button in the Magnifier toolbar to zoom in. Notice how everything gets blurry and pixelated as you zoom in. You can move around by moving your mouse to the edge of the screen. Your translucent magnifying glass image will always stay in your view, so you can click it and press the – button to zoom back out at any time.
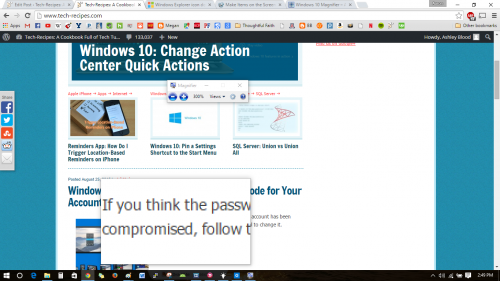
Before:
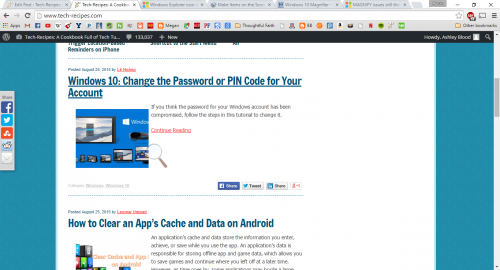
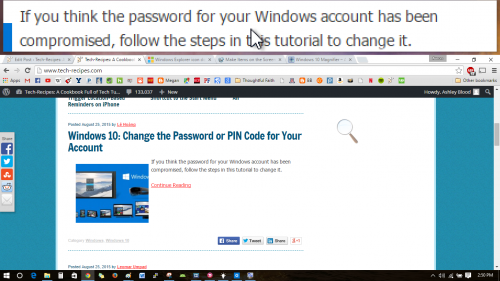
Zoomed to 300% (3x enlarged):
5. Lens (keyboard shortcut Ctrl+Alt+L): This option turns your mouse into a rectangular “lens” that will magnify whatever you hover over.
6. Docked (keyboard shortcut Ctrl+Alt+D): This option will section off a portion of your screen to be a magnified view. As you move your cursor around the main part of your screen, the docked magnified area will show you a zoomed-in version of the content around your mouse. You can drag the docked view to other areas of your screen or click and drag an edge to resize the panel.

