
Whether you’re creating the manuscript of your first novel or working on a research proposal, learning how to add page numbers in Word is an essential part of the formatting process.
Beginning the numbering from page 1 isn’t always required. Sometimes, the first few pages cover the monologue, or dedications, etc. etc. In these cases, you have to add page numbers to a specific page. It could be page number 4 or 5 depending upon your source material.
This is why in this tutorial we will discuss how to add page numbers in word to both the first page and a page residing in the middle or the end. You won’t have to turn to other incomplete tutorials for guidance after going through this one.
How to Add Page Numbers in Word From the First Page
If you want to start numbering from the first page, here’s what you will have to do.
1. Open the MS Word Document.
2. Go to the Insert Tab.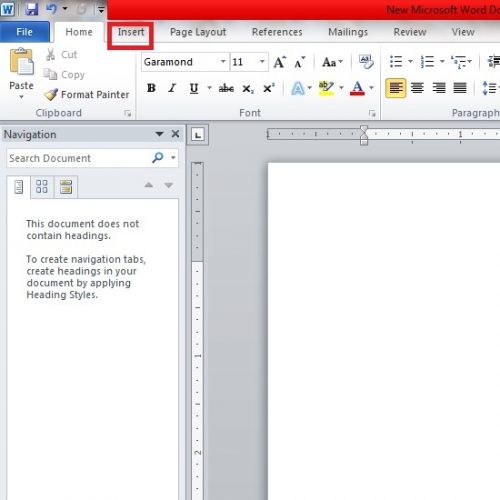
3. Locate and select the Page Numbers option.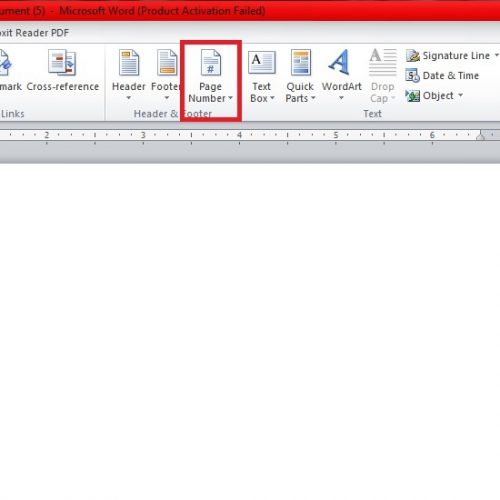
4. Select where you want the page number to appear. You have four options here.
- Top of page: In this option, you further have the choice to place page numbers in the center, far-left and right.
- Bottom of page: Again, you either add page numbers in the bottom-left, right and center of the page.
- Current Position: You can begin numbering from where your cursor is currently placed.
- Page Margins
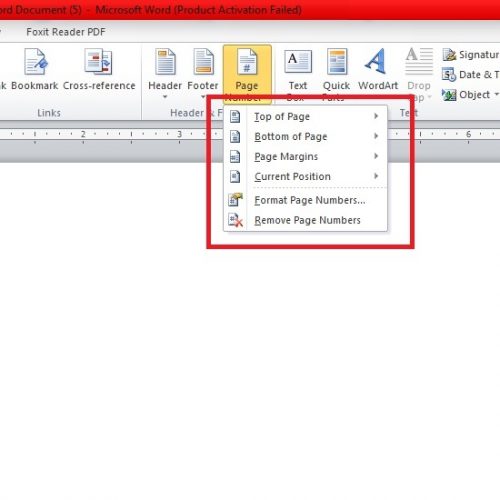
You can also remove page numbers and format them from this drop-down menu.
Note: In the newer versions of Microsoft Word, such as MS Word 2016 and MS Word 2019, the option to add page numbers might appear in the Design Tab. Alternatively, you can also click at the top or a bottom of a page to materialize this menu.
How to Add Page Numbers in Word Starting from a Specific Page
1. Go to the page you want to start numbering from. For the sake of this tutorial, we will choose page No. 4.
2. Click on its beginning.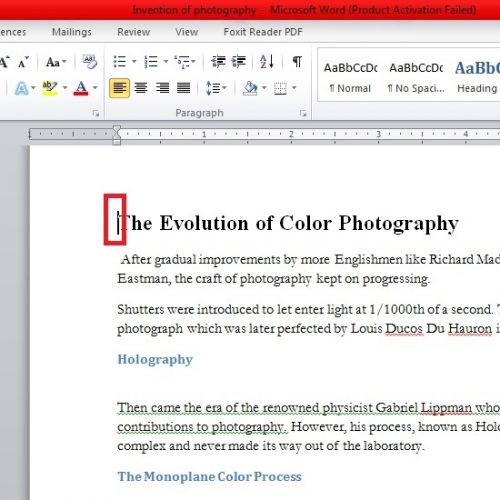
3. Go to the Page Layout tab at the top.
4. Locate the Breaks pane and select Breaks>Next page. This will create a section break, which is essentially a green light to start a new section on the exact spot your cursor is placed.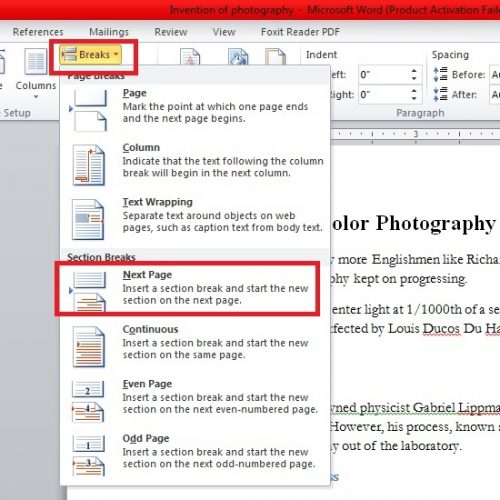
5. Go back to the top and open the Insert tab.
6. Choose the spot – top, bottom, etc. – where you want your numbering to appear. I’m going to select Bottom of Page just to show you how things work.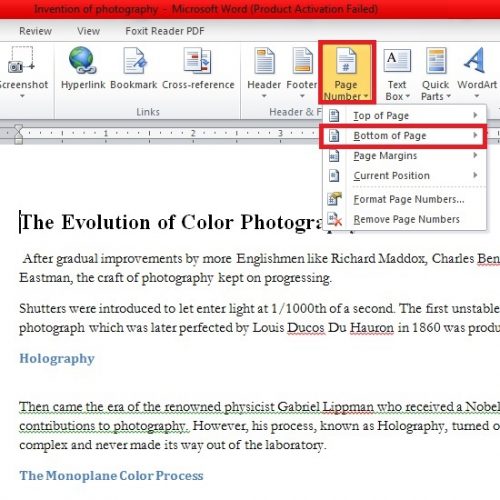
7. You will observe that all your pages have been numbered, including the first page. We don’t want word to count pages on its own, so here’s what we will do.
8. Click Link to the Previous Section in the same Design tab and make sure it is not highlighted yellow.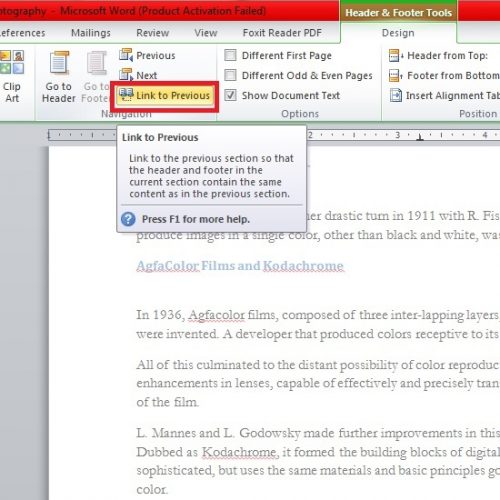
9. Backspace numbers from the previous pages: 1,2, and 3. These are the pages we don’t to number.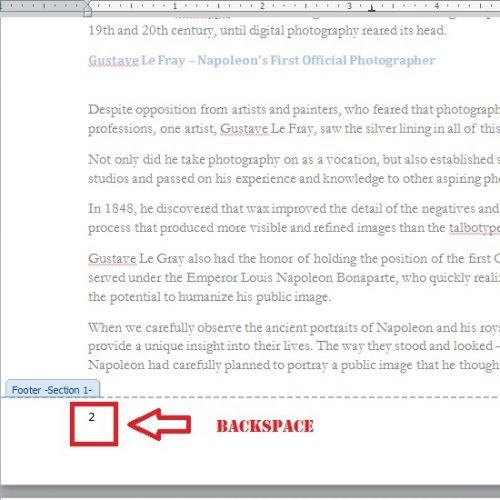
10. Navigate back to the Insert tab and go to Page Number> Format Page Numbers…
11. Set Start at to 1.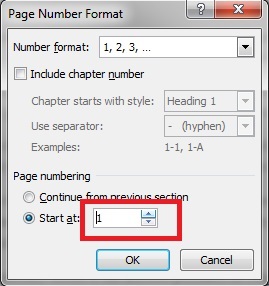
That’s how you can add page numbers in word without a hassle.
How to Number Specific Pages in Word: Youtube Tutorial
If you’re still not sure how to follow these steps, you can check out this video tutorial for additional guidance.

