Customizing the amazing VLC media player can be accomplished through the use of skins. This tech-recipe describes to how to install and use them.
Since the days of WinAmp, users have changed the skin or theme of their favorite media player. The windows version of VLC keeps this long tradition alive.
Here are a few simple steps to follow:
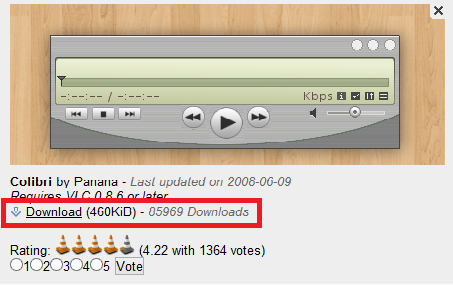
1.First of all, you need to download VLC skin file from VLC’s skin library. Here you will find a large collection of VLC skins.
2.Next, copy the downloaded vlt file to C:\Program Files\VideoLAN\VLC\skins folder.

3.Launch VLC media player and go to Prefrences option under the Tools menu.

4.Next, navigate to the Interface tab and select Use Custom Skin option.

5.The option of locating your desired skin file will appear. Just select the Choose button and select the file you just copied to C:\Program Files\VideoLAN\VLC\skins folder.

6.Select the save option and exit VLC media player.
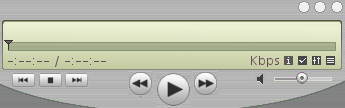
Now the next time you open VLC, it will show the look of the skin that you have selected. So, with a fairly easy and simple process, you have made VLC media player look exactly the way you want.
Remember that this process is applicable only to the Windows version. VLC does not supports skins on a Mac.

