
The Playstation 4 unofficially ushers in the next generation of gaming. With this, the shift from physical media to digital downloads will be forced upon us all. Considering these digital storage requirements, the 500GB PS4 hard drives just do not seem big enough. Luckily, Sony allow us to upgrade our PS4 hard drives with any normal 2.5″ SATA2 or SATA3 laptop drive.
Here are the characteristics of the drive you will need to replace the factory 500GB hard drive:
- SATA2 / SATA3
- 2.5″ size (laptop)
- 9.5mm max height of hard drive
- Hard drive or SSD or SSHD (hybrid ssd/hdd)
Unfortunately, in most circumstances this limits us to a maximum size of about 1TB. Most 1.5TB and 2TB drives are 12mm in height and in turn will not fit in the PS4. A lot of misinformation about this is floating about on the internet.
Even though cloud saves are available now with PSN Plus, I recommend doing a hard drive upgrade before you do anything else on the PS4. Then, you do not have to worry about backing up games, saves files, or anything else.
We will also need to get the full system restore file for the PS4 software from Sony’s site. We have previously covered directions for installing this restore file from a thumb drive. The update file required is different though and can be found here (approx 900mb file).
Steps for Upgrading the PS4 Hard Drive
1. Power off your PS4.
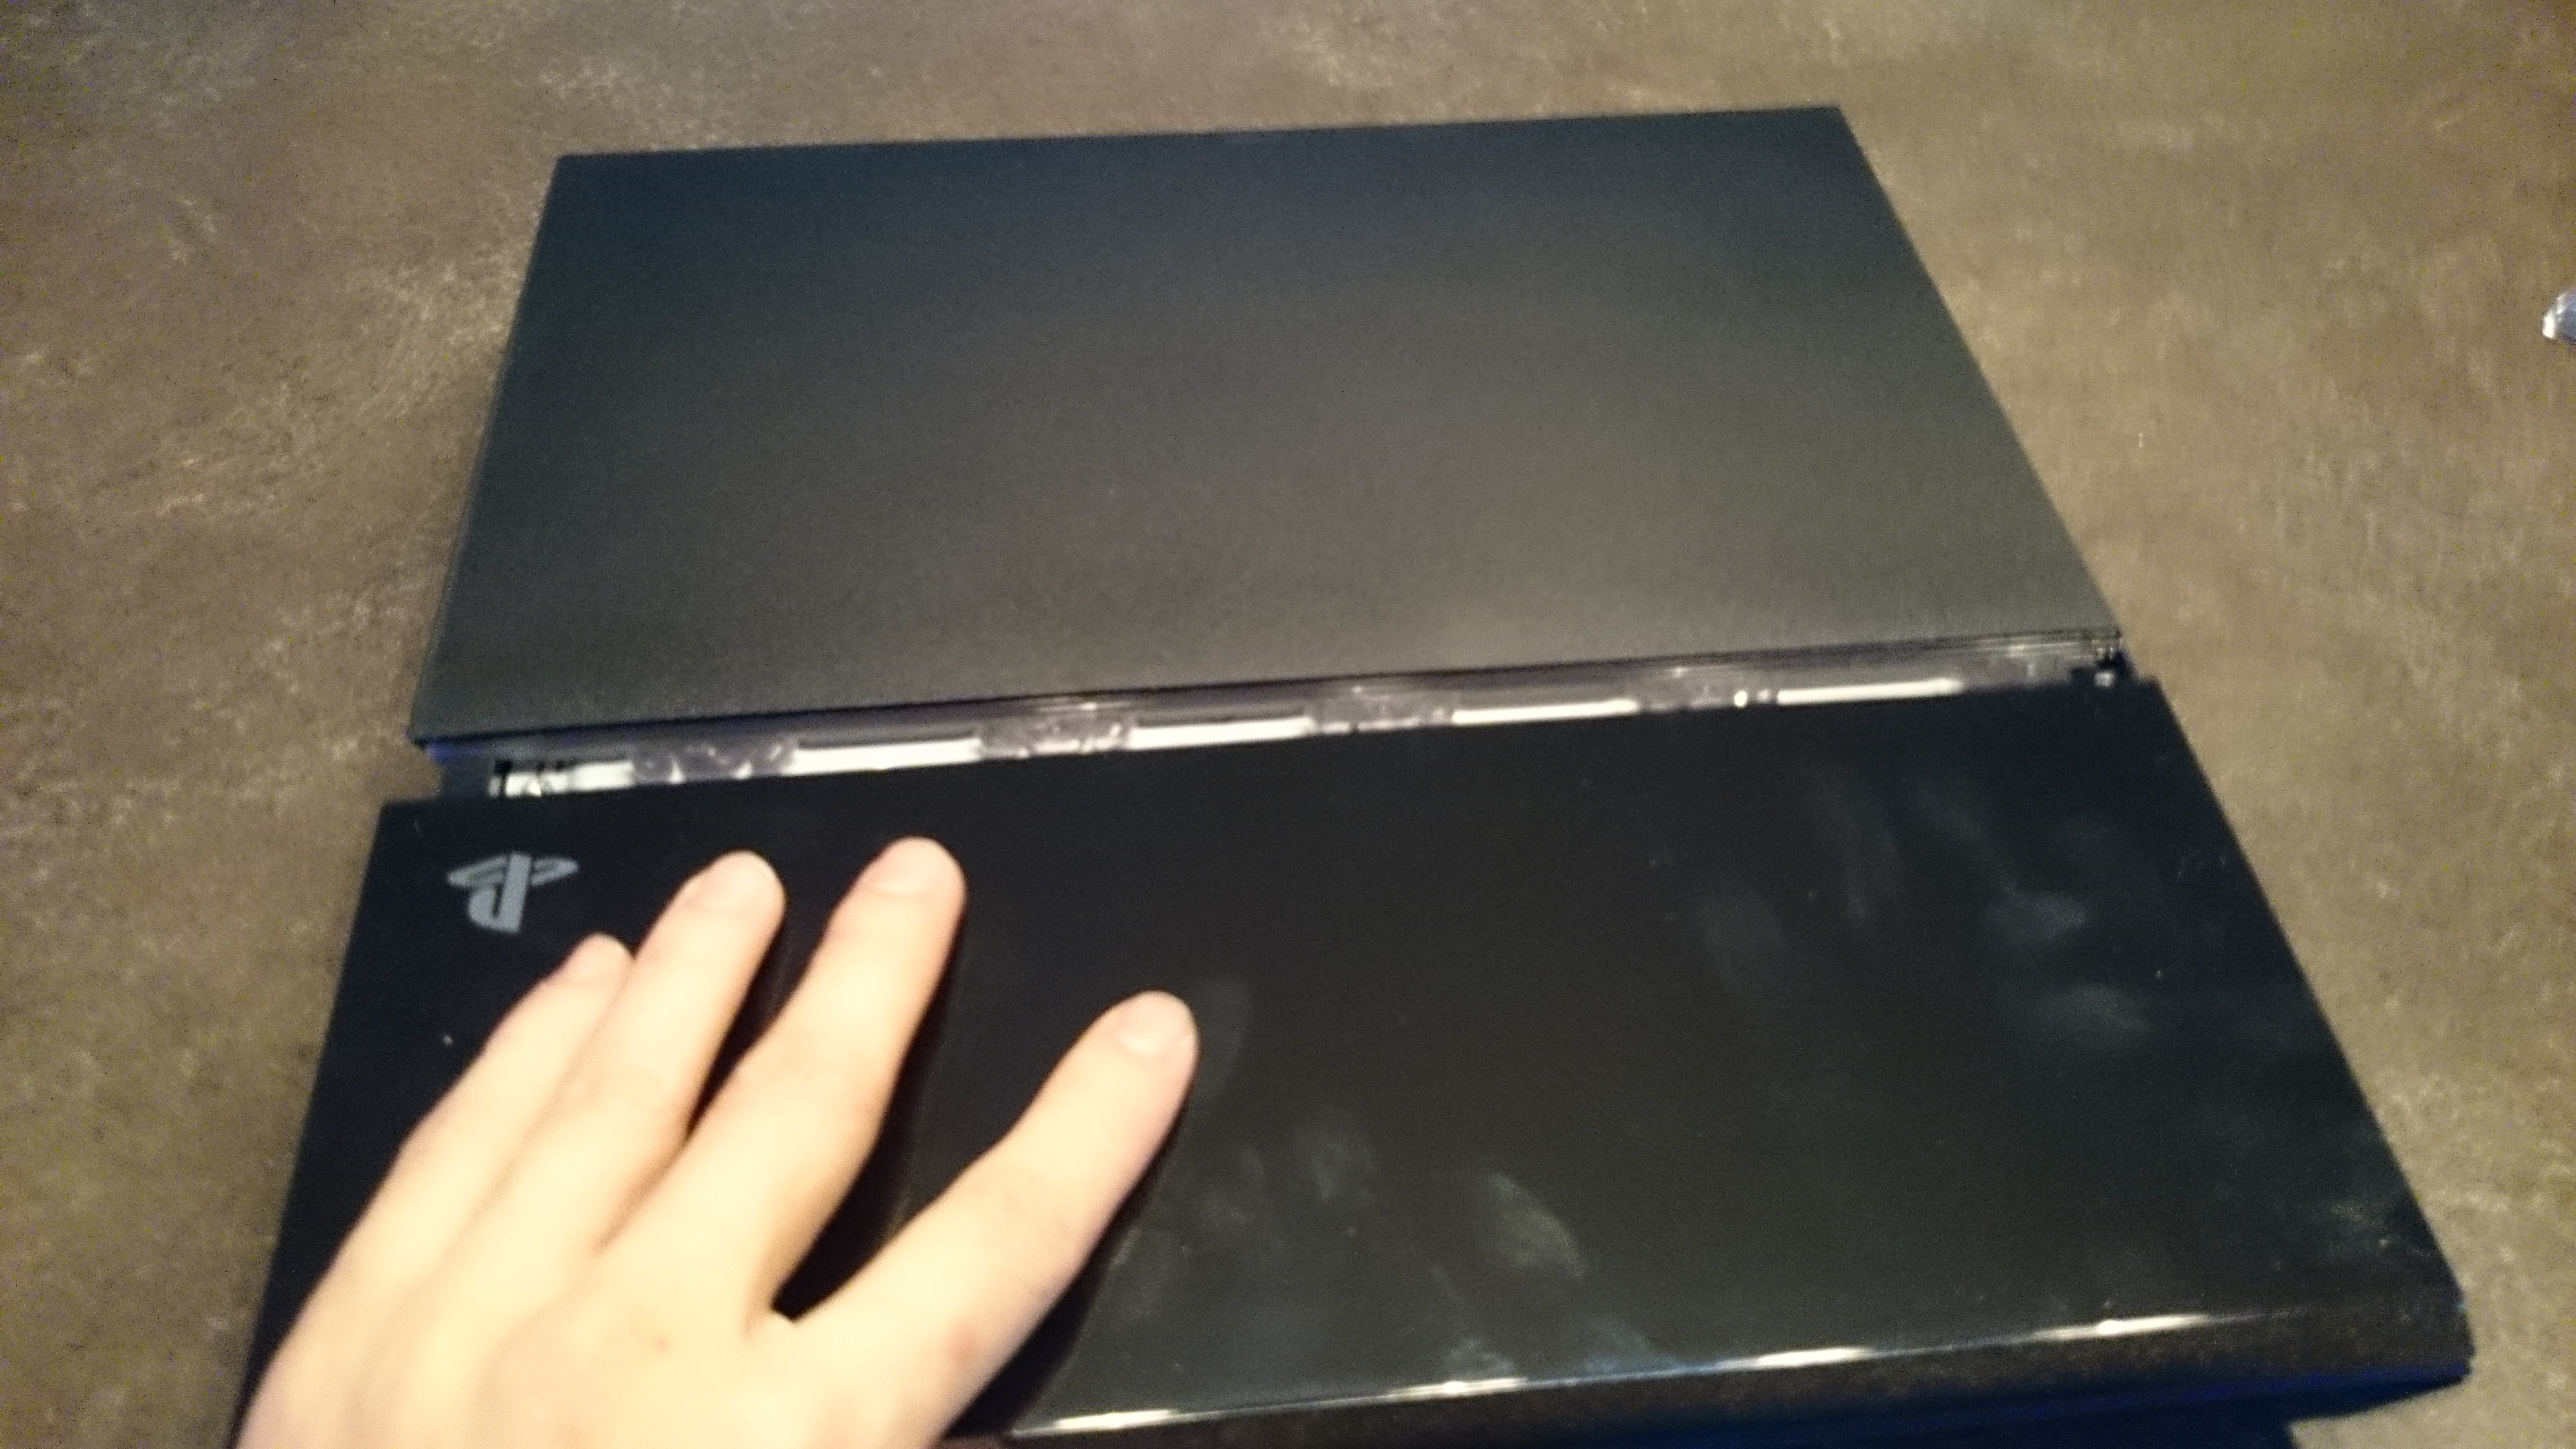
2. The hard drive bay is located under the shiny panel on the left side (when looking head on to PS4). It actually slides off from the center to the edge.
3. Once you have the cover off, there is only one screw you need to remove.
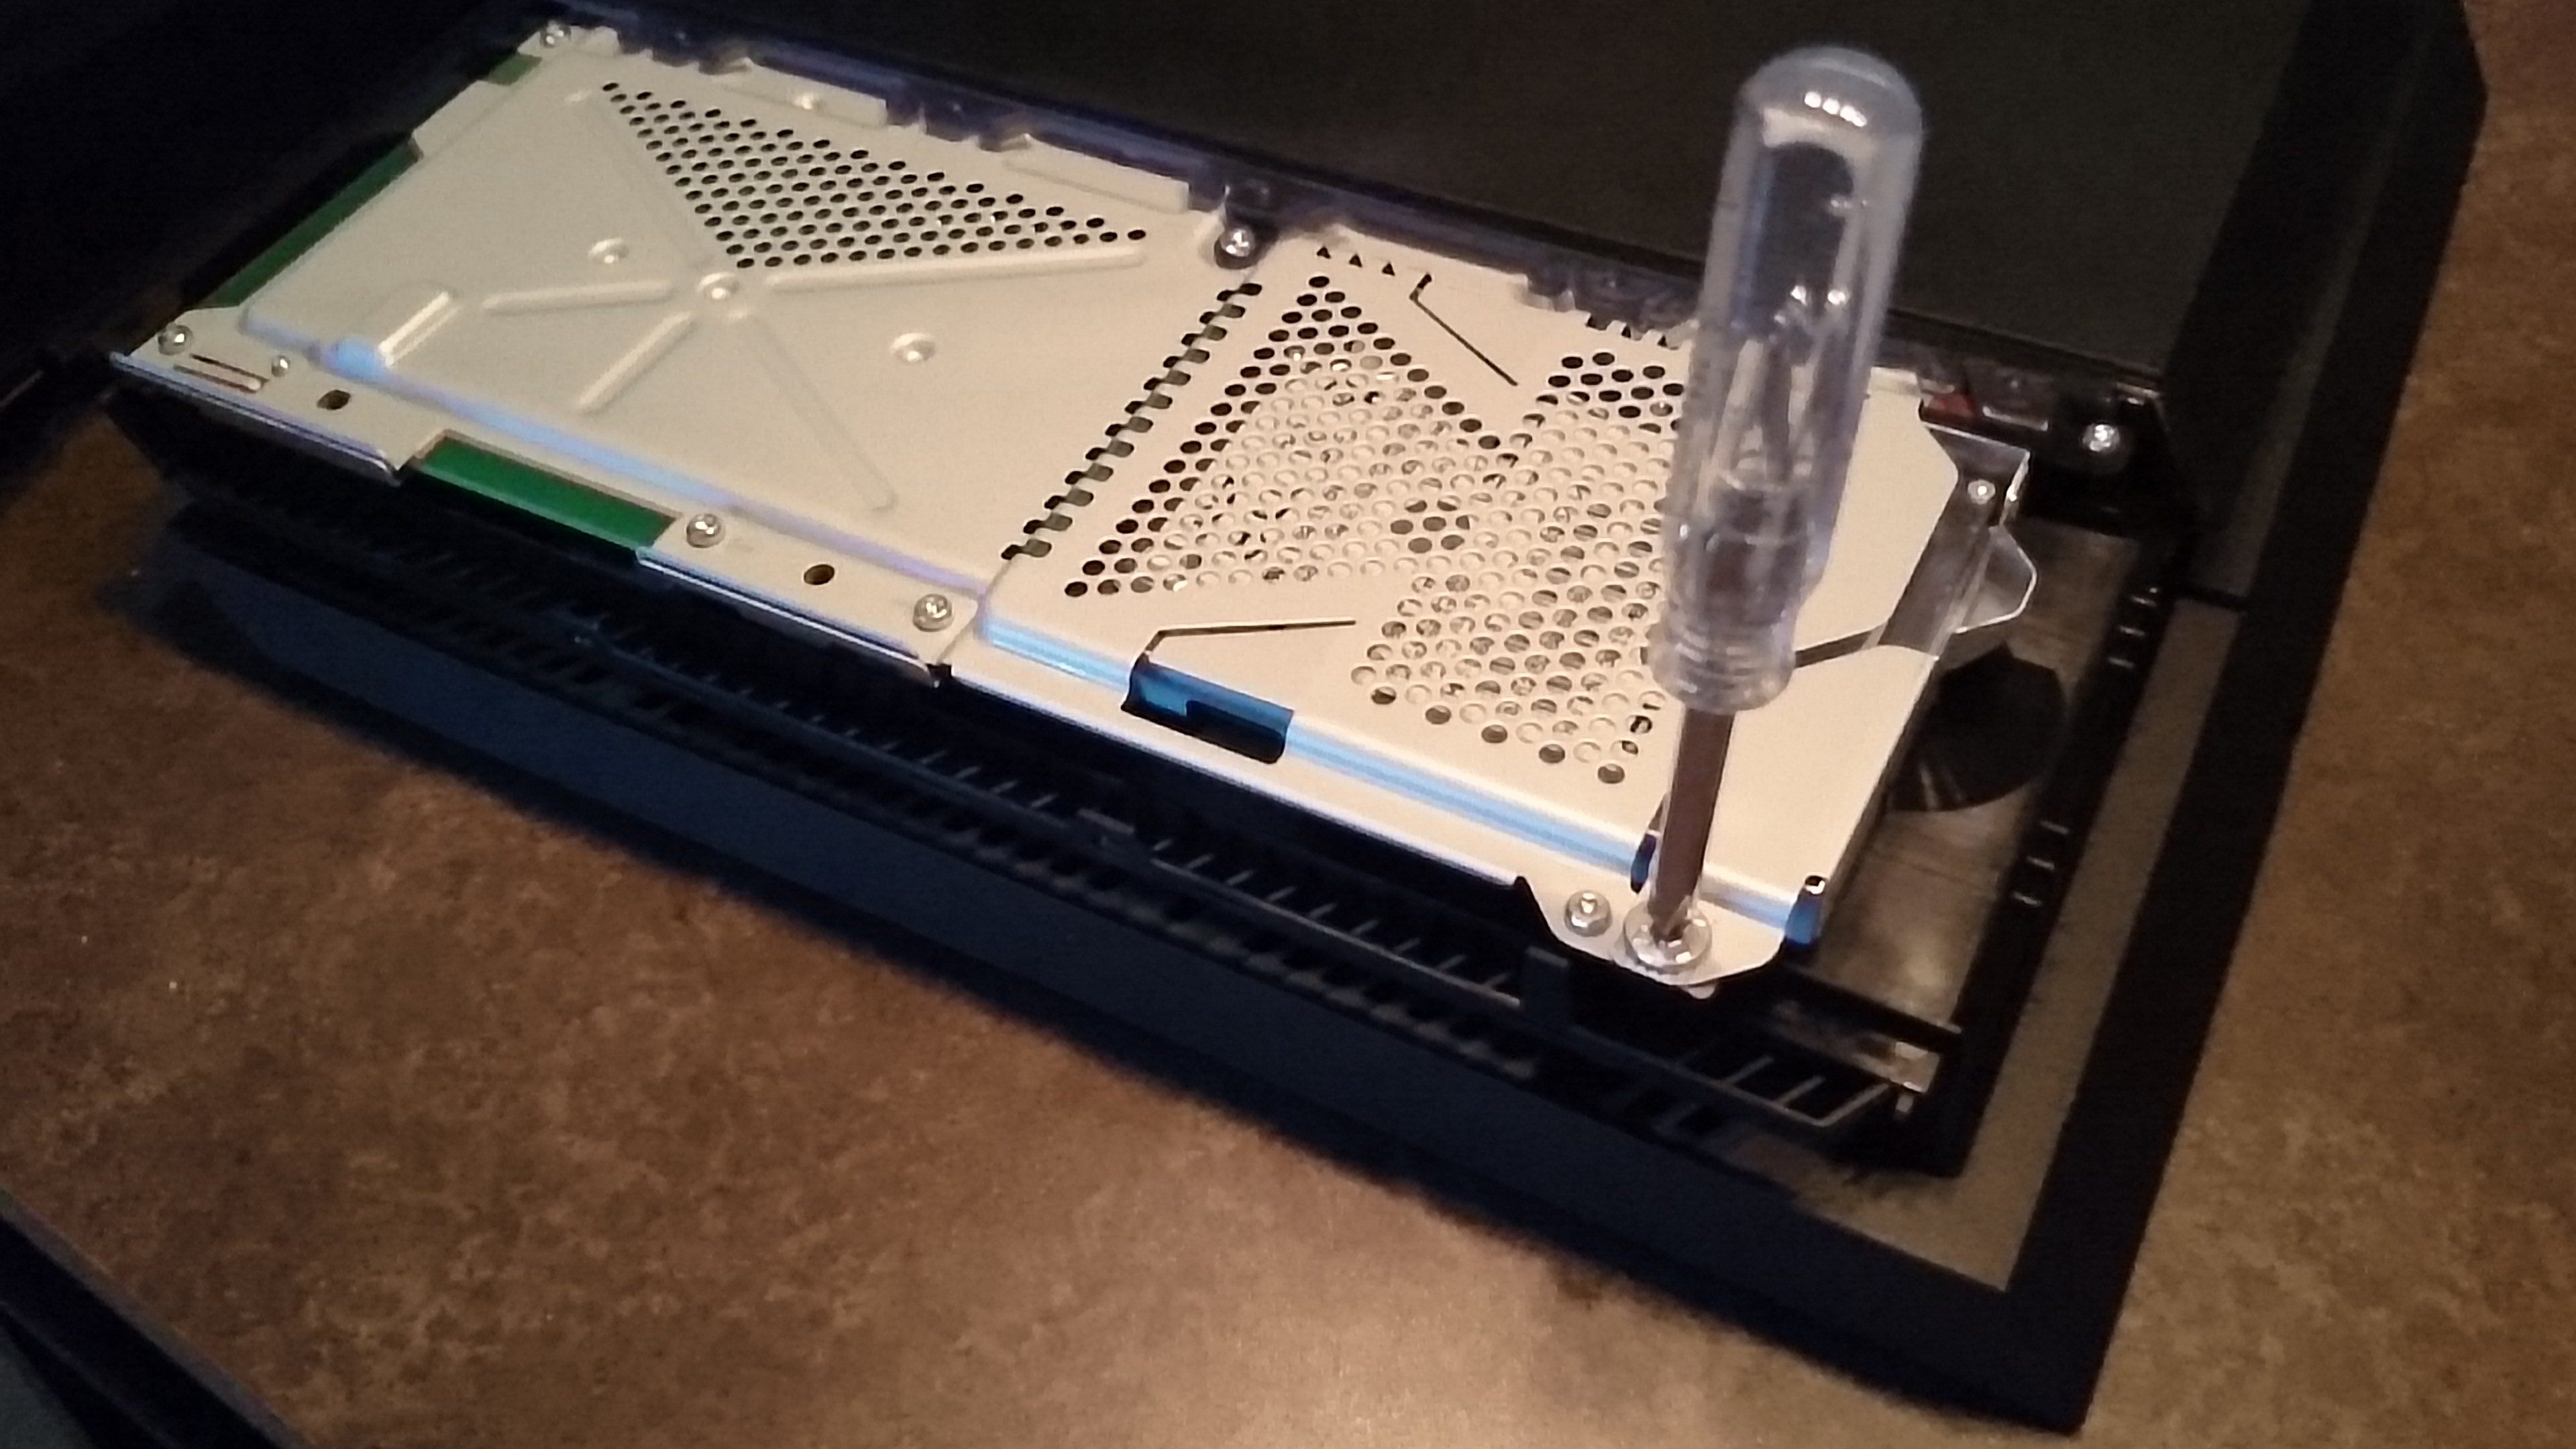
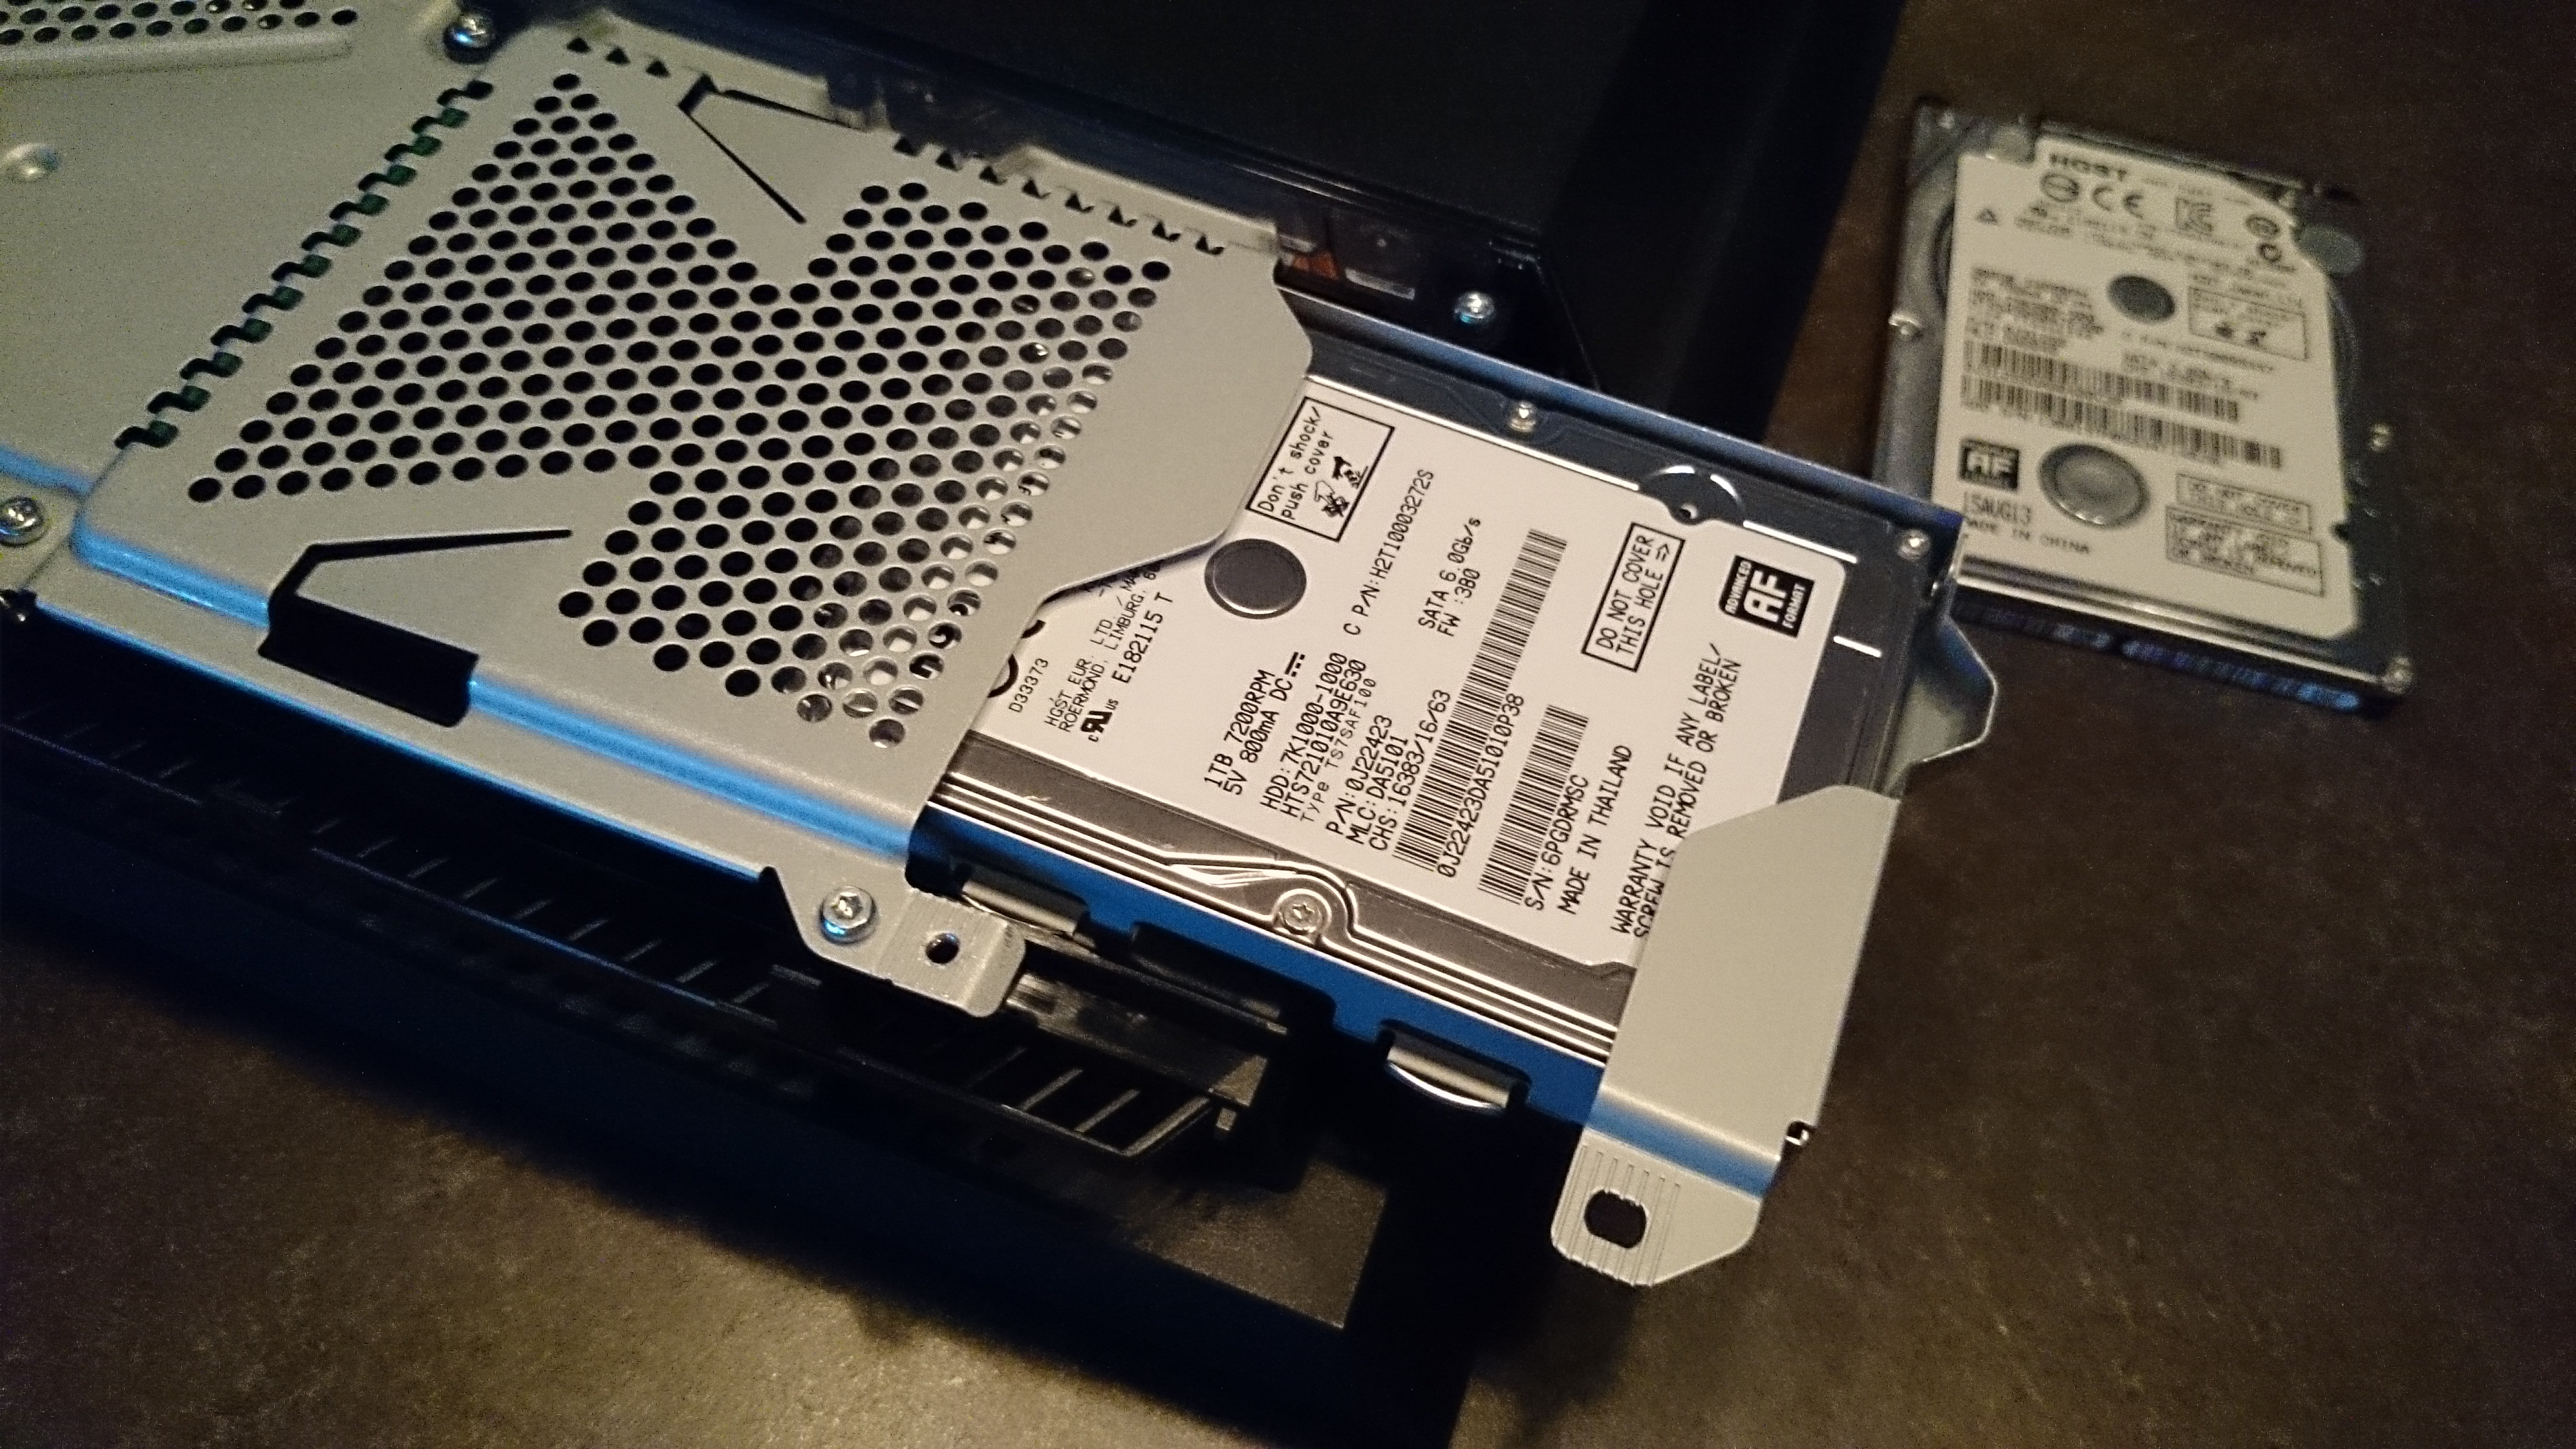
4. Slide out the original PS4 hard drive and remove the four screws from the caddy.

5. Put in your new hard drive. Replace the four screws back into the caddy.
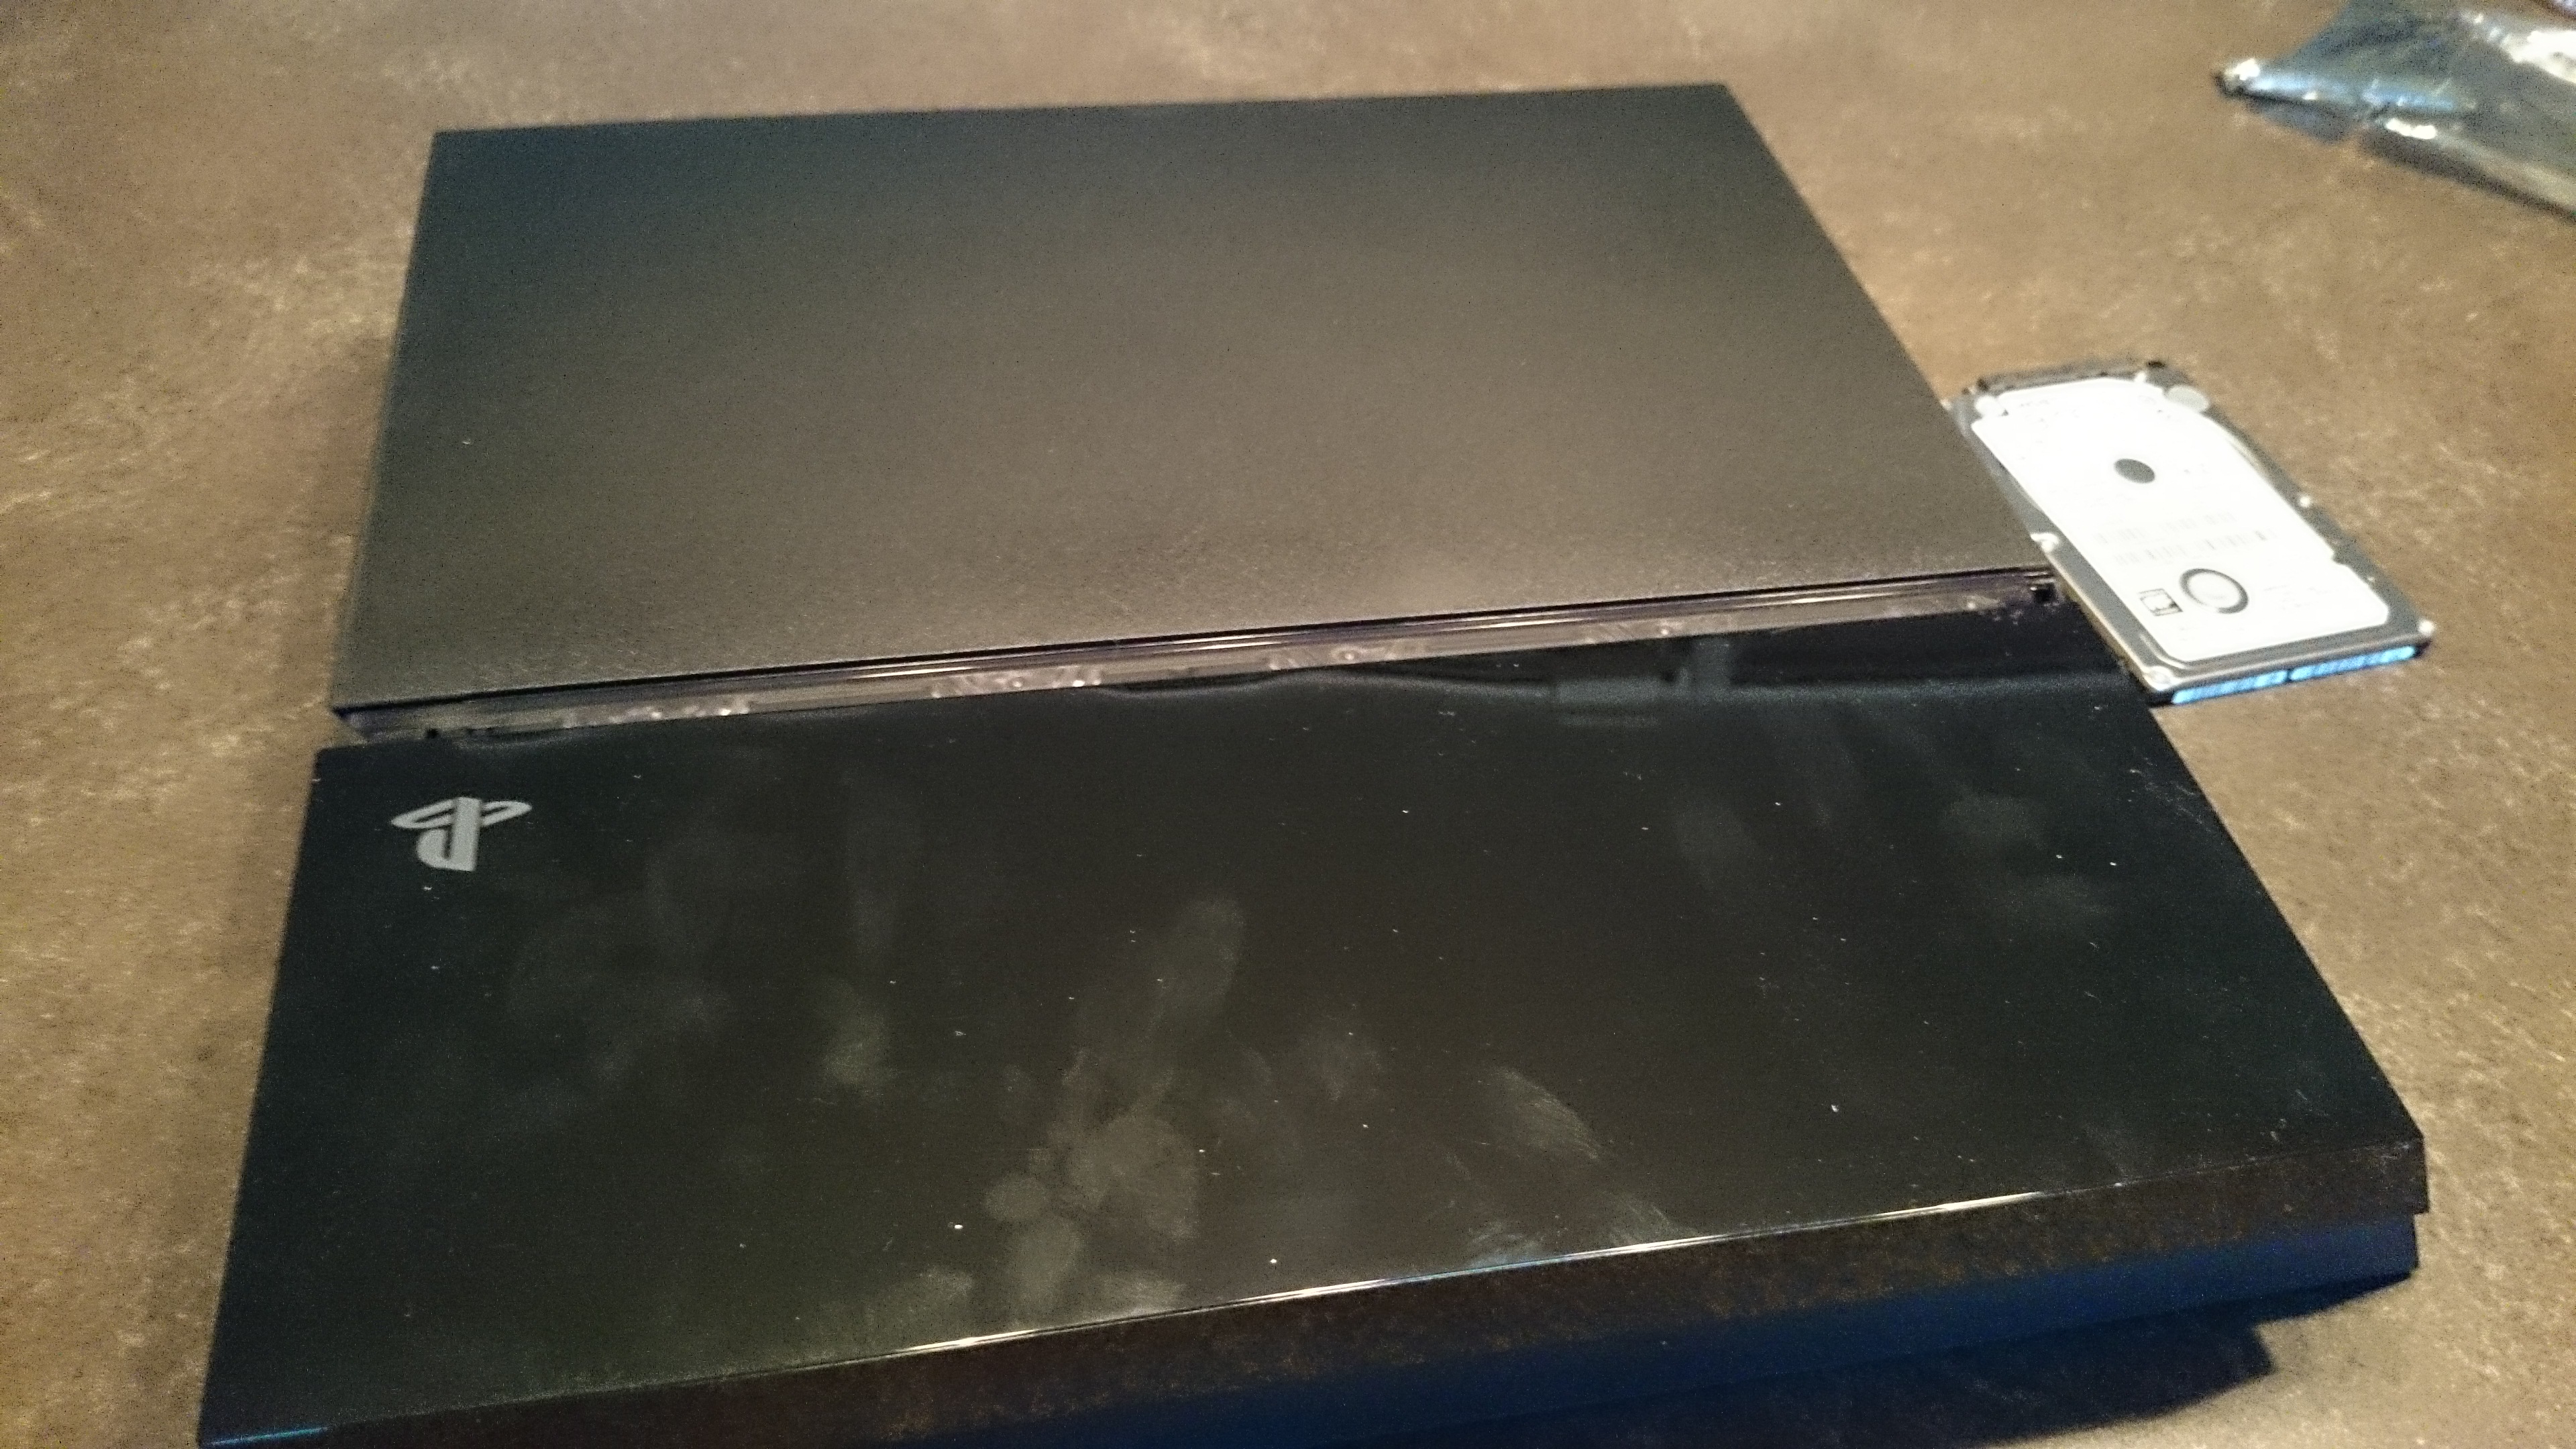
6. Slide the hard drive caddy with the new PS4 hard drive back into the device.
7. Replace the main screw.
8. Put the cover back on PS4. I found it works best to position the panel here as I have demonstrated below as then it slides much easier. Remember there is a the minor gap between the shiny and matte halves.
9. Finally, we will need to plug in our DualShock 4 controller with the USB cable to the PS4 and also plug in our USB drive. Once we power up the PS4, the device will go into Safe Mode by default and give you a warning message about no software found.
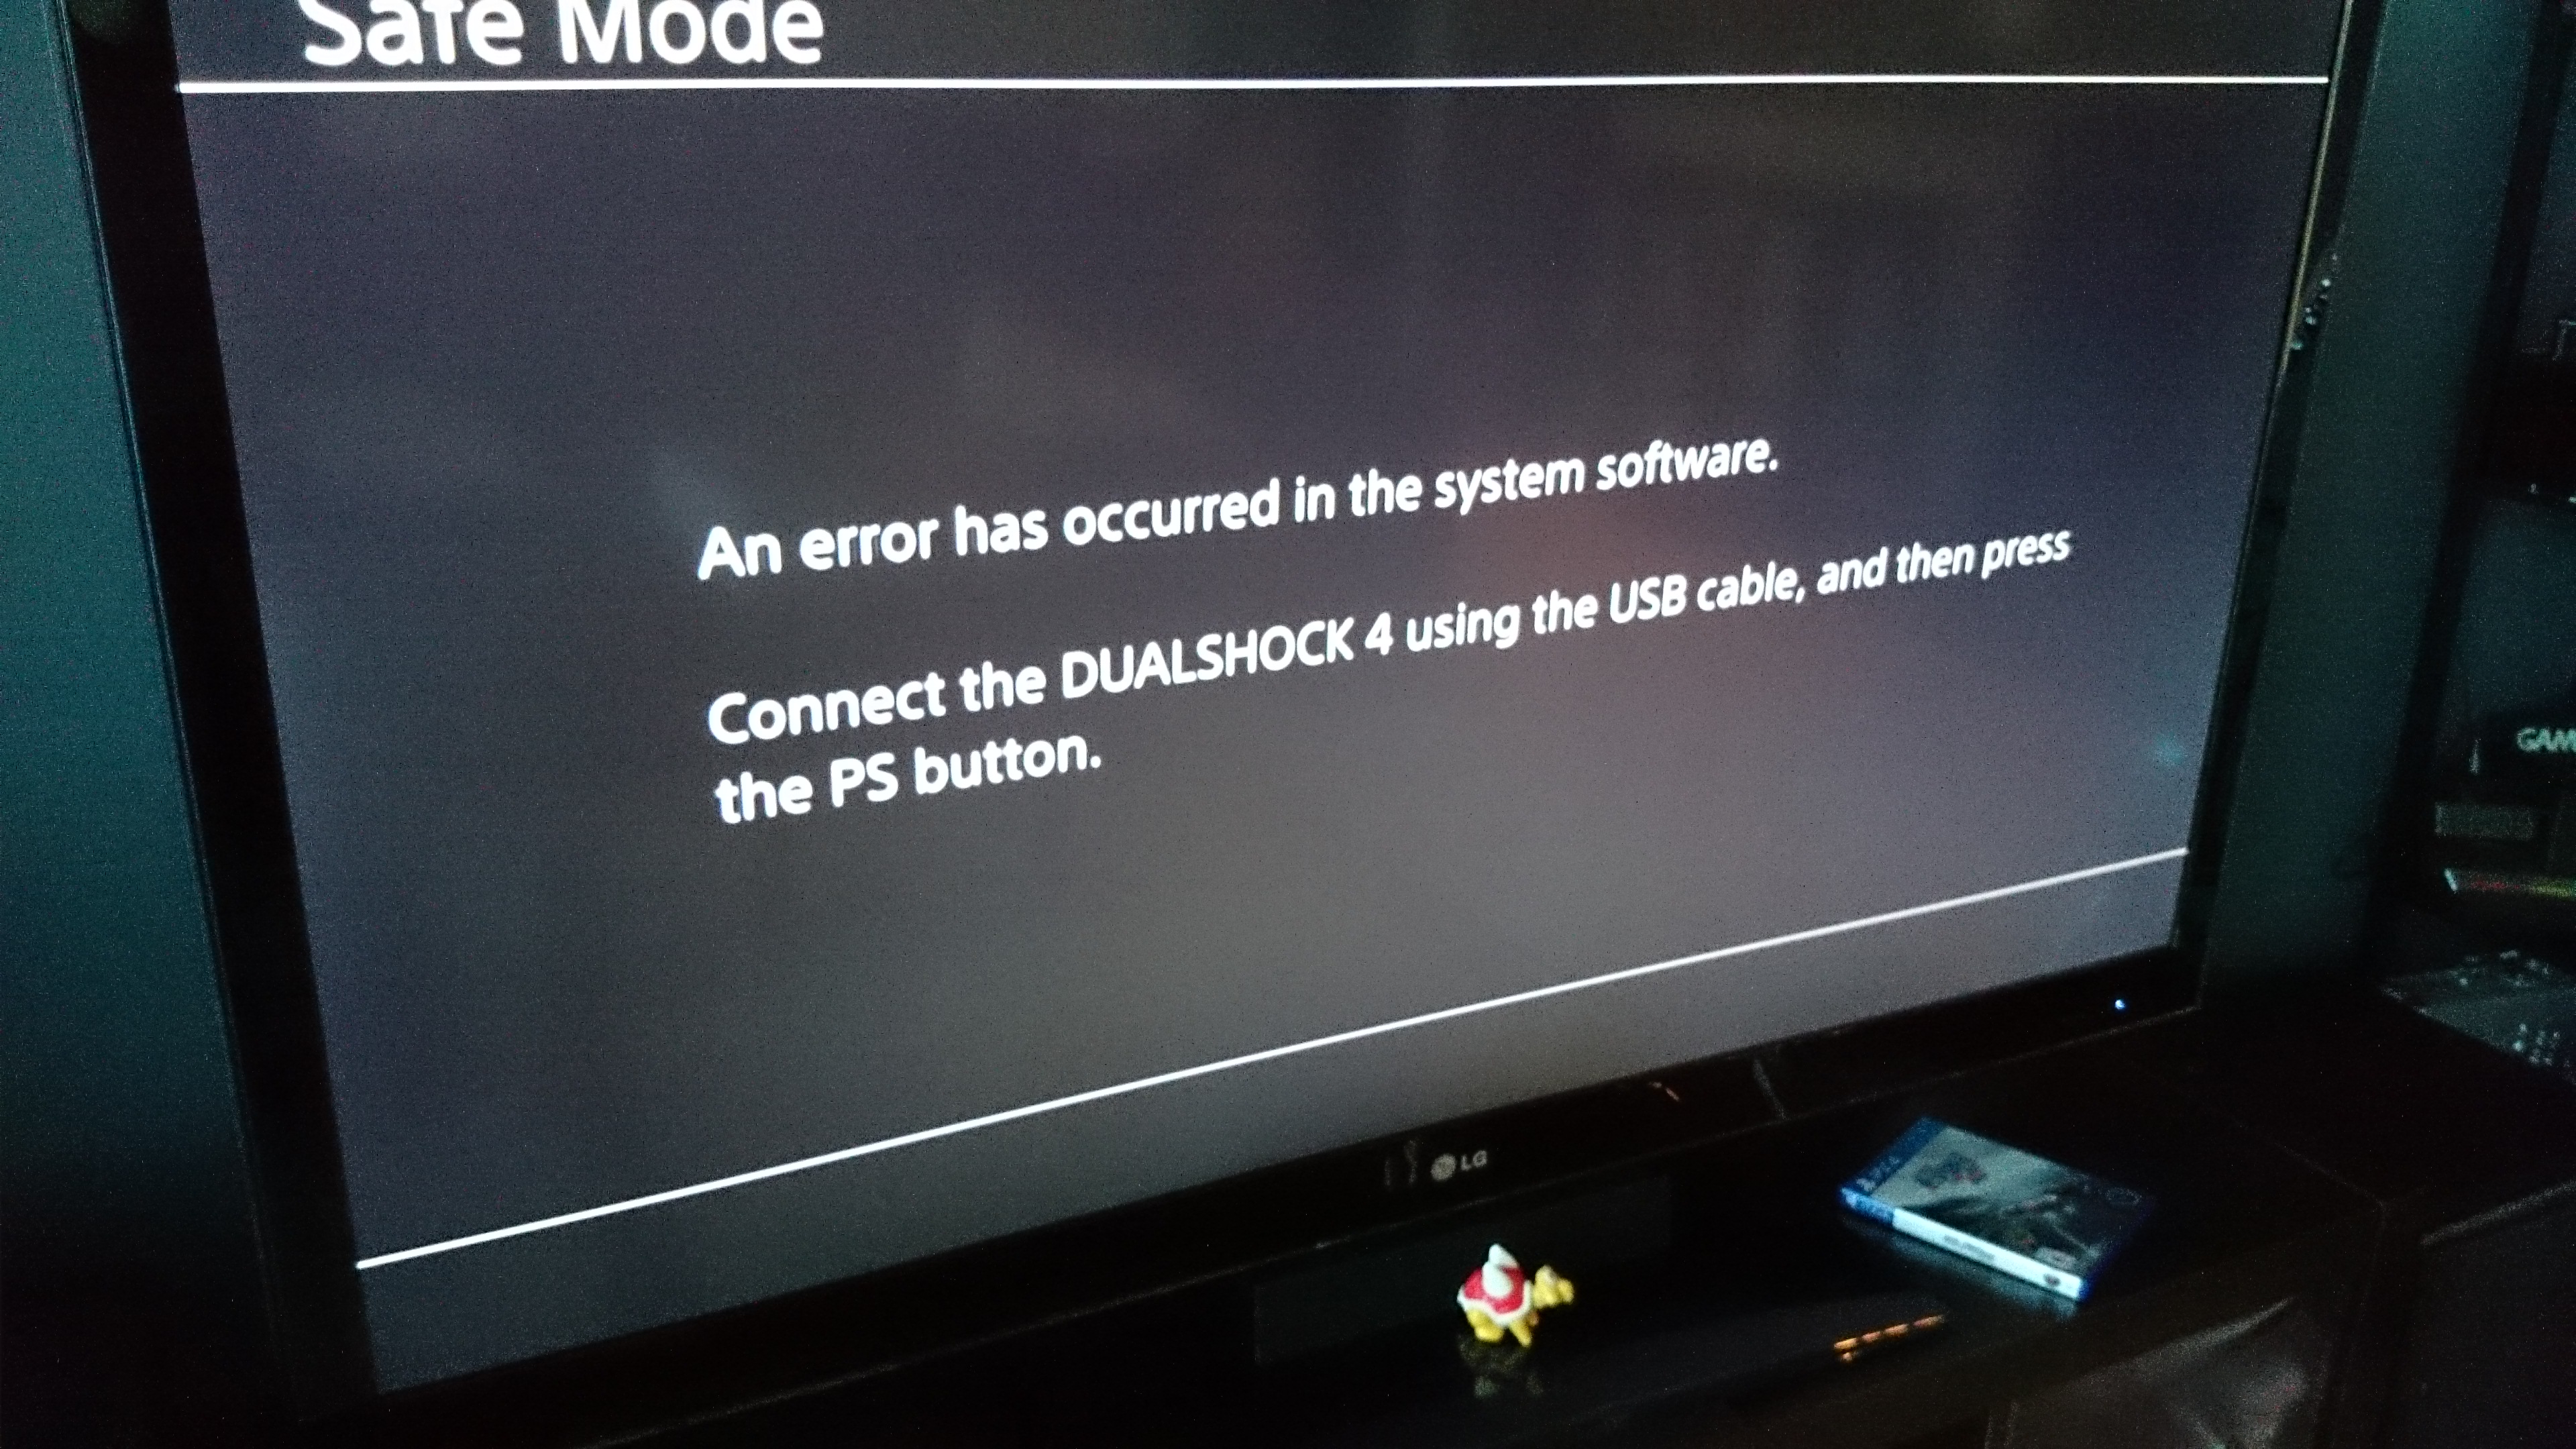
10. Follow the prompts and install the recovery software. This is a much larger file than the normal update only file (about 900mbs versus the update that is only 380mb).
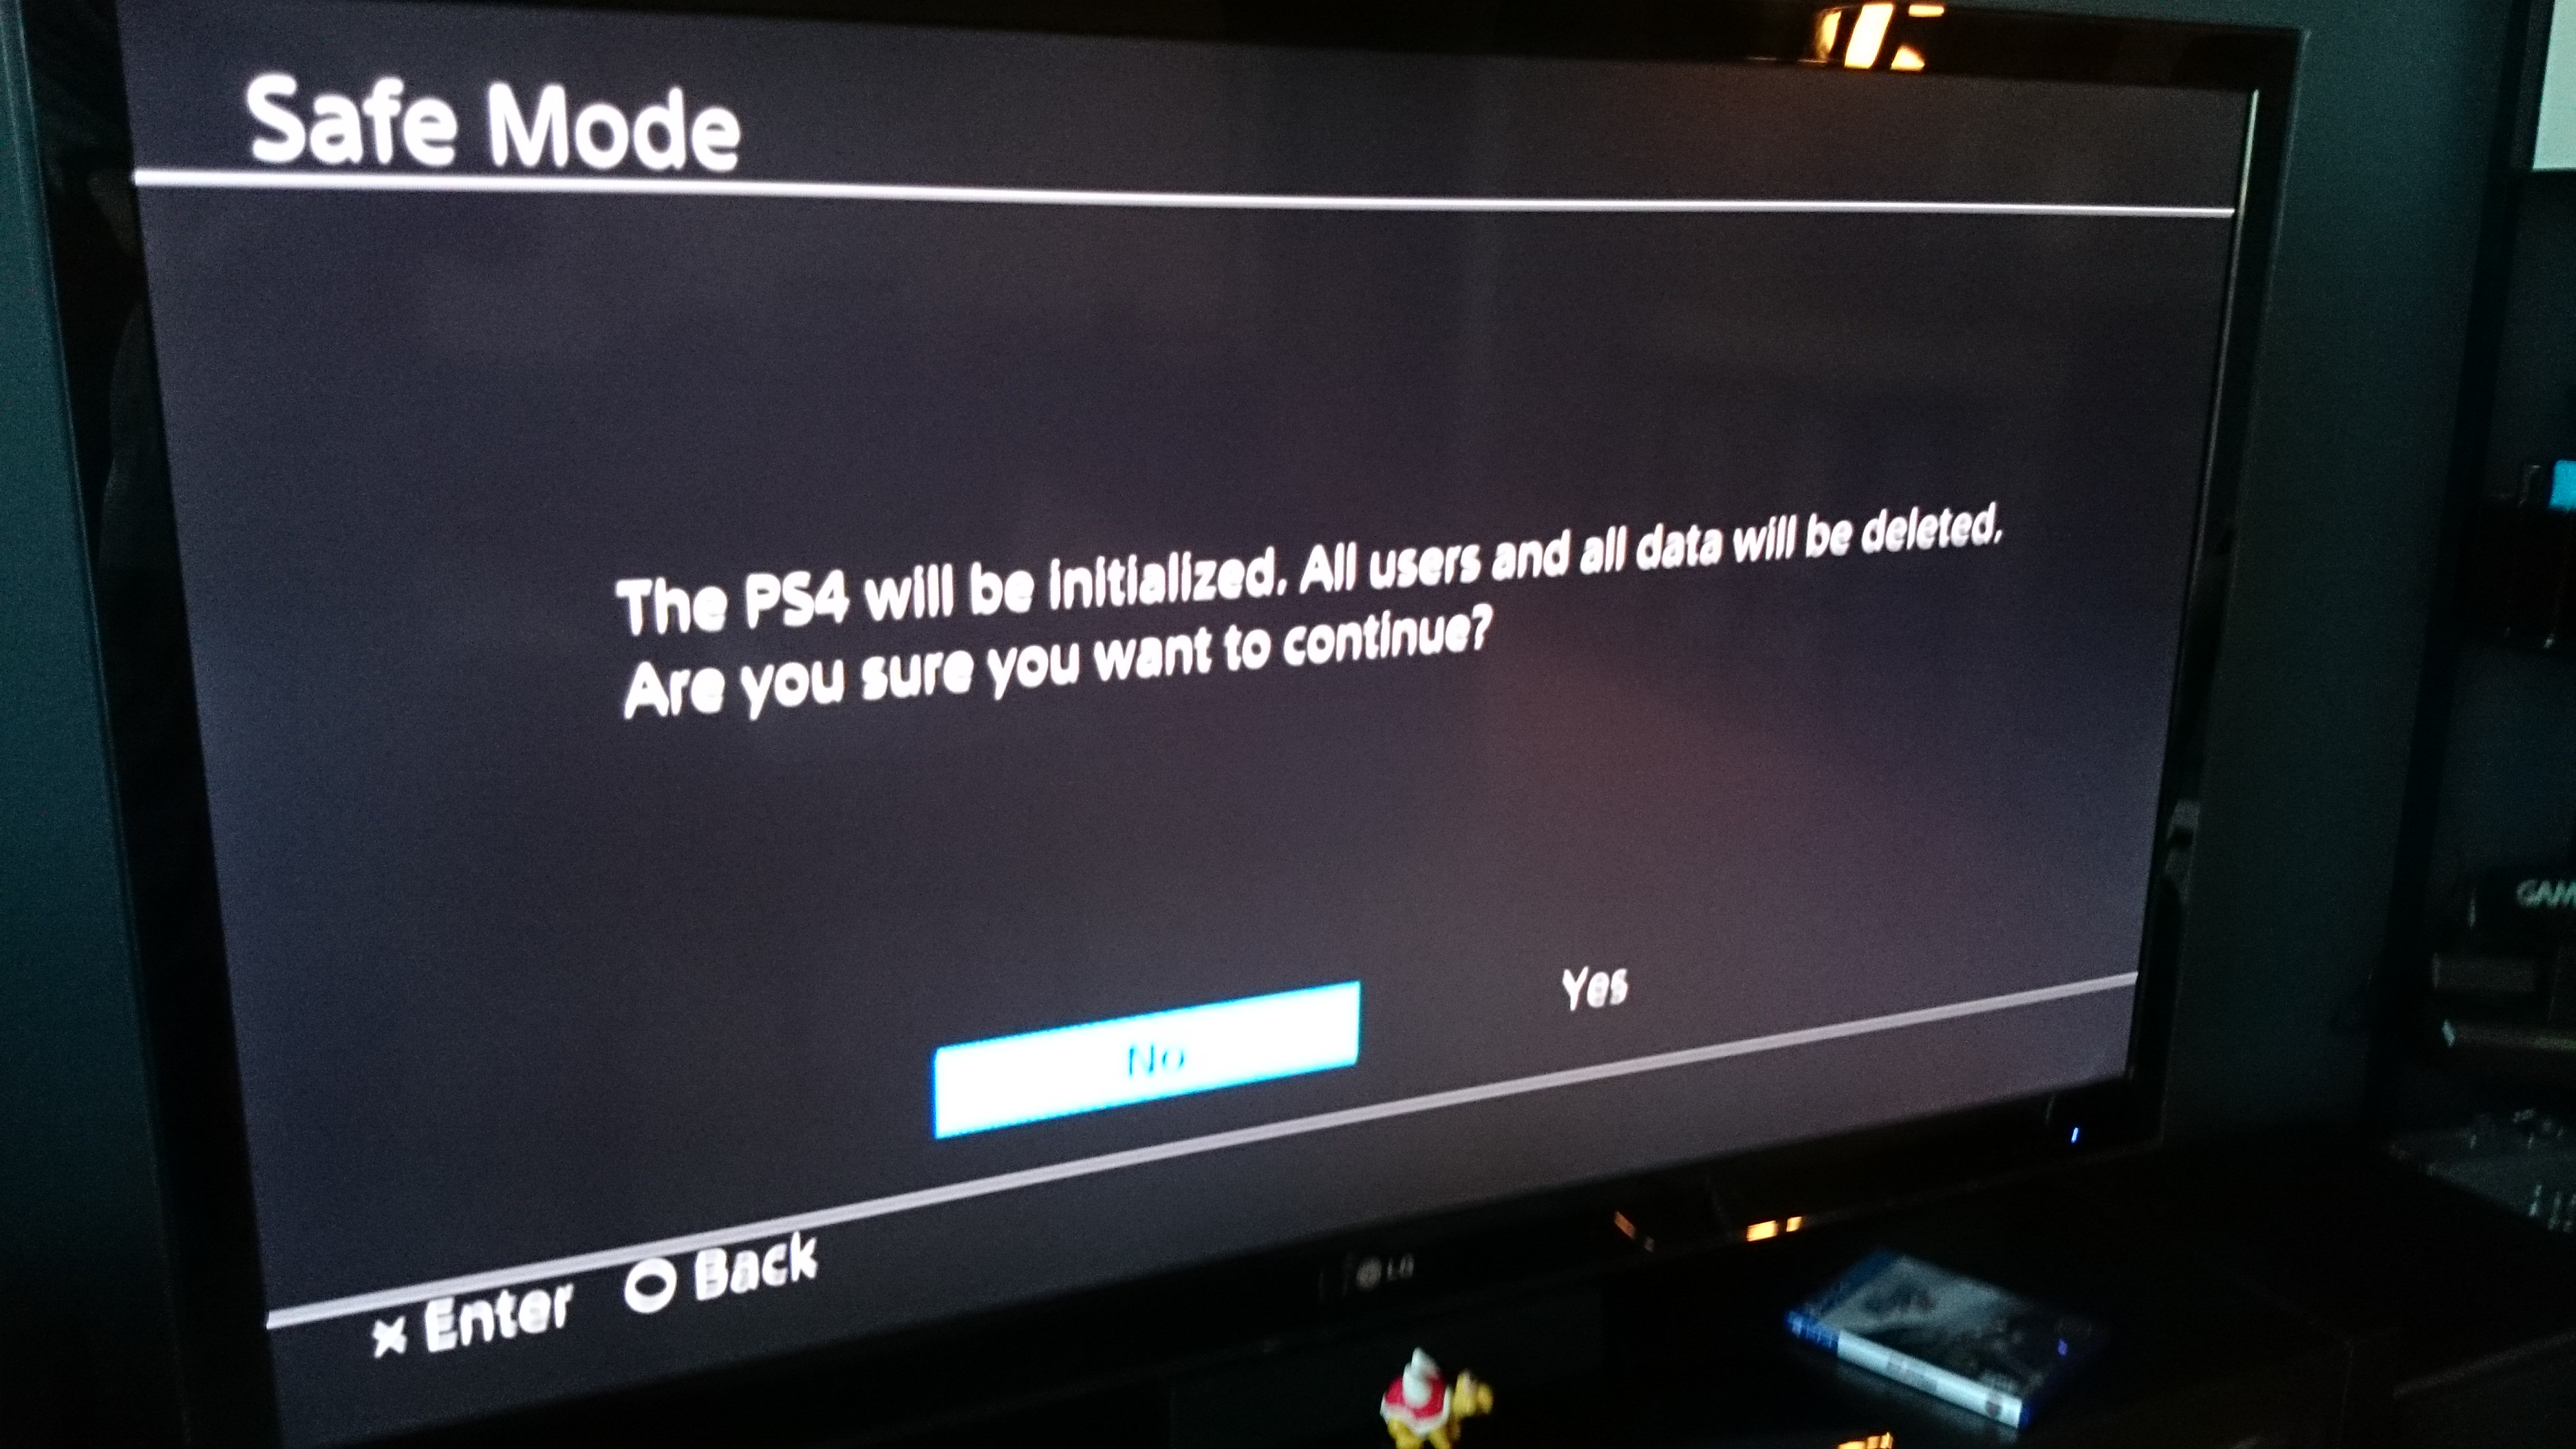
11. You will then need to go through the initial PS4 setup again since it thinks this is a brand new PS4. Any previous data is now gone and can be downloaded from the PSN once you have the PS4 setup completed.

