The Sony PS4 unofficially ushered in the latest, next-generation of gaming consoles. With it, Sony introduced a new button on the DualShock 4 controller: the Share button. This button allows gamers to livestream the game they are playing on the PS4 with Twitch and UStream, and it is constantly recording the last 15 minutes of gameplay. Let us see how to set this up and use it.
Before we get started, here are some quick notes about how video sharing/recording works on the PS4 in conjunction with social networks.
You can share videos only with Facebook, but you can share screenshots with both Twitter and Facebook. You can broadcast/livestream to both Ustream and Twitch. Twitch.tv can send a Twitter alert when you start broadcasting. Ustream.tv allows you to connect Twitter and Facebook via its website and to notify when you are broadcasting.
This tutorial was written based on the assumption that you have already set up your PS4 to connect to the PSN and have either a Twitter or Facebook account linked (so that you can share videos). Prior to the steps outlined below, I had my PS4 connected to Twitter and the PSN. For demonstration purposes, I do not have either a Ustream or Twitch account.
1. On your PS4, log in to the user account for which you want to set up the Share settings. (Settings on the PS4 are unique to each user account on the PS4.)
2. Hold the SHARE button for three seconds. You will be presented with the Share screen. (If you do not get the Share screen, just tap the Share button.)
3. Hit the Options button, and choose Share Settings so that we can configure settings and also link our Ustream and/or Twitch accounts. Here, we can configure several settings in regards to game sharing including Video Clip settings, Share button control type, linking to other services, and Broadcasting settings.
4. Scroll down to Broadcasting Settings and then to Manage Account Information. Here, we can either link or create new Ustream and Twitch accounts.
See the SlideDecks below for full screenshot walkthroughs on setting up Ustream and Twitch.
[SlideDeck2 id=46731 iframe=1]
[SlideDeck2 id=46758 iframe=1]
I also recommend browsing the settings menu and to determine your preferences with regard to video quality, enabling mic or comments when streaming, etc.
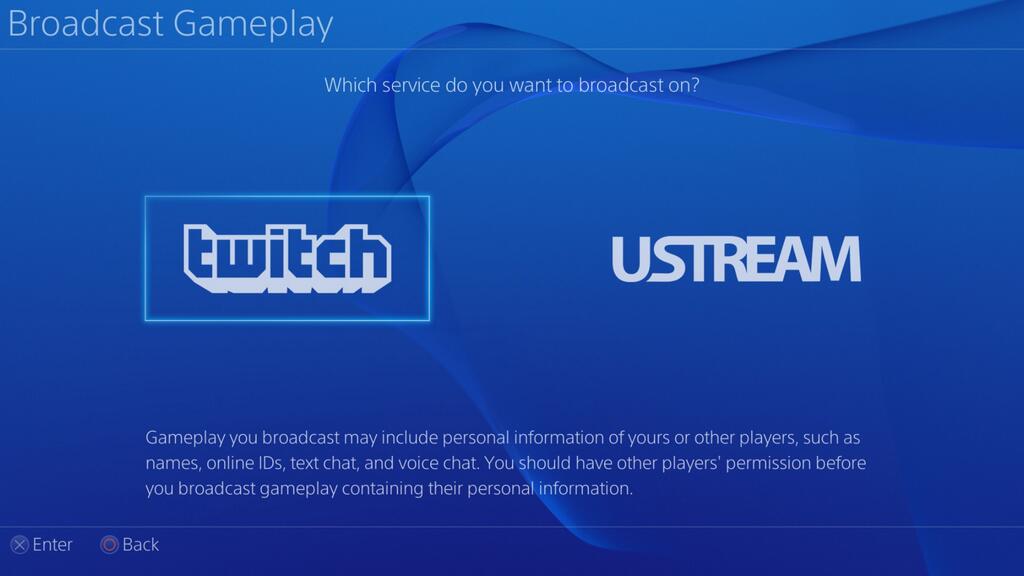
5. Once an account is linked/set up, you can now start a game and either Tap or Hold the Share button to bring up the screenshot upload, video sharing, or broadcasting screens. Once you choose broadcasting, you can then choose either Twitch or Ustream. If Twitter or Facebook is connected to your PS4’s user account, you can choose to send out tweets and posts when you start broadcasting.
6. To stop broadcasting, just tap or hold the SHARE button, and choose the Stop Broadcasting option to quit/exit.

