Defragmenting the hard disk is an essential operation. However, many people do not like to schedule defragmentation to be performed automatically. By adding the defragment option to a drive’s right-click context menu, you can manually defragment quickly and easily.
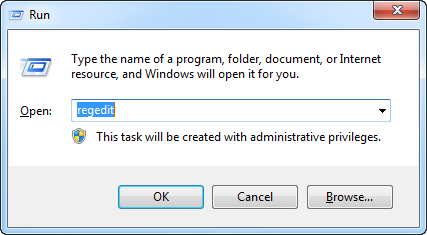
Open the Run dialog by pressing the Windows key and “R” or start a new task from the Task Manager.
Start the Registry Editor by typing “regedit” into the run dialog and press enter.
Go to HKEY_CLASSES_ROOT >> Drive >> shell in the left pane.
d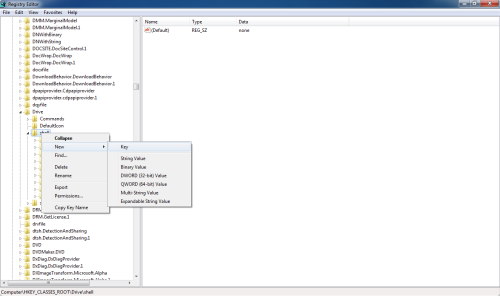
Right-click on shell and create a new key called “runas”.
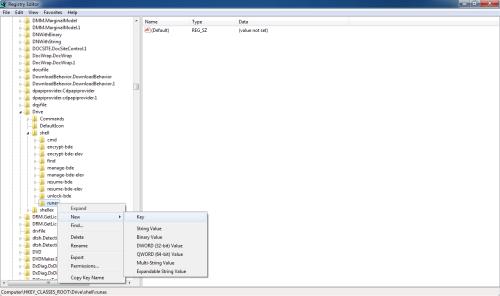
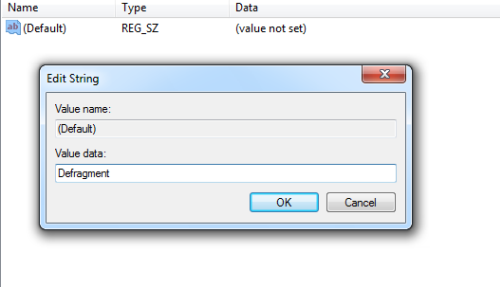
Set the default value of runas in the right pane to “Defragment” by double-clicking on it.
Right-click on runas and create a new key called “command”.
Set the default value of command in the right pane to “defrag %1 –v -u” by double-clicking on it.

Restart the computer.

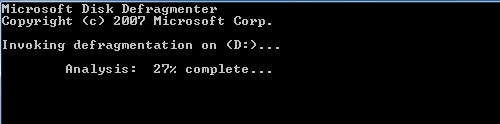
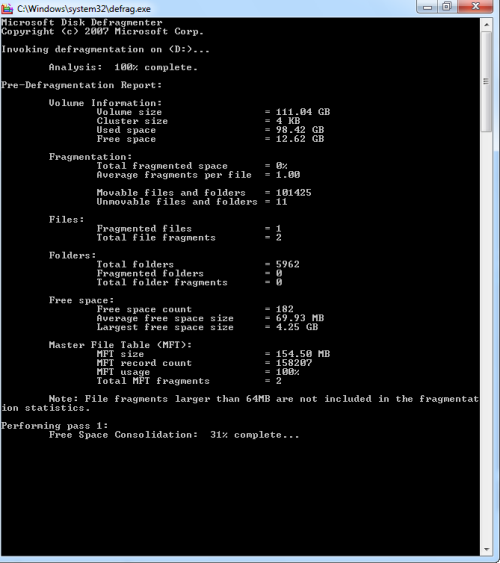
The right-click menu of the drives now will display the defragment option. When selected, it will start the defragmentation of that drive.