
Have you recently created a document with a unique look? You should consider embedding whichever fonts you have used. This especially applies when you have not used a common or default font.
Embedding the fonts means that you are saving the actual font files within your document. Through this process you can be assured that everyone who opens the document will see it the way you intended, even if they do not have the fonts you used installed.
For example, say you created a document with the “uniquekiller” font that you recently purchased. The odds of anybody else having this font is very slim. People viewing your document will be forced to use another font instead. However, by using this font embed process, you can be sure that they see your document actually as you created it.
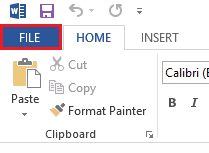
1.First, select the File option from the Word ribbon at the top of the screen.
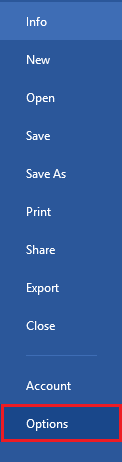
2.From the options bar on the left-hand side, choose Options.
3.A Word Options window will come up. Select the Save option from the banner on the left-hand side.

4.Under Preserve fidelity when sharing this document select the check box next to Embed fonts in the file. Then click OK.

From now on, every time you save your documents, you do not have to worry about someone not seeing your document the way you have put it together.

