When using multiple email accounts, many users will want to use different signature for each of them. This tutorial will show you how to create and set signatures for multiple email accounts in Windows Live Mail 2011.
1. Launch WLM 2011.
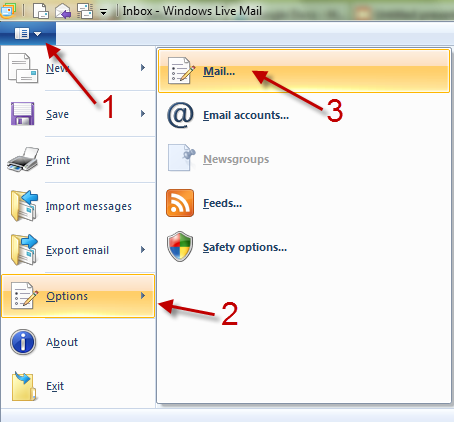
2. Click on the blue button, and then go to Options -> Mail…
3. In the Options window, switch to the Signatures tab.
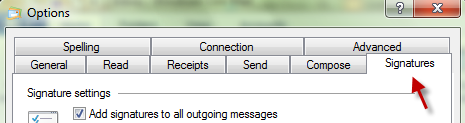
4. Make sure you check the Add signatures to all outgoing messages box before adding a signature.

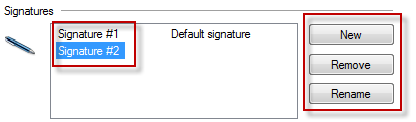
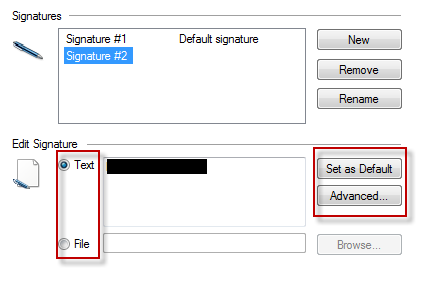
5. To add a new signature, click the New button. You can create as many signatures as you want. By default, signatures will be in the Signature #number format. You can edit the name by highlighting the signature, and click Rename. This will help you manage your signatures easily. If you do not use any signature, just choose it and click Remove.
6. You can edit your signature by filling in the Edit Signature’s Text field or you can browse to a text (.txt) file if you have one. Clicking Set as Default will set the current signature as the default one. It will be used for any account that do not have its own signature. If you want to set the current signature for one account only, click Advanced…
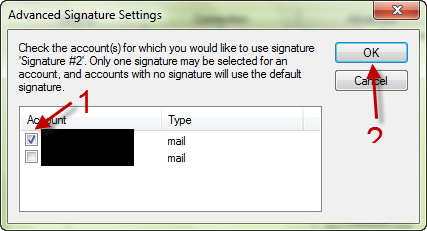
7. Choose the account you want by checking the box next to it, and hit OK.