This article will explain how to setup the Android SDK to run the latest Android version 4.0, Ice Cream Sandwich, in an emulator and get a first hand glimpse of the latest version of the Android OS.
Google offers a free SDK that now includes an easy to setup emulator to see what Android’s Ice Cream Sandwich (4.0) has to offer. These tools are all free and just require having the Java SE JDK installed. Let’s get our SDK installed and our AVD setup!
Here’s the screencast. Text directions are below.
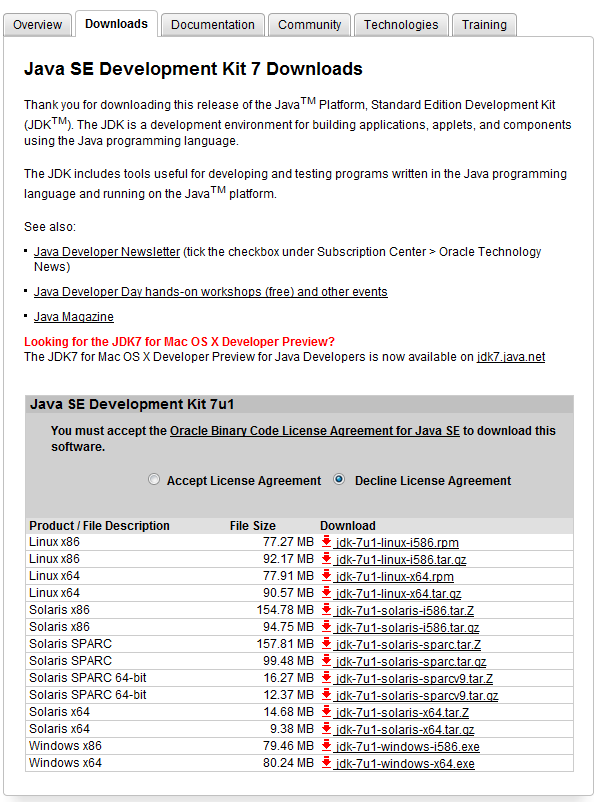
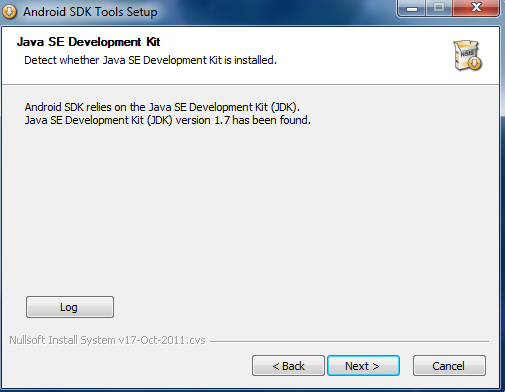
1. Download and install the Java 7 SE JDK.
Head over here and pick the version appropriate to your system. In our example, we’ll be using Windows 7 32bit and will use the jdk-7u1-windows-i586.exe. Once it is downloaded just run through the installer with the default options.
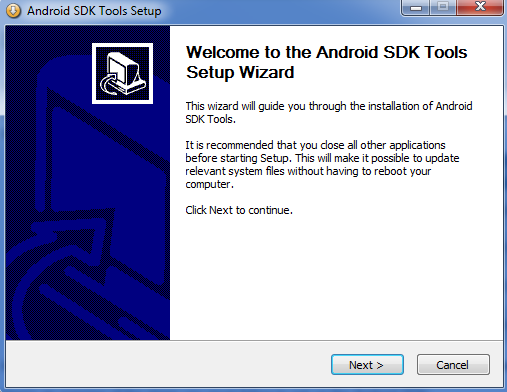
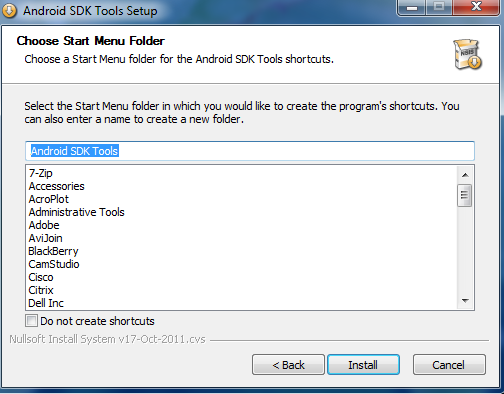
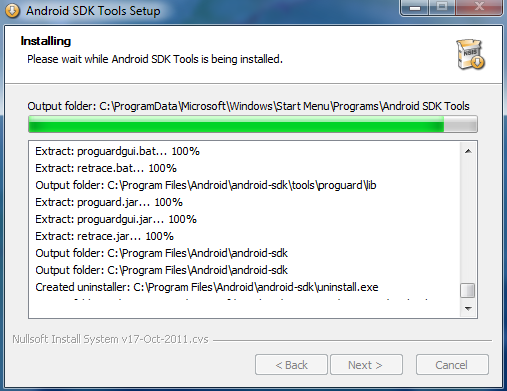
2. Download and install the latest Android SDK (r14).
Download the .exe installer_r14-windows.exe. Just go through the prompts like any installer. Leave the “Start SDK Manager” checked and hit Finish.


3. The Android SDK Manager will now launch.
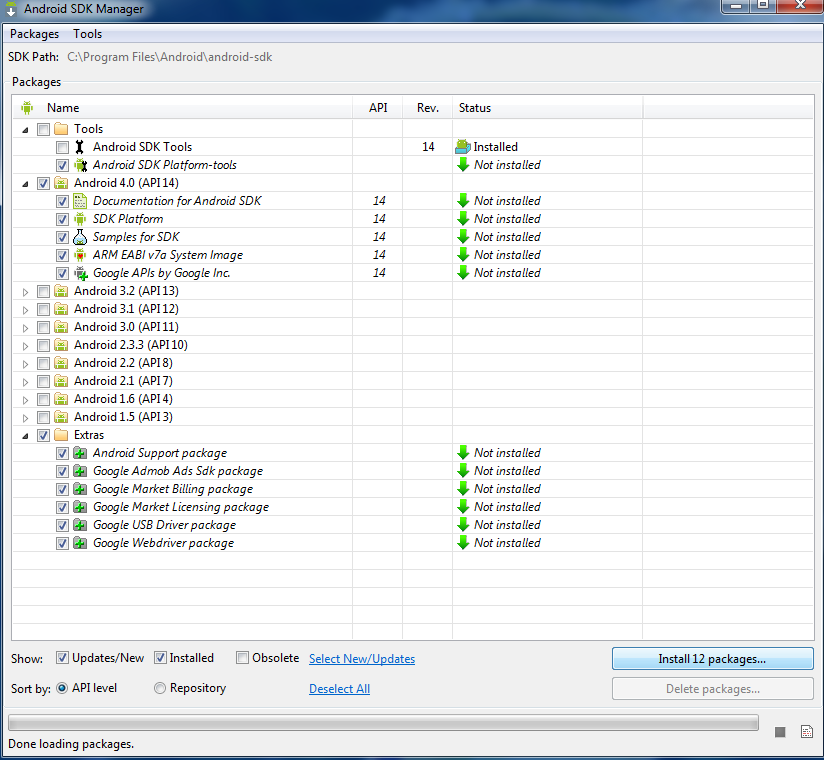
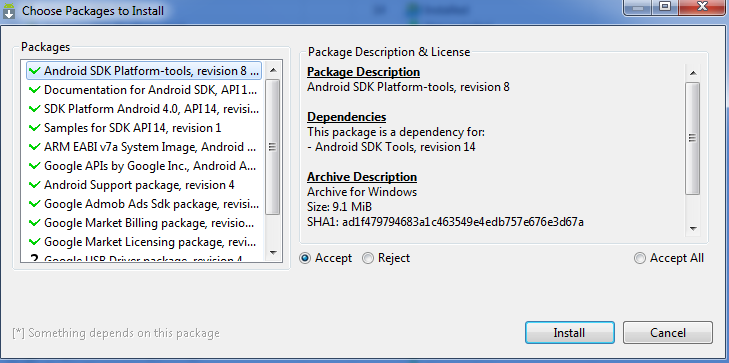
We will want to first install all of the packages necessary to run Ice Cream Sandwich in the emulator. Just check the “Android 4.0 API 14” and then click the “Install xx packages…” button. A new window will open that will ask you to confirm the packages to install. Click on the Install button.
At some point ADB will need to restart and you will be prompted. Click Yes.
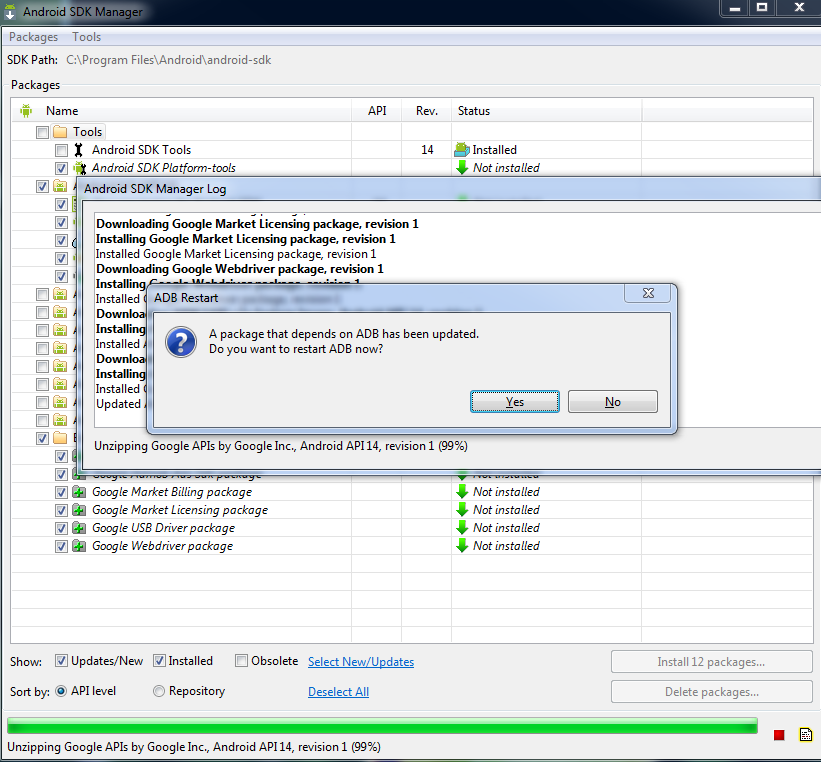
Once done, you will be brought back to the Android SDK Manager window.
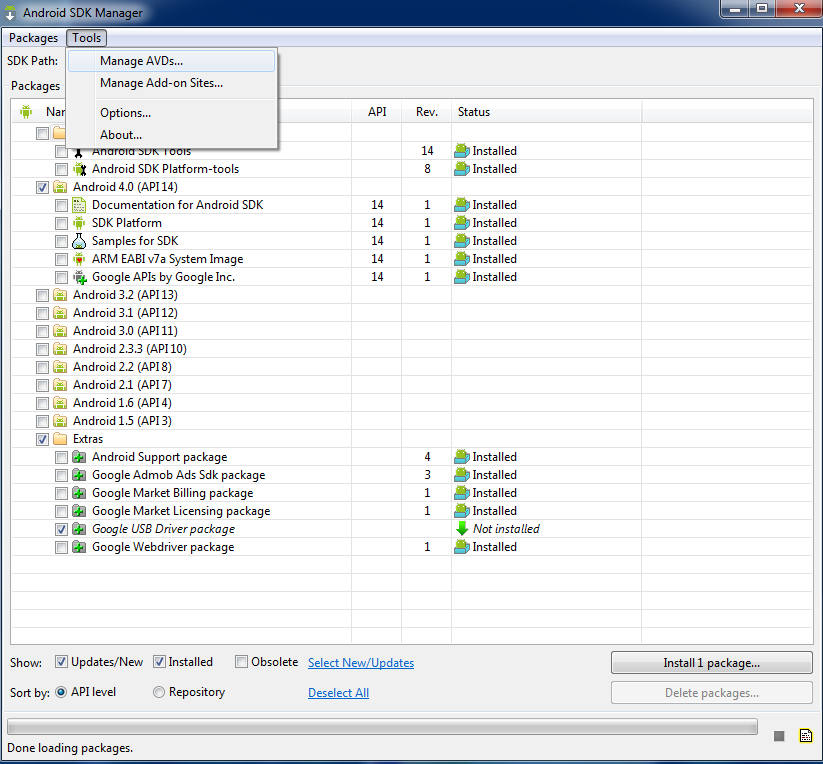
4. In the Android SDK Manage, click on Tools > Manage AVDs
AVD = Android Virtual Device, ie our emulated/virtual phone.
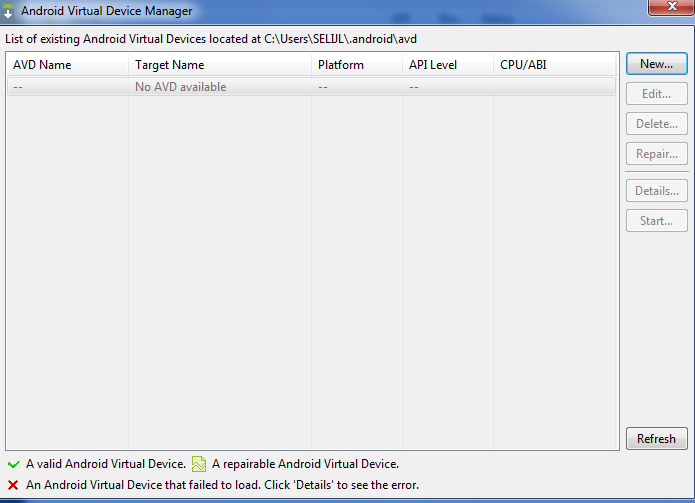
5. In the AVD Manager window, click on the “New” button.
6. We will just create a very generic Android device to get Ice Cream Sandwich up and running. You could set these parameters similar to what phone you may be developing for or using. In our example, we will just use a setup like this (see screenshot below).
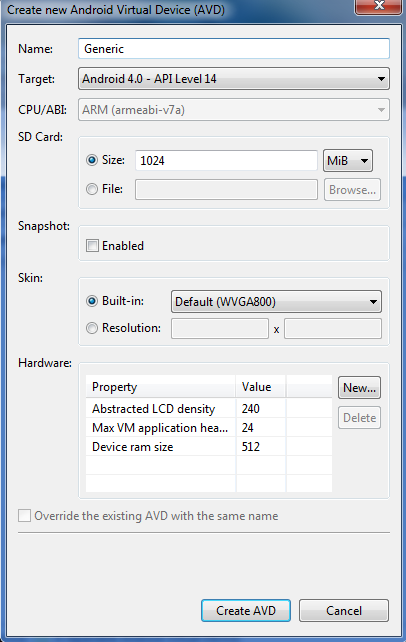
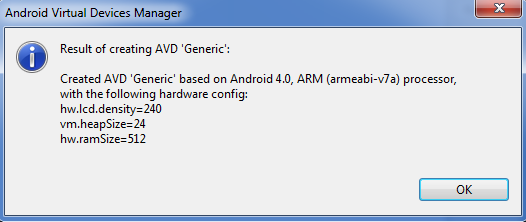
7. Once you hit the “Create AVD” button, the machine will get built. You may see the window say its not responding, just be patient; it may take up to 4 minutes for it to create your AVD.
After it completes, it will bring up a summary window. Hit “OK” on that.
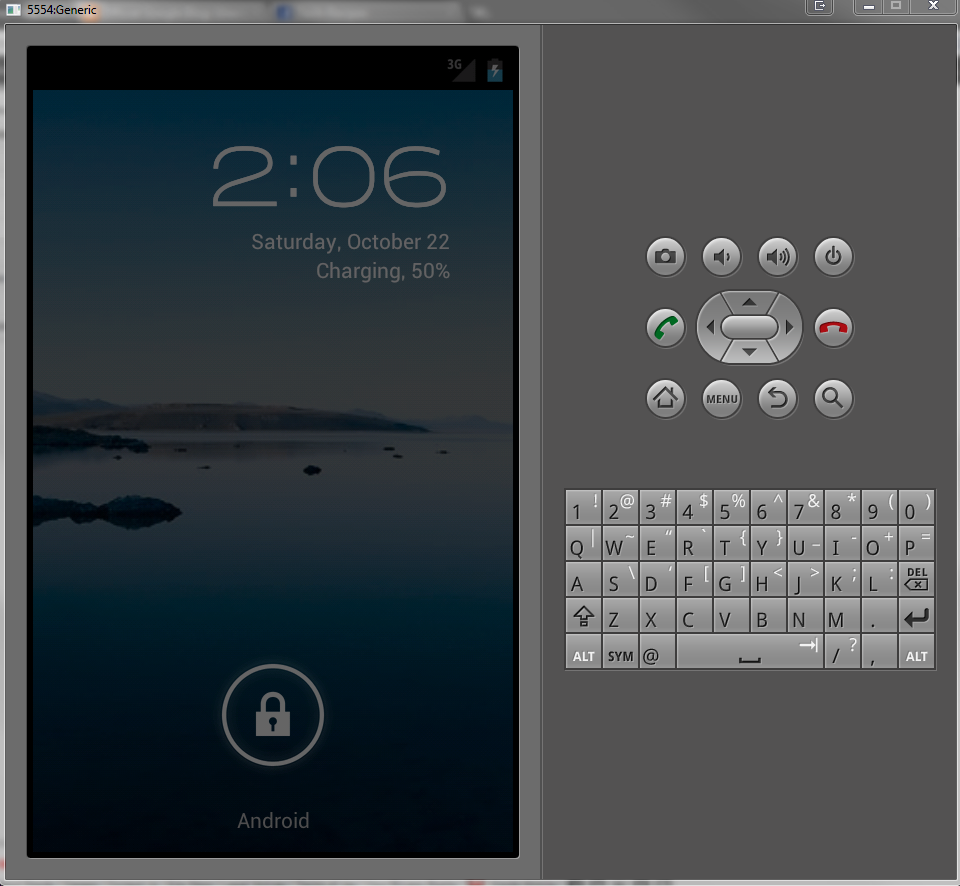
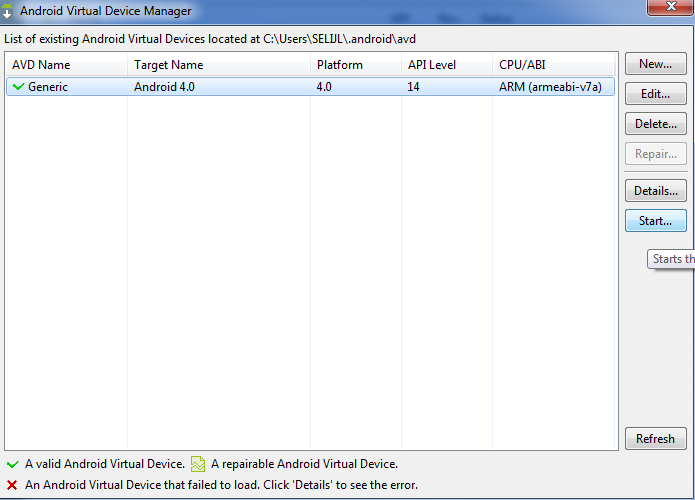
8. Finally, in the AVD Manager window, click on your AVD we just created (Generic in our example) and hit the “Start” button on the right side.
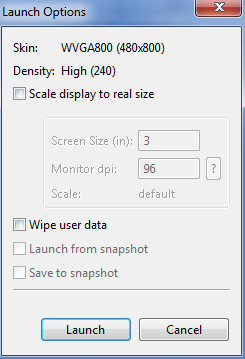
Your new Android 4.0 / Ice Cream Sandwich virtual device should start loading up. The emulator is not the quickest and can run a little sluggish but its a great way to get a first hand look at the new upcoming features of the Android 4.0 / Ice Cream Sandwich OS updates!