With the recently released Windows Essentials suite, you can use the popular Windows Photo Gallery software to create a photo collage from existing photos in your library.
Creating and sharing a photo collage is a popular way to share a large collection of photographs at once. In order to make a photo collage with Photo Gallery, make sure you have updated the software suite to the 2012 version or above.
1. Launch Windows Photo Gallery.
2. Choose the images that you want to combine into the collage. You can hold the Ctrl key, and choose multiple images at once. When making a photo collage, you are required to choose at least 7 photos.

3. After you have chosen the photos you like, switch to the Create section.

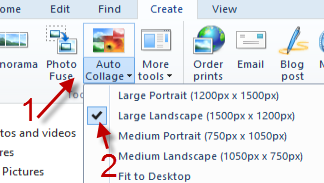
4. Click the Auto Collage option, and choose the dimension that you want. Available options are as follows: Large Portrait (1200px x 1500px), Large Landscape (1500px x 1200px), Medium Portrait(750px x 1050px), Medium Landscape (1050px x 750px). If you are not sure what to choose, you can choose the Fit to Desktop option.
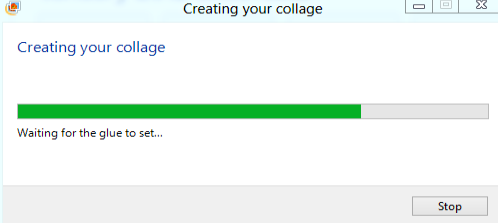
5. Wait for the process to complete.
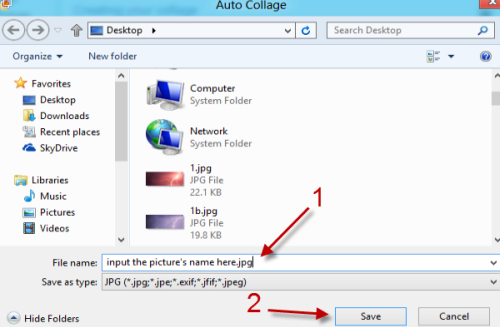
6. When the Explorer window pops up, choose where you want to save the file, and hit the Save button.
7. The image will then be automatically imported into Windows Photo Gallery.


I have read a few good stuff here. Definitely worth bookmarking for revisiting.
I surprise how a lot attempt you set to create this kind of fantastic informative web site.