
You can mount a drive in Windows so that you can map a certain drive’s available space to another drive. In simplest terms, this means that you can utilize a specific drive’s space so that it can be used by another drive. Imagine that you have no more available free space on your drive C, but you still have a large amount of unused space on your drive D. Now, let’s say you have a game on your drive C that needs an update, and the update requires a large amount of space that cannot fit into your drive. You can mount your drive C to drive D so that you will be able to add more files to your drive C without requiring additional space on the drive. This tutorial explains how to mount a drive in Windows.
Note:
Before proceeding with the steps on mounting a drive in Windows, you need to make sure you have met the following requirements:
1.You need to have an Administrator account. Mounting drives on your computer is a semi-critical procedure. You need to have admin access in order to complete the function.
2.Drives should be in NTFS format. Your selected drives must be in an NTFS file system format.
Mount a Drive in Windows
To mount a drive in your Windows computer, follow these steps:
1.Open your device’s Control Panel. You can use the search button to proceed with searching for Control Panel.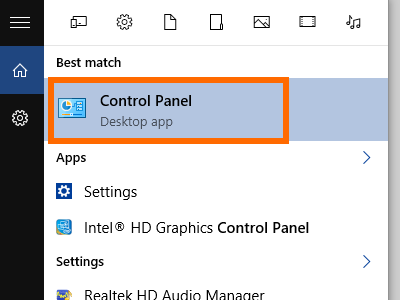
2.From the Control Panel, open the System and Security option.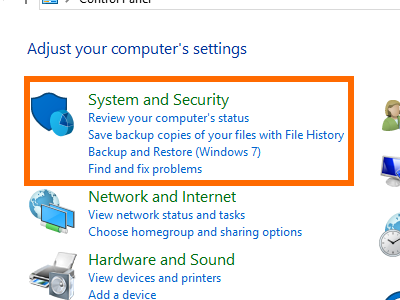
3.From System and Security, click on Administrative Tools.
4.From Administrative Tools, open the Computer Management option.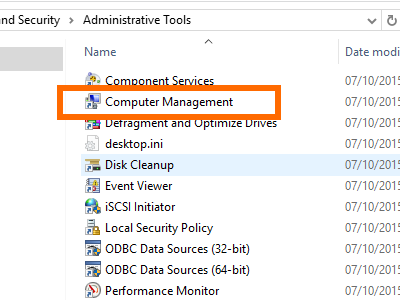
5.On the Computer Management window, click on Storage.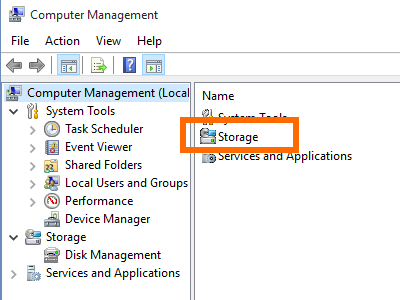
6.Click on Disk Management.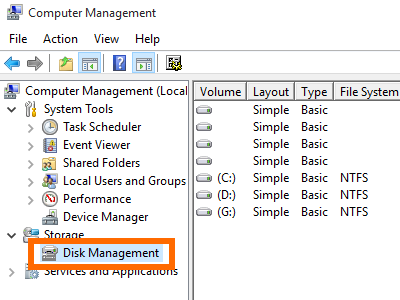
7.On the right side, right-click on the drive with which you want to be mounted, and click on Change Drive Letter and Paths.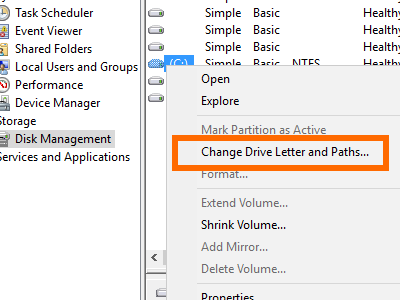
8.From the pop-up menu, click on Add.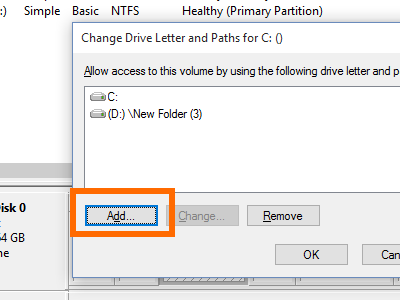
9.On the next pop-up screen, click Browse.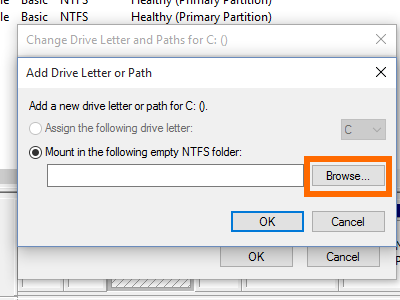
10.Browse for the drive that you want to mount and utilize. Click the target drive and your preferred location. 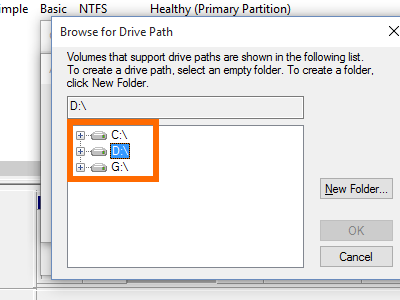
11.Click on New Folder to add the shortcut for the Drive that you want to mount. You can rename the created folder based on your preference.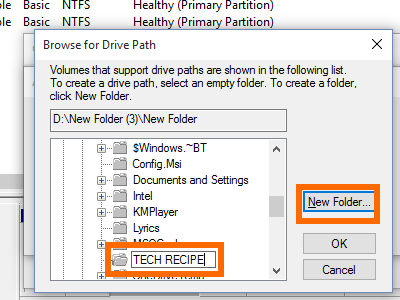
12.Click on OK to create the new folder.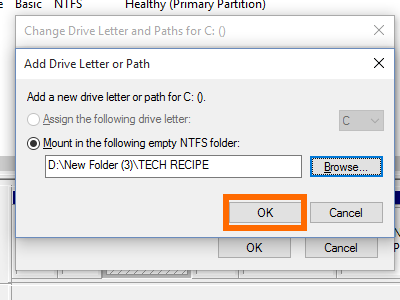
13.The newly mounted drive is now on your target drive. You are done.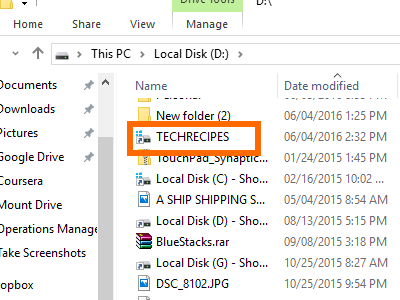
I have just described how to mount a drive in Windows. If you have questions with any of the steps outlined above, let me know in the comments section.


NOT ‘seen’ in Device Manager OR Computer Manager or Diskpart ‘list disk’, but ‘seen’ by GSmartControl as /dev/csmi0,2 (ata)
Compare to boot drive seen as /dev/csmi0,0 (ata) (C:)
Second drive seen as /dev/csmi0,1 (ata) (F:)
But /dev/csmi0,2 (ata) seems unavailable to C:\Windows-boot ( 7 64 Pro ) for some reason.
BIOS and USB-DOS-boot and USB-WinPE-boot ‘see’ it.
So . . . how to make C:\Windows-boot ‘see’ it?
I’m flummoxed!