Do you have a picture that is great except for the glaring red zit on your face? Is there a thin telephone wire interrupting your otherwise perfect landscape snapshot? Both of these problems can be fixed using the retouch tool in the Windows 10 Photos app.
1. Open the picture you want to edit with Photos. Photos is the default app for viewing photos in Windows 10, so your picture will open in Photos when you double-click on it in File Explorer. Alternatively, open the Photos app from the Start menu, and scroll through your collection or albums to find your picture. I usually prefer the first method because Photos does not organize your pictures into folders, which means you have to scroll through all the images in your collection to get to the one you want.
2. Click the Edit icon on the top menu bar. It looks like a pencil. (As the image below illustrates, red eye is also a common problem with photos, especially in low light situations. Check out my article that will walk you through how to use the red eye correction tool in the Photos app.) 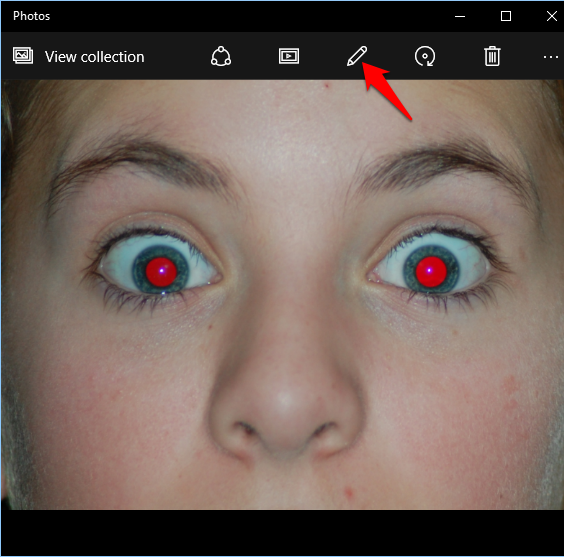
3. Make sure Basic Fixes is highlighted on the left side. Click the Retouch tool on the left side of the window. A blue circle will appear surrounding your mouse cursor. Move your mouse so that the blue circle is over the spot or blemish you want to erase. Photos will detect any areas that do not fit in with the colors around them and replace them so that they blend in.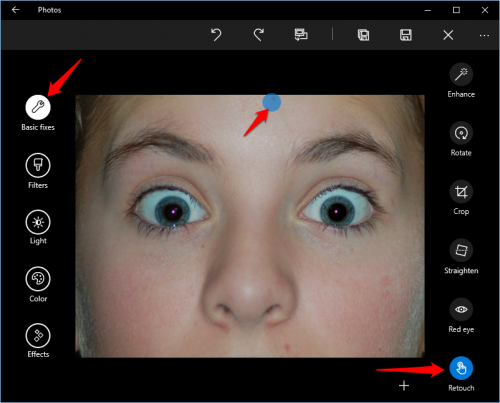
4. You can zoom in to make more subtle edits. Your blue circle does not change size, but by zooming in on the image, you can make changes to smaller areas. 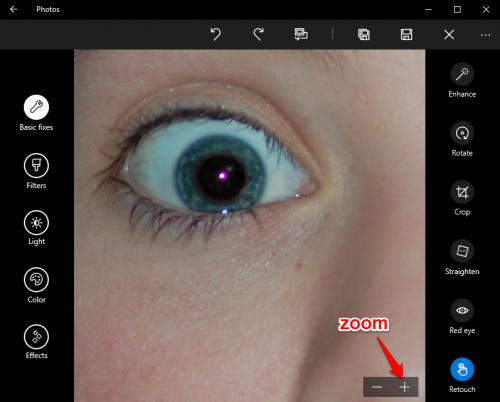
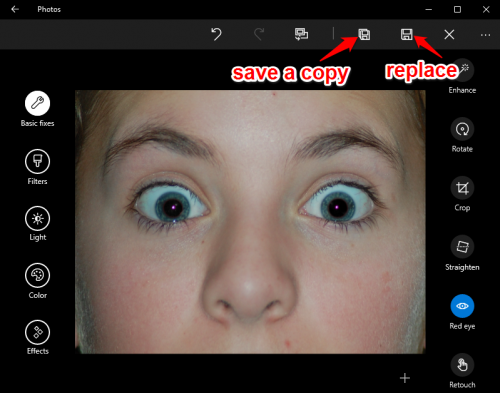
5. Once you are done fixing all the imperfections, you have two options to save your edited image. You can replace the original image by clicking the save icon (the floppy disk) to the left of the “x.” The icon to the left of that (the floppy disk with a shadow) will leave your original file alone and save your edited image as a new file.