
Microsoft has upped the ante for multi-tasking on Windows 10. For one, you can open and view multiple windows on your computer monitor by using Snap. Aside from Snap, Windows 10 has made it easier for users to use virtual desktops. With virtual desktops, you can use multiple desktops, on the same machine, at the same time. This is good news for users who keep multiple tabs and applications open. Now, you can group your work that is in progress and applications that are running into individual desktops. Continue reading to learn how to use multiple virtual desktops on Windows 10.
Add a New Virtual Desktop on Windows 10
To start using multiple desktops on your Windows 10 computer, follow these steps:
1.Click on the Task View icon located on the left part of your Windows 10 taskbar. 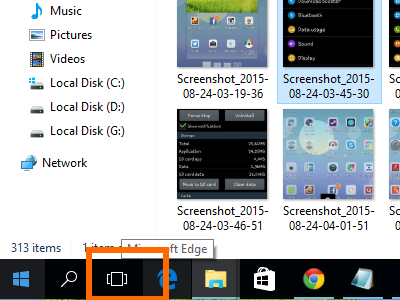
2.You will get a view of applications and tasks that are currently running.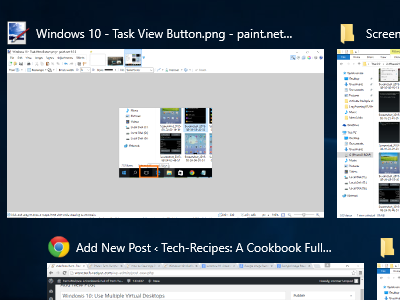
3.Click on the New Desktop option on the lower-right part of the Task View screen.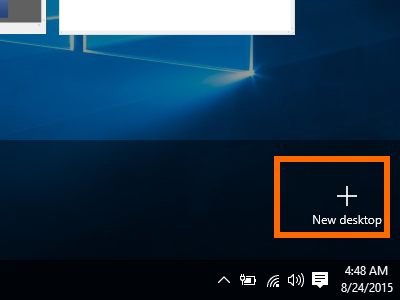
4.A new virtual desktop will be enabled. Repeat Step 3 to add more desktops. You are done.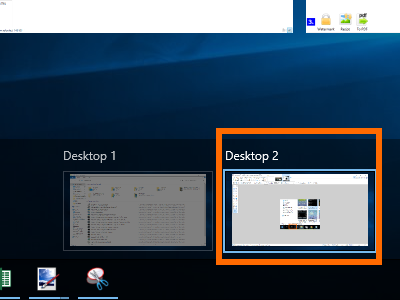
Note: Though there is no limit to the number of virtual desktops that can be created using this method, it is counter-productive to have too many virtual desktops opened.
Switch Between Virtual Desktops on Windows 10
To transfer from one desktop to another virtual desktop, follow the steps below:
1.Click on the Task View icon located on the left part of your Windows 10 taskbar.
2.You will get a view of applications that are currently running.
3.On the lower part of the screen, available virtual desktops are displayed.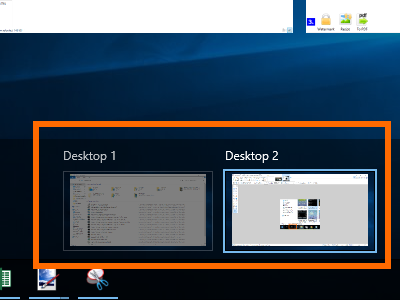
4.Click on a virtual desktop to switch to it.
5.You are done.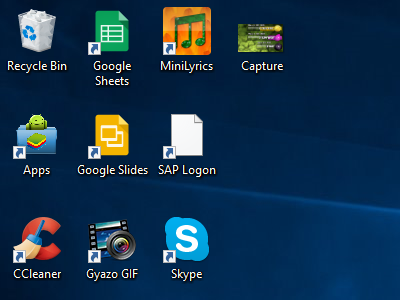
Close Virtual Desktops on Windows 10
If you want to close an existing virtual desktop, use the following steps:
1.Click on the Task View icon located on the left part of your Windows 10 taskbar.
2.You will get a view of applications that are currently running.
3.On the lower part of the screen, available virtual desktops are displayed.
4.Hover your mouse pointer on the virtual desktop that you want to delete. 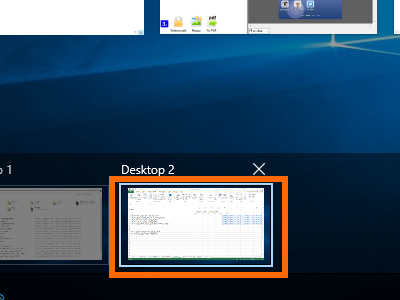
5.Click on the Close button (X) that appears on the upper-right part of the virtual desktop preview icon.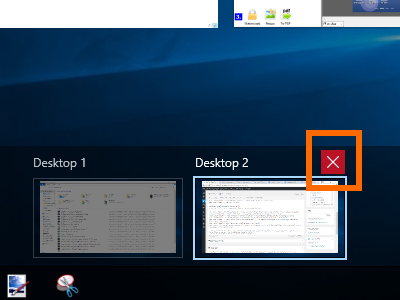
6.The target virtual desktop is now closed.
Note: Closing virtual desktops will not terminate an application that is running on it. The application will automatically move to the previous virtual desktop.
That completes the tutorials on using multiple virtual desktops on your Windows 10 PC. If you have questions, suggestions, or reactions to the article, let us know in the comments section.
")

