
Whether you want to squeak out some extra Windows 7 performance on your multi-core processor or run older programs flawlessly, you can set programs to run on certain cores in your processor. In certain situations this process can dramatically speed up your computer’s performance.
Just about any computer you might use today will have more than one core in its CPU. Did you know that having more cores is not always the best option for programs running on your machine?
This especially effects older programs that are designed to run on a single core or dual core. Programs such as these may be greatly improved in performance by telling it to run on a single core. Even some newer applications just were not made to be run on multiple cores. Unfortunately, program will attempt to use all cores on your CPU. So, if you have a quad core, the program will be split across all four cores.
You might be playing an old video game or using a very old program that runs glitchy or crashes a lot. This is circumstance setting the application to run on one core can solve that issue. We can also use this same ability to make our computer run more efficiently as a whole. It is not always just a “troubleshooting” type of task, but it is one that can help your computer in the long run.
For example, your anti-virus probably takes up a lot of power across all your cores, especially when you run a scan of your entire computer. This can be noticeable as your computer slows down to a halt, and prevents other applications from running well while your anti-virus is sucking up the juice from all your cores. This is an excellent opportunity to try setting the anti-virus to just run on one core. This will isolate the process and leave the other cores free to do something else. As you can see, the possibilities are endless.
Obviously, applications and programs designed to use multiple cores will perform less well by locking it to one core.
We have two ways to set a program’s affinity. Each time it is opened we can set it, or we can set it to automatically run in affinity each time it is opened.
Set Affinity on a Program Manually
This sets the affinity of a program for a single time. If you close it and re-open it, you will have to set it again. This is an excellent way to test if isolating to one core will improve your experience.
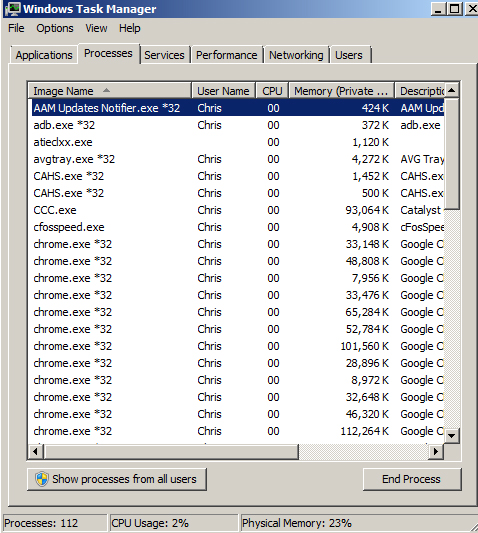
1. Press ctrl + alt + del to bring up the Windows Task Manager, and navigate to the Processes tab.
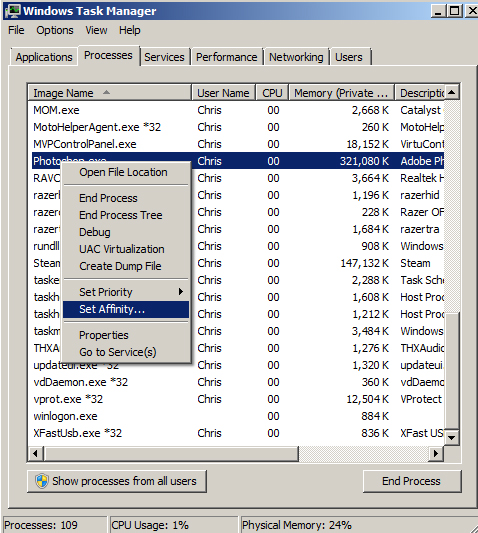
2. Find the program on which you want to set affinity. Right-click it, and select Set Affinity.
3. Uncheck Now, simply check off the core you want this specific program to run on.
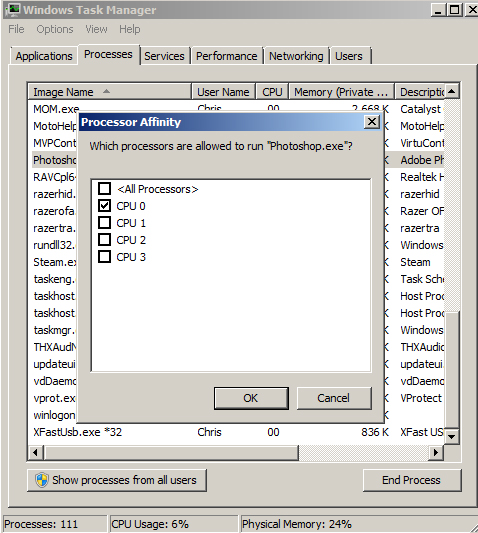
(CPU 0 is actually Core 1, as many things in computers start with 0 instead of 1. In this screen shot, I have four cores: CPU 0, CPU 1, CPU 2, CPU 3.)
4 Click Ok, and you are done.
Set Affinity on a Program Automatically
This process makes it so each time you launch a program, it will always be run on the CPU core that you have chosen.
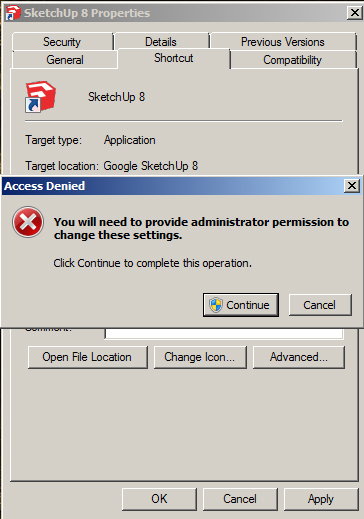
1 Find the shortcut icon for the program you want to set affinity on, right-click, and select Properties. Navigate to the Shortcut tab.
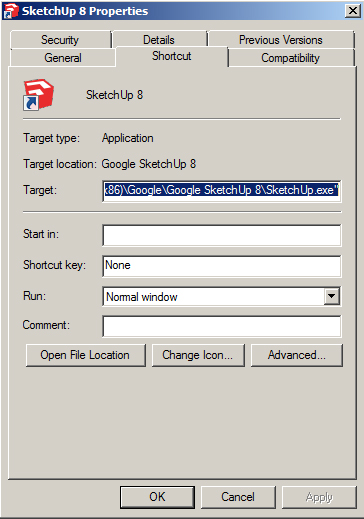
2 In the target field, you will need to append a string before the current target path. Replace corresponding values with your programs name:
C:\Windows\System32\cmd.exe /C START "Program Name" /high /affinity 1
In my case, I am using Google Sketchup. The line I am appending would read as follows:
C:\Windows\System32\cmd.exe /C START "Google SketchUp 8" /high /affinity 1
Where you see affinity 1 is the core to run the program on. To contrast with the previous method, this time the cores actually do start on their numbered value but the numbers are in hex. See the following for a listing of the core values:
Core 1 is 1
Core 2 is 2
Core 3 is 4
Core 4 is 8
Core 5 is 10
Core 6 is 20
We can also set the priority to low, normal, high where we have selected high in our example.
3 Once you have this string constructed, paste it to the beginning of the target path right before the path to the .exe. My entire target string looks like this:
C:\Windows\System32\cmd.exe /C START "Program Name" /high /affinity 1 "C:\Program Files (x86)\Google\Google SketchUp 8\SketchUp.exe"
4 Once you have put in your string, click Apply on the Properties window. If asked for Admin permission, simply click Continue, and then hit OK.

