If you have installed WLE 2011, and later need to change the language of the software, this guide will describe how to do it.
1. Go to Start->Control Panel.
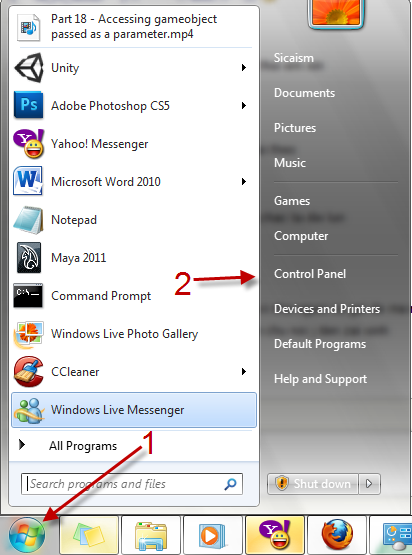
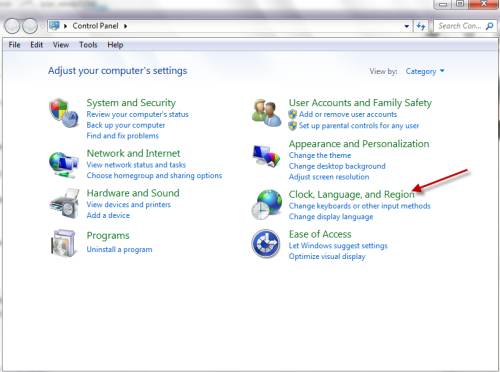
2. Choose Clock, Language, and Region in Control Panel window.
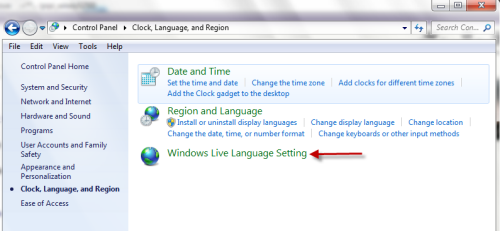
3. Choose Windows Live Language Setting.
4. In the pop up window, choose the language that you want from the drop down menu and hit OK.
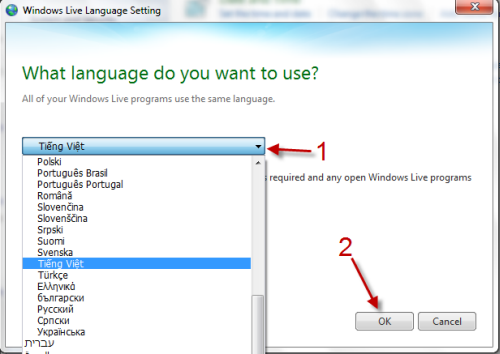
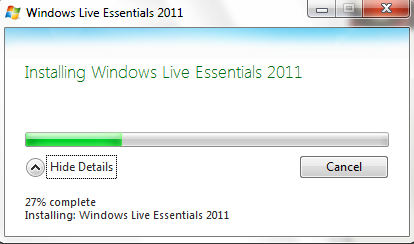
5. Wait for the installer to re-configure. After that, you can use WLE 2011 with the choosen language.
Note: Internet connection is required.

