Windows 7 uses System Restore to revert system and configuration files back to a previous time. Prior versions of Windows have used restore points, but with WIndows 7 the creation of restore points has become incredibly simple. We often recommend creating restore points before tweaking configurations. If you frequently work under the hood of your Windows system, this is a essential skill to learn.
On a system with default settings, restore points are typically created on a daily basis automatically. However, if you are preparing to make major changes such as hacking the registry, installing drivers, or updating system files, you should always create a restore point first. This gives you the insurance of rolling back your system if something should go wrong during your system manipulations.
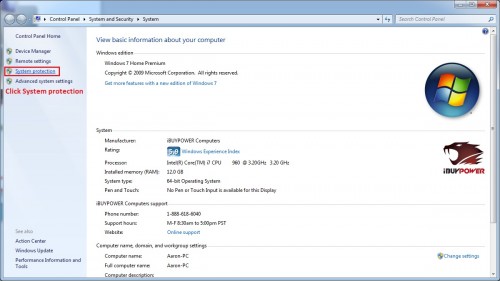
Click the Start button. Right click Computer and choose Properties.

On the left-hand menu, click System protection.
In the System Properties window under the System Protection tab, click the Create button near the bottom of the window.
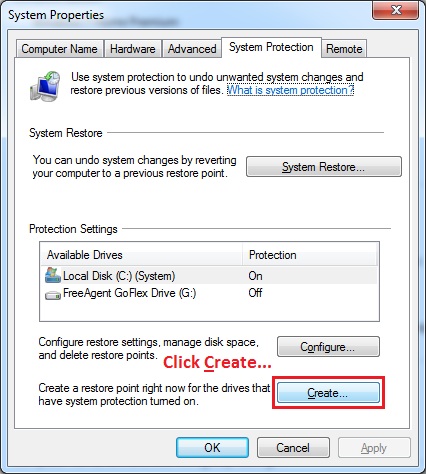
Enter a name to identify this restore point. Click Create.

Windows will start creating the restore point. It should take less than a minute to do, but can take longer (depending on your setup). Once it’s done, you’ll get a System Protection popup. Click Close.