With any IM client, I find saving my chat history to be essential. As I use IM for business purposes, I frequently review my previous conversations. Here are the steps required to automatically save your conversation history in WLM.
Windows Live Messenger 2011 has a feature to automatically save your chat history. However, it is not enabled by default. Here is how to enable it.
1. Launch WLM 2011 and log into your account.
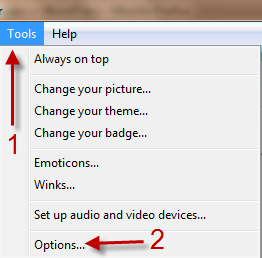
2. Go to Tools->Options…
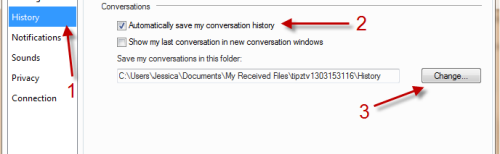
3. Go to History and check on Automatically save my conversation history. By default, your conversations will be saved to C:\User\your username\My Received Files\Your account\History, you can click on Change to change to directory. (if you don’t want to change it, skip to step 5)
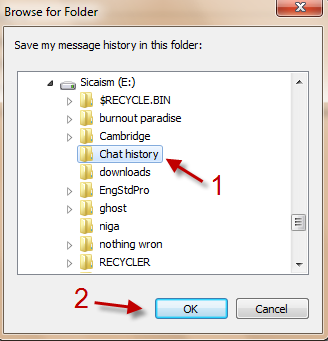
4. In Browse for Folder window, choose your prefered folder and hit OK.
5. Hit OK again to save all settings.

