
If you want to try a new look for your Windows PC, then you have come to the right place. There’s no better way of customizing your device that to make your Windows PC look like a Mac. This article will discuss how you can modify your Windows computer to different drafts and signatures.
Windows offers us plenty of customization options. It all started right from the beginning of the Windows OS. About the customization in terms of looks, Microsoft has been providing newer customization options after each and every update. Lately, with the Windows 10, we can change more than wallpapers like icon packs and other modified versions. All being made enabled due to the SkinPacks.
Use SkinPacks to Make Windows PC Look Like a Mac
SkinPacks are a package of customization which will not just make minimal changes but change the looks of your OS. We have a lot of available SkinPacks such as Angry Birds, Avengers, and many others. From them all, we also have theme packs such as Mac OS X and Ubuntu. Down below is the procedure to follow for you to follow to apply the SkinPacks.
Downloading Windows SkinPacks
First of all, you can download the premade themes if you want or you can make and create your skins based on your preference. So, first select the SkinPack that you want on your PC (in this case, Mac OS X) and then check to download the compatible version of the SkinPack for your version of Windows. Here, I’ll be downloading the OS X El Capitan Theme for my Windows 10. Whatever the theme is, the process is the same.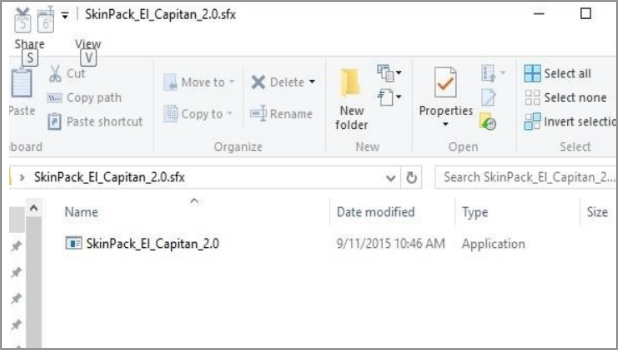
Installing Windows SkinPack
1. The SkinPack you have downloaded will be in a .zip format. So, you will have to extract the file using apps like WinRAR or 7-Zip. While extraction, it will ask a password where you’ll have to enter the password that you’ll see on the download page. After extracting the folder, find the .exe file and open it. Run through the steps until the installation begins. While installing, you’ll be asked to download to download a few other third-party apps where you can opt out of you are not interested.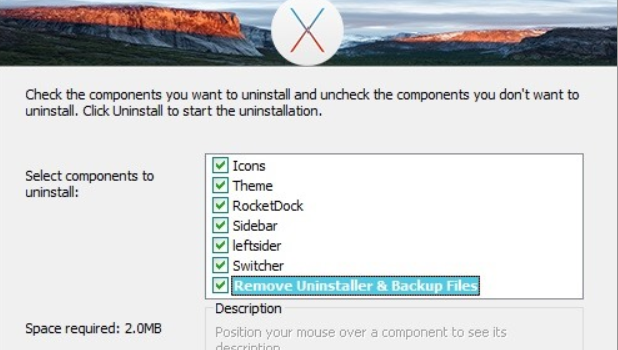
2. Lastly, make sure to check the Restore Point if at all anything goes wrong. You will also have options to download a few other add-ons if you like.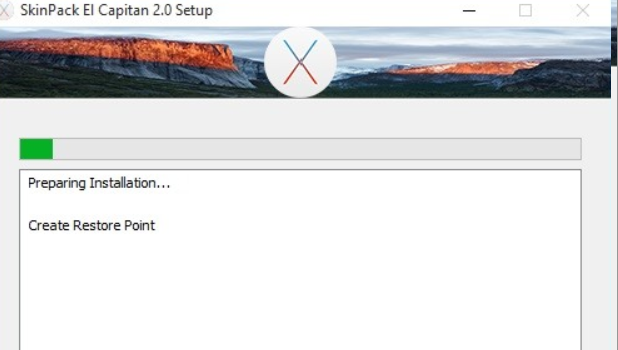
3. Once the installation process is completed, the new theme will be automatically installed and applied without you having to restart your computer.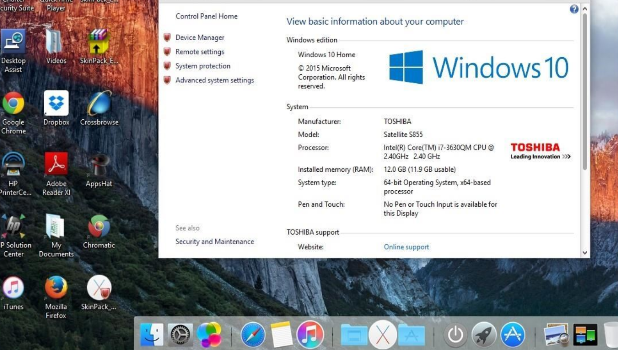
If you want to change the SkinPack and apply a new one, download the one you want to install and uninstall the previous skin from the Programs list in the Control Panel. If at all something goes wrong and your OS starts to behave weirdly because of the SkinPack not getting installed properly, you can get your PC back to normal by using the System Restore option.
That’s it, that is how you can change different skins and also make your Windows PC look like a Mac. Have you created your own theme or used a premade one? Comment your favorite theme in the comments section below.