
Ever had an entire article wiped out because of an abrupt system shutdown? You’re not alone. We’ve all been there. However, there’s a simple way to avoid this staggering loss: turning on the autosave feature in word. You can also manage this feature to ensure your progress is saved after every few minutes.
In this tutorial, we will discuss the autosave feature in detail. Let’s start with its activation in Microsoft Word 2013, 2010,2016, and the most up to date version, 2019.
How to Turn Autosave On in Word (PC): Step-by-Step
1. Open a Word Document.
2.Click File (or Tools, if you’re using a version later than MS Word 2010).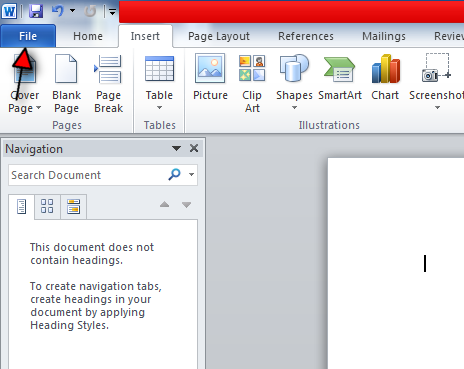
3.Tap Options.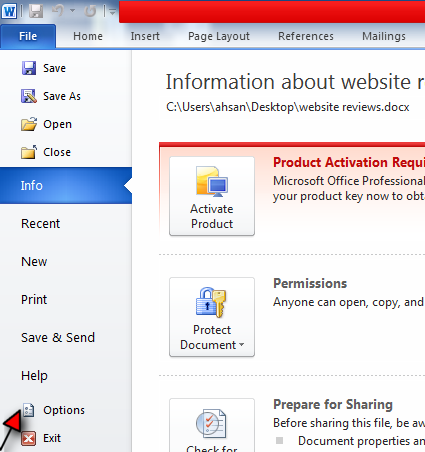
4. Select Save.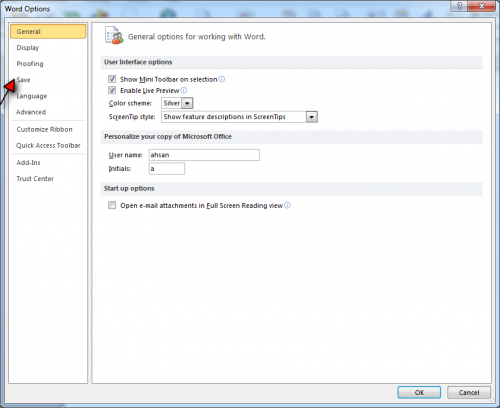
5. Check the Save Autorecover information every option.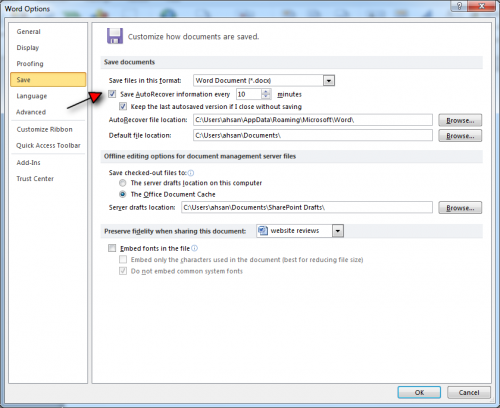
Managing the Autosave Feature in MS Word
Managing this feature is the key to getting the most out of it.
Read More: Enable and Configure Autosave in Corel Photo-Paint.
Reducing the Time for Autosave
There are two things you can do to fine-tune the auto-save feature. First of all, you can lower the number of minutes after Word automatically saves the progress of your document. I always configure this setting to 1 minute so that even if I have a power outage or a battery malfunction, none of my hard work is flushed down the toilet. I would advise you to do the same.
You can reduce the number of minutes in this window below.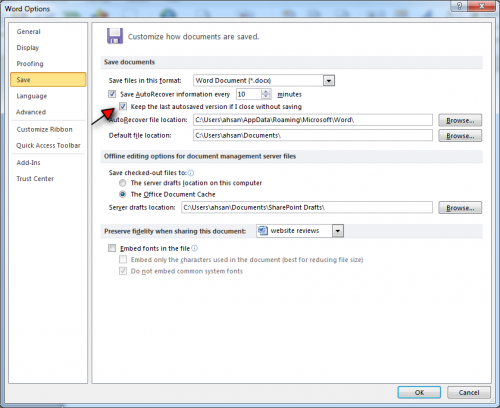
You need to also make sure that the last autosaved version isn’t lost. It’s stored somewhere on your hard drive. Otherwise, you run the same risk of losing substantial progress on your word document. In the same window as above, check the keep the last autosaved version without closing… option to activate this feature.
Furthermore, you can also configure the:
File directory your autosaved document is saved.
default file location.
Similar tech-recipe: How to PAssword protect your Word documents
Why Enabling Autosave in Office 365 isn’t the right decision?
It seems quite obvious that activating autosave in Word is the right thing to do. But nah, not really. Not always, at least.
Rick Broida of CNET explains one such exception.
He explains that a recent update in Microsoft’s Office 365 has made drastic changes to this feature. Any recent changes you’ve made to a word document are saved without your permission and permanently overwritten. What’s more is that for saved documents, the popular “Save As” feature is no longer available.
And this isn’t the half of it. Now, you have to turn off autosave for every word document individually. Disabling it in one document doesn’t disable it across all documents.
So, is there a way around this?
Well, Yes and NO. In place of “Save as”, Microsoft has provided a save a copy feature, which creates a clone of your word document. But what if you decide to make changes to your current document after you’ve already saved it as a clone. Will you keep on making clones after every little change? That’s absurd!
You can turn off Autosave in Microsoft Office 365 pro plus by disabling autosave from the system registry. However, if you’re using the standard version, and not pro plus, it’s a problem. One that Microsoft needs to resolve ASAP.