Dreamweaver CS6 makes adding and using custom web fonts an easy process.
Many of us have excellent fonts in our arsenal that we frequently incorporate in our web site designs. Using them in Dreamweaver CS6 has become a very easy process. In fact, by adding a local font to Dreamweaver through this fashion, you make it available to you no matter for which site you are developing. Add a font once, and you can use it wherever you wish.
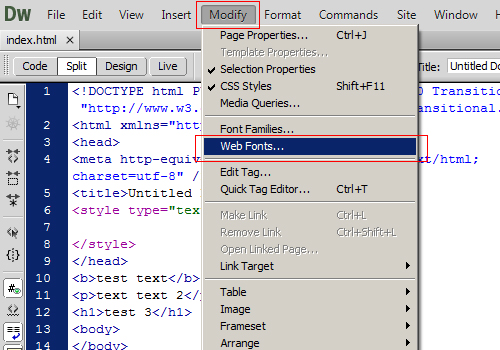
1.From the top navigation bar, select Modify -> Web Fonts.
2.In the newly opened Web Fonts Manager window, select Add Font
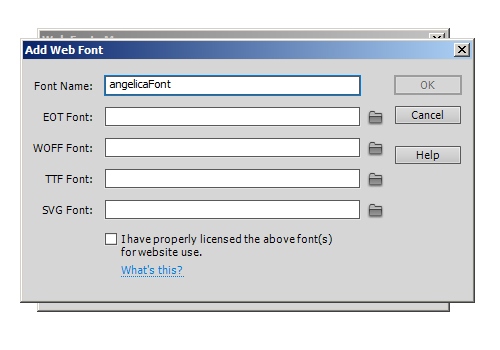
3.In the Font Name field, give your font a unique name. This will be its name in the CSS as well.
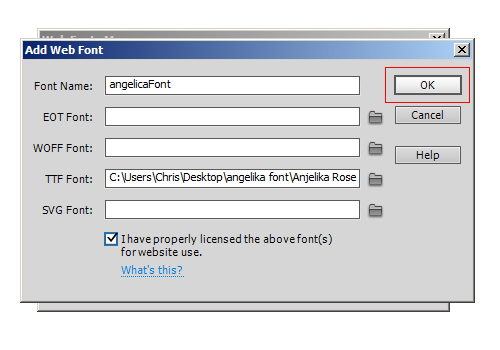
4Select the folder icon to the right of the Font fields to select your font file. Dreamweaver will also automatically detect all file formats for that font (assuming they are all in the same folder) and fill in the rest of the fields accordingly. Select OK when done.
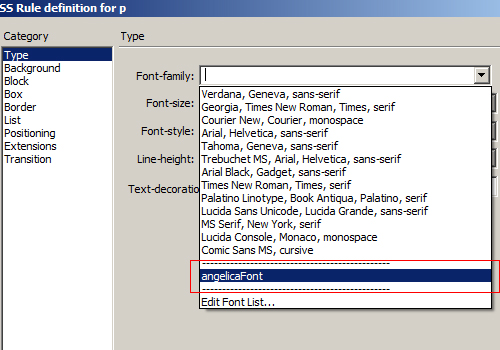
5.When you select the font when creating a style via the CSS Style’s panel, your font will be available as an option.
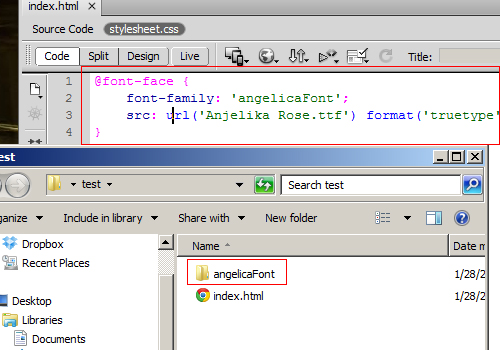
6.A CSS style will be created in a new style sheet. Your font will be imported, and your font file will be copied over to your website’s project folder automatically.