While many programs have the ability to export a part of a video to a gif image file, the quality of the images is often far from acceptable. This tutorial will show you how to get the best quality gif file from video using Photoshop. Continue reading to find out how.
Animated gif files continue to be one of the most popular file formats. It’s hard to visit reddit or a popular forum without seeing a ton of them. However, the low quality noise-filled gif is quickly dying. With the ubiquity of broadband, higher quality gifs are now expected.
Several tools exist for converting video clips to an animated gif. However, if you have PS already, making high quality video gifs is pretty simple. The steps in this tutorial work for Photoshop CS5 and above. Steps for older versions may vary.
1. Launch Photoshop.
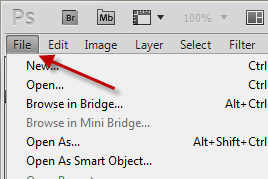
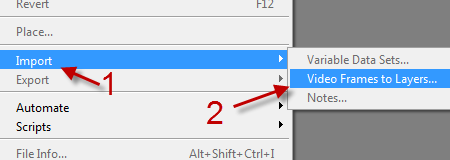
2. Go to File -> Import -> Video Frames to Layers.
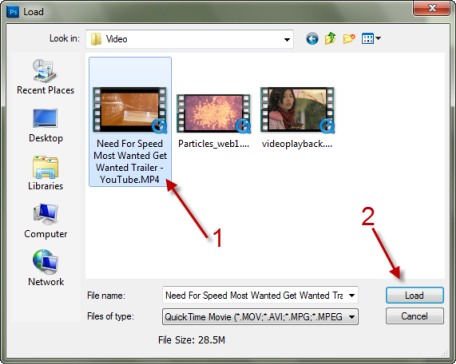
3. In the pop up Explorer window, browse to your video. Supported formats are mov, avi, mpg, mpeg. Photoshop allows you to cut the part that you want to make the gif file so you do not have to edit or make a separate video for that part.
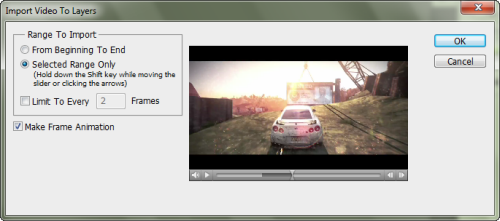
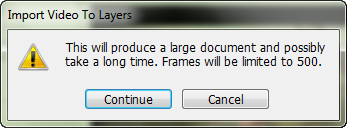
4. When the video is loaded into the program, you can choose what range to import. Available options are: From beginning to end, and Selected Range Only. If you choose the second option, you can specify the part by holding the shift key on your keyboard and sliding the arrows to cover the correct part. When you are done, hit OK. If the file is large, you will see a notice window which said the frames will be limited to 500. Just click Continue.
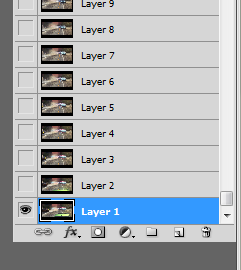
5. The frames will then be imported into the program as layers. You can easily edit, delete or add effect to the layers like normal.
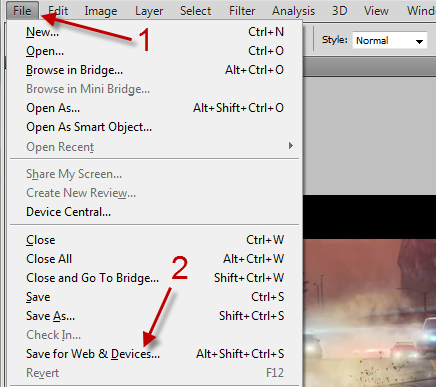
6. When you have done with editing, go to File -> Save for Web and Devices.
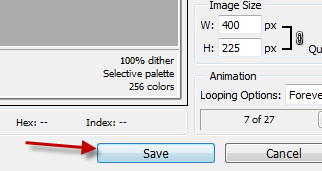
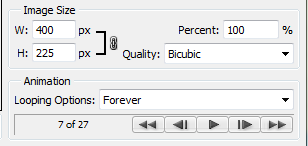
7. In the Save window, you can configure various settings within the right-side pane before exporting the final gif image. You can also change the image size, quality and looping options in this window. The bottom of the window has an option which lets you preview the animation by hitting the play button.

8. When you have satisfied with the result, hit Save to begin the exporting process.