This recipe will explain how to use the built-in Maps program and the screenshot feature to create offline maps for use when you do not have internet connectivity.
1. Open up Maps
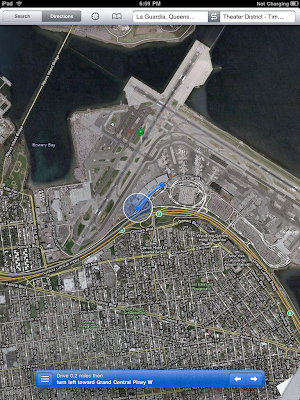
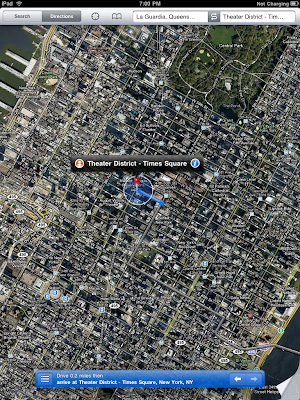
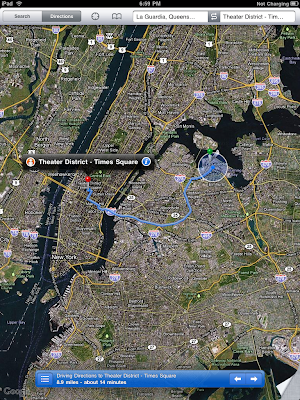
2. Do a search for your route, choose your means to travel (car, bus, walking) and then tap Start.
3. On the left side of the bottom bar, tap on the icon to show a list of the directions and turns. This is a nice ‘overview‘ list for directions.
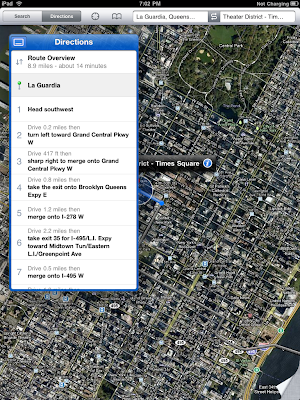
4. Now to lets use the built-in screen capture feature (hold the home button and then hit the Power button) to take a snapshot and in turn save as a Photo/Static map in Photos Saved Photos
5. Do this for each turn.
6. Voila! You now have an old-but-new school map of your directions for times when you may not have internet coverage or wifi available or on a road trip. 🙂
Just go into Photos and Albums > Saved Photos and you can access the static maps / screen shots we created for use when we don’t have internet available or for trip planning.