In generating tutorials or for debugging, creating screenshots from an Android device is essential. Unfortunately, getting this screen capture is not a simple process. The following steps will demonstrate how to do it.
To take screenshots on your Android phone, you need to connect the phone to the computer and use the SDK. This tutorial will walk through that technique.
(You can also search for screen capture software on Android Market; however, not all of them are free and many will not compatible with your phone.)
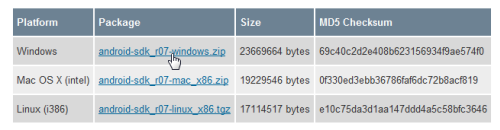
1. Go to Android SDK Download page, choose your platform and download the zip file.
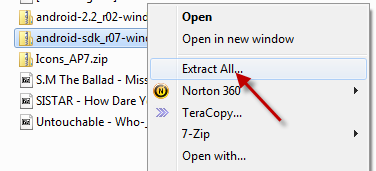
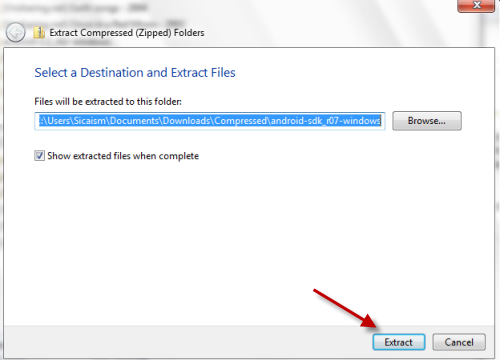
2. Extract all contents inside the zip file.
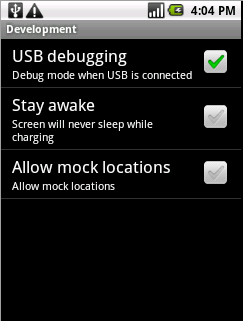
3. Go to Settings->Applications->Development->Check on USB debugging on your phone and then connect it to the computer.
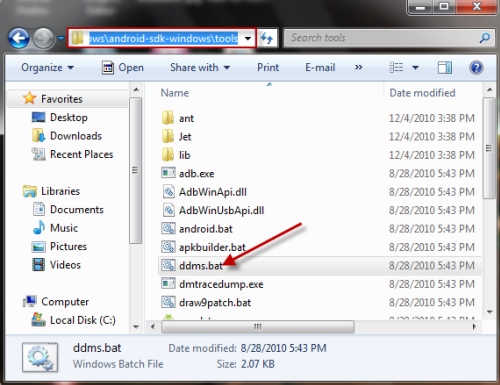
4. Go to …..\android-sdk_r07-windows\android-sdk-windows\tools (the folder which extracted from the zip file in step 2), double click on ddms.bat
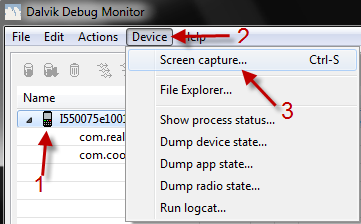
5. In Dalvik Debug Monitor window, choose your phone and go to Device->Screen capture…
6. Click on Refesh, you will then see your phone screenshot, hit Save to save it. (in .PNG format)
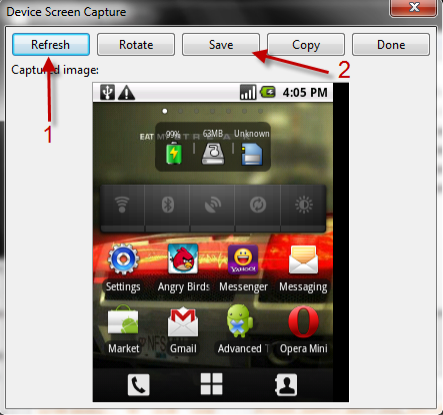
7. Hit Done to close.
Notes:
-The SDK manager, which we downloaded in this tutorial, can be used to test Android and its applications on your computer. If you have any trouble while downloading its components, you can learn how to install them without internet connection.