
With the advent of iOS 11, Apple has introduced a useful file management app on iPhone. The Files app is the only file manager and storage application that you will ever need. You can use the Files app to browse, open, and organize your files. You can manage files on your device, on iCloud, and even from third-party cloud storage services like Dropbox, Google Drive, OneDrive, Box, Adobe Creative Cloud, and other similar apps. You can access files across different devices as long as you are logged in to the same iCloud account. This article will discuss all the things, features, and functionalities about this fantastic file manager app on iPhone iOS 11.
How to Open and Documents in the Files App
To open documents and files in the Files app, do these:
1.Open the Files app from your iPhone’s Home screen.
2.In the Files app, tap on the Browse tab.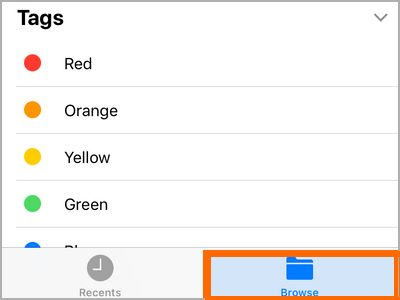
3.Tap on the location where your files are located. For this tutorial’s purposes, tap on the iCloud Drive.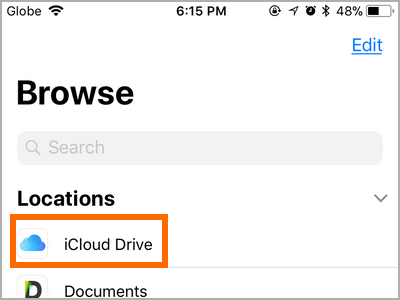
4.The files under the selected location are displayed. Tap on the file that you want to open.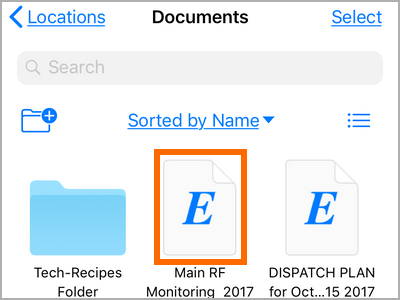
5.The selected file is now open. You can start viewing and editing the file. You are done.
How to Create a Folder on the Files App
You can organize files into folders in your Files app. Here’s how to do it:
1.Open the Files app from your iPhone’s Home screen.
2.In the Files app, tap on the Browse tab.
3.Tap on the location where your files are located. For this tutorial’s purposes, tap on the iCloud Drive.
4.Tap on the Add New Folder icon in the upper-left part of the screen.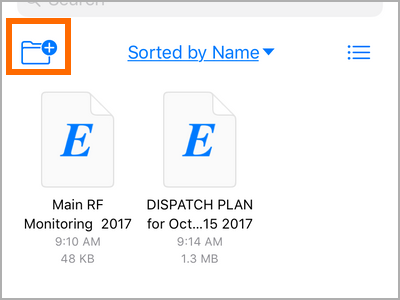
5.Enter a folder name and tap on the Done button to save changes.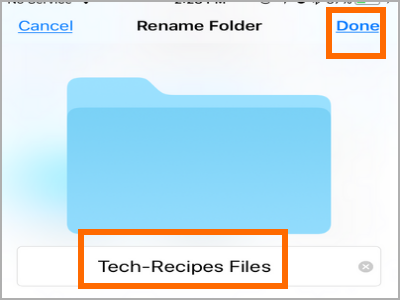
6.The newly created folder now appears in the iCloud Drive folder. You are done.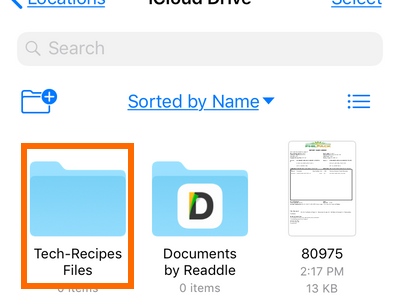
How to Rename Files and Folders on the Files App
To rename files and folders, do these:
1.Open the Files app from your iPhone’s Home screen.
2.In the Files app, tap on the Browse tab.
3.Tap on the location where your files are located. For this tutorial’s purposes, tap on the iCloud Drive.
4.Touch and hold on the folder or file that you want to rename.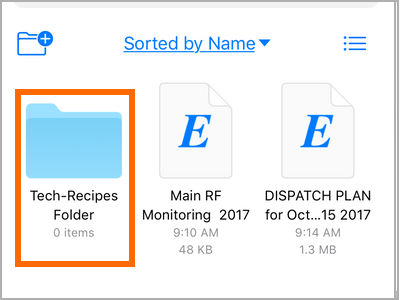
5.From the options that pop up, tap on Rename.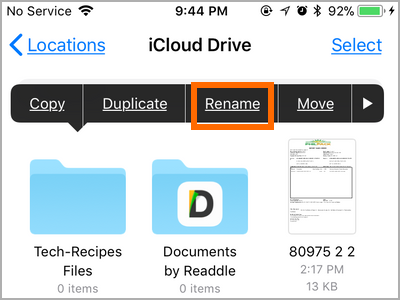
6.Edit the name of the file or the folder and tap on Done to save changes.
7.The newly renamed folder now appears in the iCloud Drive folder. You are done.
How to Move iCloud Drive and iPhone Files
To move iCloud Drive files from one folder to another, do these:
1.Open the Files app from your iPhone’s Home screen.
2.In the Files app, tap on the Browse tab.
3.Tap on the location where your files are located. For this tutorial’s purposes, tap on the iCloud Drive.
4.Tap the Select button in the upper-right part of your iPhone’s screen.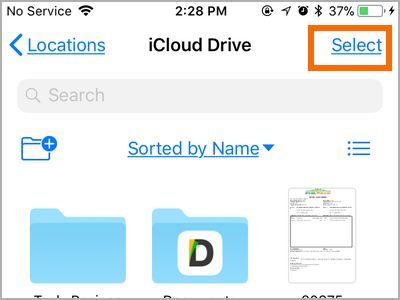
5.Tap on the file you want to move.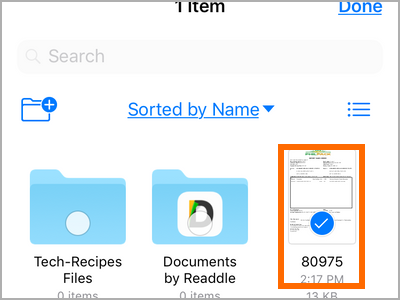
6.Tap on the folder icon in the lower part of the screen.![]()
7.Select the folder where you want to move the file.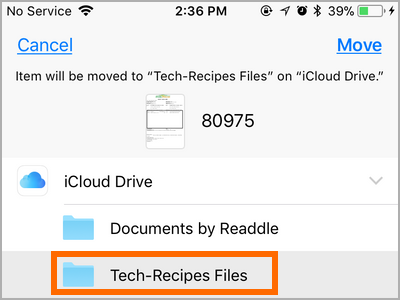
8.Tap on the Move button in the upper-right part of your iPhone’s screen.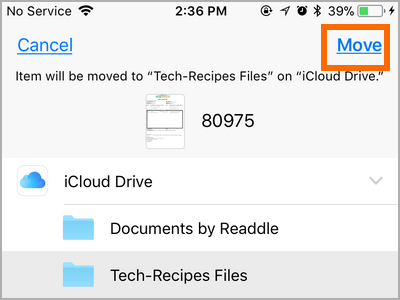
9.The file has moved to the selected folder. The folder now has a file on it. You are done.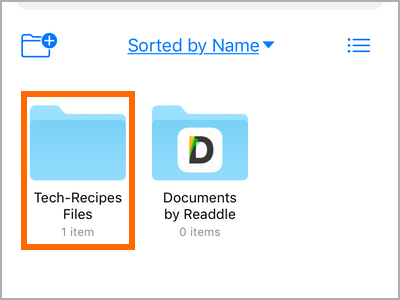
How to Add and Edit Tags on the Files App
To add tags to your files, do these:
1.Open the Files app from your iPhone’s Home screen.
2.In the Files app, tap on the Browse tab.
3.Tap on the location where your files are located. For this tutorial’s purposes, tap on the iCloud Drive.
4.Touch and hold on the folder or icon that you want to add a tag.
5.From the pop-up options, tap on the right arrow button to view more options.
6.Tap on the Tags option.![]()
7.Select from the list of available tags or tap on Add New Tag to make a new one.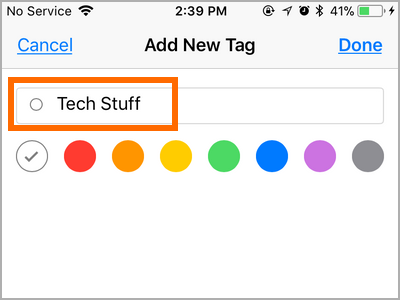
8.Enter the new tag name and tap on Done to save changes.
9.Tap on the Done button in the upper-right part of the screen once you are done with tagging the selected file or folder. You can select more than one tag.![]()
10.The file or folder has been tagged. You can go to the Info option to see the tags on a certain file or folder. You are done.
How to Add Third-Party Apps to the Files App
What makes Files a good file manager app on iPhone is its ability to add other third-party cloud storage services like Dropbox, Google Drive, OneDrive, Box, Adobe Creative Cloud, and other similar apps. To add a third-party app on the Files app, do these:
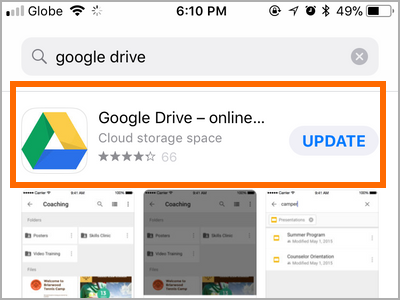
1.Download and install your preferred third-party app. For this tutorials’ purposes, download and install Google Drive.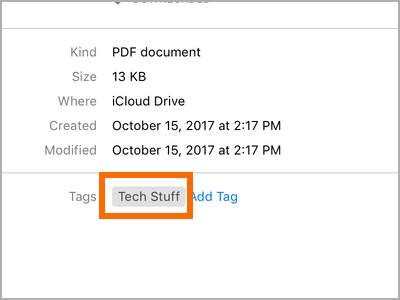
2.Open the Files app from your iPhone’s Home screen.
3.In the Files app, tap on the Browse tab.
4.Expand the Locations section by tapping on it.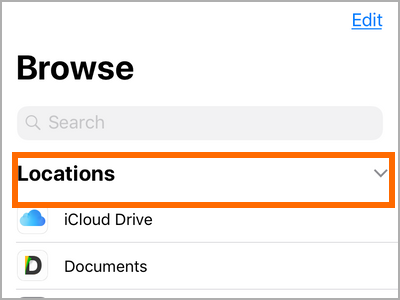
5.Tap on the Edit button.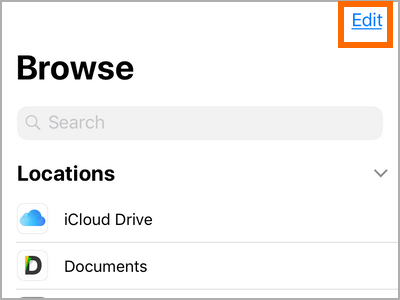
6.Tap on the slider for the third-party cloud storage app, so it switches to green. A green switch means that the cloud storage is accessible through the Files app.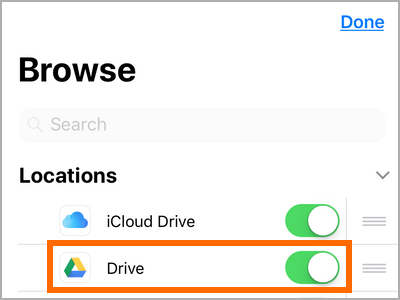
7.Tap on the Done button in the upper-right part of the screen. The third-party cloud storage, for this case Google Drive, is now on Files’ storage locations.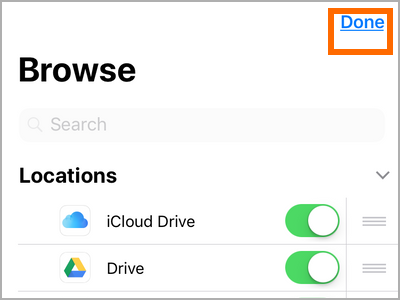
8.Tap on the Google Drive icon to view the files on your Google Drive account. You are done.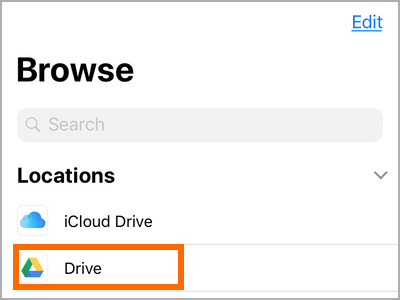
Frequently Asked Questions
Q: What devices support the Files app?
A: iPhones and iPads running iOS 11 can use the Files app.
Q: I still want to use the iCloud Drive. Is it still available in the iOS 11?
A: In iOS 11, the iCloud Drive is integrated into the Files app. You need to open your Files app to have access to the iCloud Drive.
Q: What files can I store in the Files app?
A: You can store all common file types- document files, presentations, zip files, music and multimedia files, and others.
You just learned how to use Files – a file manager app on iPhone. If you have questions with any of the information provided in this article, let us know through the comments section.
These related articles may interest you, go check them out:
How to Back Up Your iPhone to iCloud
iPhone: Access iCloud Drive from Home Screen
How to Set Up iCloud Drive and Photos


