
Taking a screenshot in Windows 10 is easy. In fact, you can use several different methods to capture an image of your computer’s screen. You may be familiar with using the PrtScr key, commonly known as the Print Screen button. However, what you may not know is that there are other ways to take screenshots on your computer. Depending on your needs, you may want to take a temporary screenshot, save the screen image in a file, take a screenshot of the whole screen, or even take a screenshot of the current window without capturing the whole screen. Aside from using the dedicated screenshot key in Windows 10, you can also use a built-in app that is specifically made to take specific screenshots within a customized range. This tutorial explains how to do all of this and more.
How to Take Screenshots in Windows 10
Methods used to take screenshots in Windows 10 are outlined below:
1.Use the Print Screen (PrtScr) button. This is the most basic method used for taking screenshots. Pressing the PrtScr button captures a screenshot of your computer’s whole screen. The captured screenshot will be temporarily stored on the clipboard until you take another screenshot. This is useful when you want to take a screenshot without the intent of actually saving the captured shot.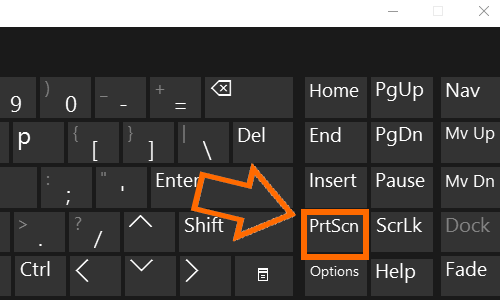
2.Use the Win Key + PrintScreen (PrtScr) button. This is another basic method used for taking screenshots. The only difference between using this key combination and the PrtScr button alone is that the Win Key + PrtScr method saves the screenshot to the default screenshot folder. This method is useful if you want to take multiple screenshots and save them for future use.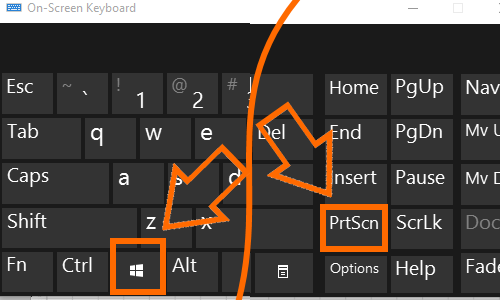
3.Use the Alt Key + PrintScreen (PrtScr) button. This method differs from the first two as using the Alt + PrtScr keys takes a screenshot of the window that is currently active. If you are on a minimized Chrome window, then only a screenshot of the minimized browser will be captured. The whole desktop screen will not be captured.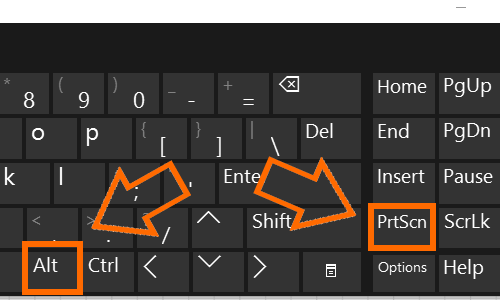
4.Use the Snipping tool. The snipping tool may come in handy if you want to take screenshots of specific areas of the screen. You can either snip the whole screen or only a portion. The Snipping tool comes free with Windows 10. You can open the Snipping tool by going through your computer’s apps or by using the search button.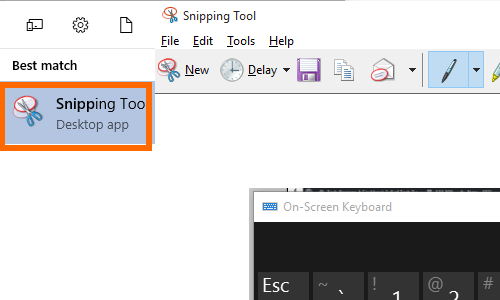
5.Use the Win Key + letter H key. This is a secret screenshot combination that automatically activates the “sharing to app” feature in Windows. Pressing this key combination will take a screenshot on your computer and will automatically open available apps on your computer that have sharing capabilities. This way, you can quickly share your screenshot with a friend through email or social media.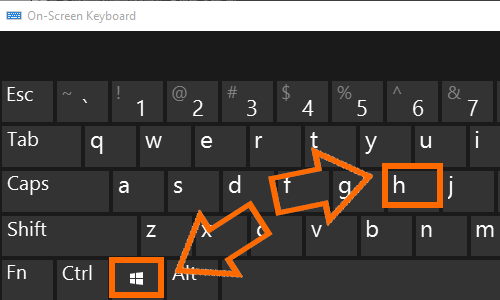
I have just outlined five ways that you can use to take a screenshot on your Windows computer without downloading or paying for software. If you know other ways to take a screenshot in Windows or if you have questions about any of the key combinations above, let me know in the comments section.