
WAMP is frequently installed by developers in the creation of web applications in a local Windows environment.
When developing web applications, a coder would typically install a combination of software including an HTTP server, a database, and a programming/scripting language. By installing WAMP all of these components are installed at once. As the acronym would suggest, most WAMP installations include Apache and MySQL while the P component is served by Python, Perl, or PHP. In this example, we will be installing a PHP-flavored version.
These tech-recipes tutorial will walk through the steps of installing WAMP on your local Windows box. This will allow you to code and execute applications with localhost as your domain.
WAMP is for Windows. If you have an Apple system, you should install MAMP instead.
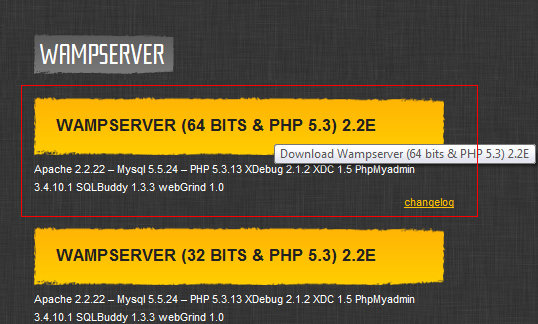
1 Go to http://www.wampserver.com/en/ to download WAMP. Select the download for either 64-bit or 32-bit Windows based upon what version of Windows you are running.
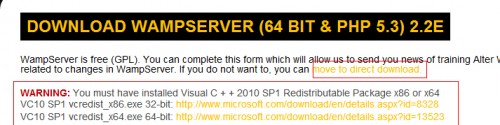
If you do not have Visual C++ 2010 SP1 (or if you are not sure), then click the link to download that as well.
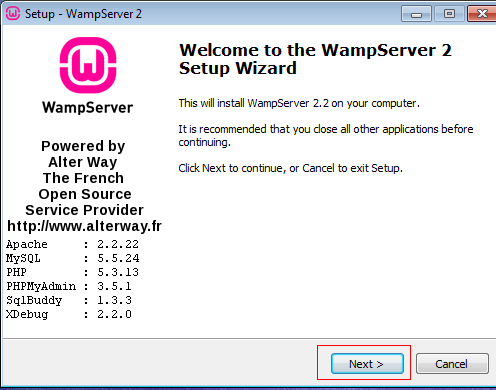
2 Double click the .exe you downloaded and run the WampServer 2 Setup Wizard.
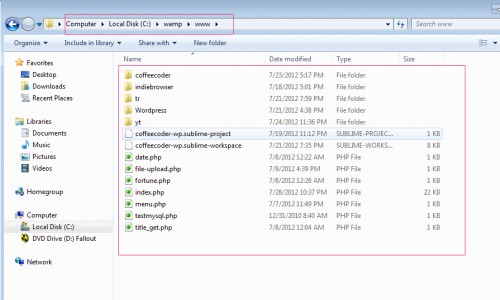
3 The destination for WAMP Server will also be where your /www folder will be located. This will ultimately the root of your ‘website’ structure. By default it will be at c:\wamp.
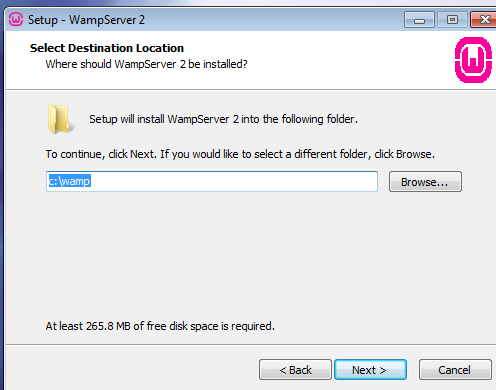
Note: If you have ever tried to install WAMP before and uninstalled it, chances are some folder structure still exists. If it does, delete this folder and restart the installation process.
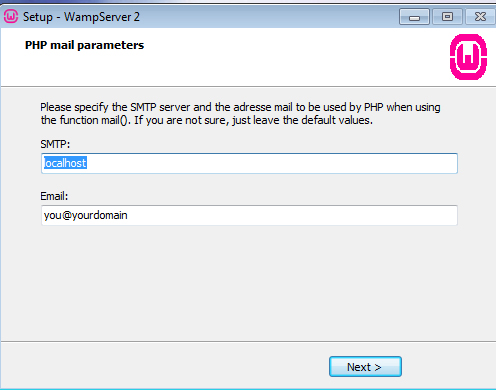
4 Continue to install and it will ask you to chose a default browser. Simply navigate to the .exe of whichever browser you will like to use. WAMP will soon ask for some PHP mail parameters. If you are creating a mail related function, you can just adjust these values later.
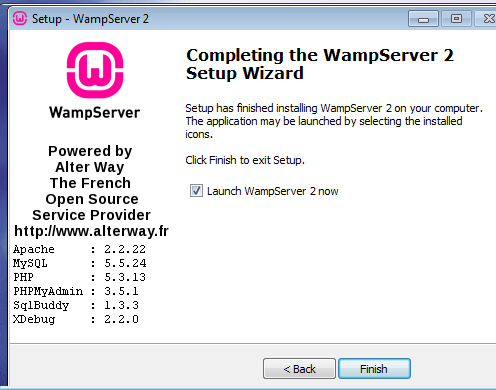
5 When it’s all done, hit Finish and check Launch WampServer 2.
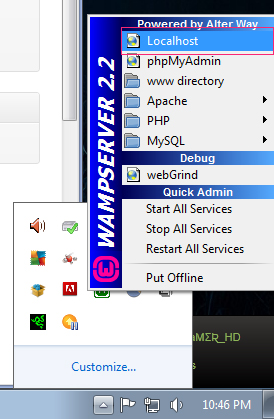
6 Your should now see the WampServer icon in the system tray.
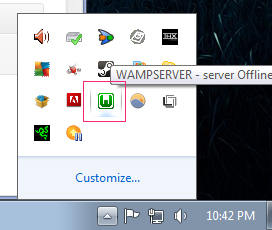
7 If you WAMP icon is red, no services are running. Left-click and select Start All Services. If your WAMP Server icon is green, the services are online!
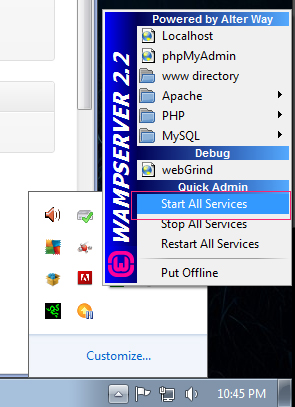
8 To see your localhost, left-click the WAMP server icon and click on Localhost.
The default WAMP page should now appear in your browser. From here you can see the installed services. Additionally, you can navigate to your different project folders or access PHPmyadmin.
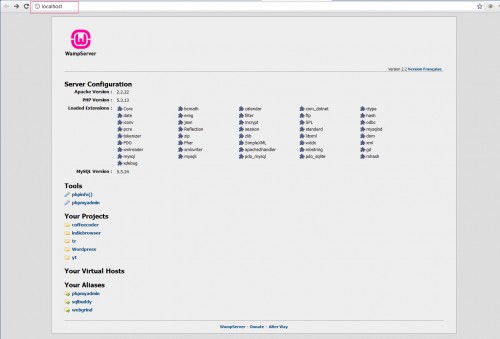
You are ready to start development. The top of the web structure is the /www folder. This is your local server and be accessed through the browser by navigating to localhost.
WAMP Server runs on port 80. Therefore, you need to make sure no other programs are running on the same port as the WAMP Server is. One of the most common culprits is Skype which also likes to run on port 80. In a development environment I would suggest leaving the WAMP server port as 80 and changing the port on the conflicting application.
")