Text can be a valuable modifier in graphic design. Grunge text, retro text, professional fonts–you name it, there’s a text for it. Cut through your foreground layer with a text shape to reveal what’s hiding underneath on your background layer. It’s a very simple technique, yet there are endless possibilities of implementation.
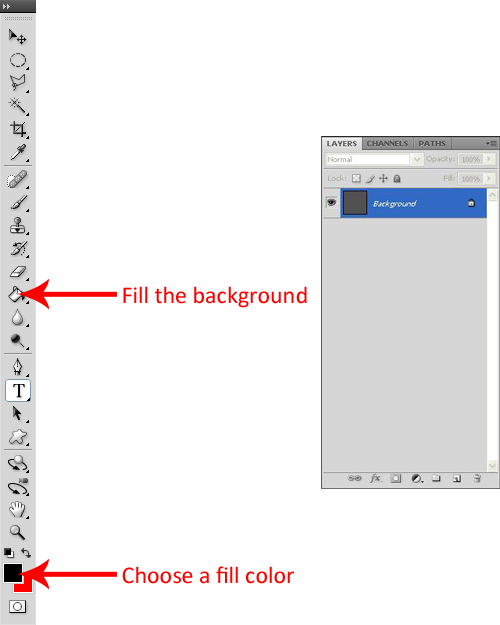
1. Create a new document a fill the background with the color of your choosing.
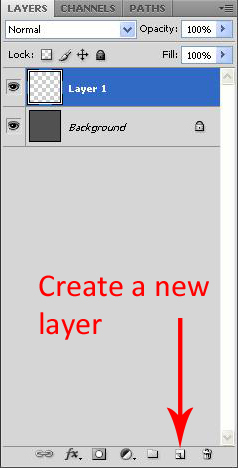
2. Create a new empty layer by clicking the “Create new layer” button at the bottom of the Layers Palette.
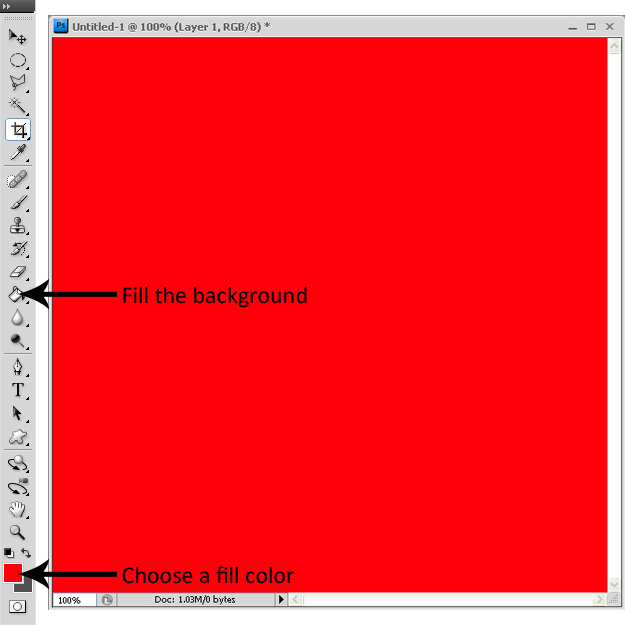
3. Make sure your new layer is selected. Choose a color to fill it with, then select your “Paint Bucket Tool” and fill the new layer with the color.
4. Make sure your new layer is selected so that the text you type goes on top of it. Select the “Horizontal Type Tool” from the tools palette and click on the document where you want to type.
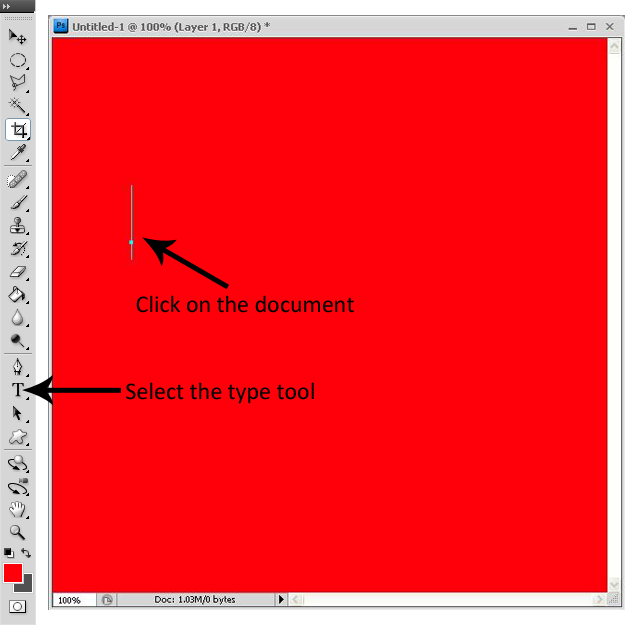
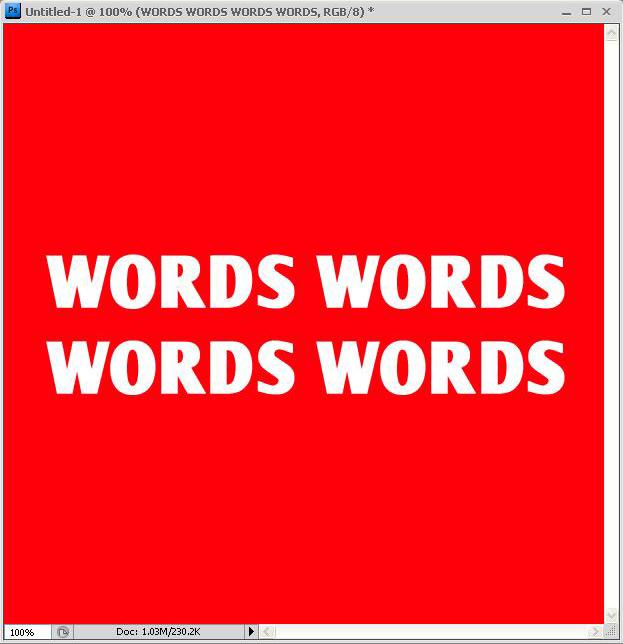
5. Before you start typing your text, choose a type color from the bar above your document. Once that’s done, type the words you want to be cut through to the background layer.
![]()
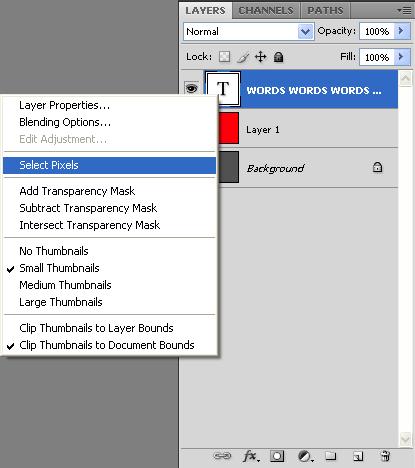
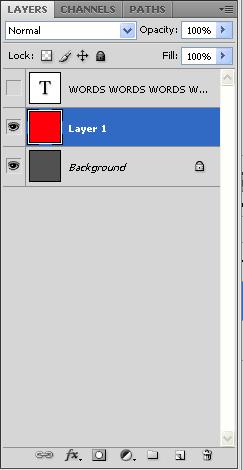
6. Right click inside the layer preview image in your layers palette and click “Select Pixels”. Alternatively, you can hold the Ctrl button on your keyboard and left click in the layer preview image. Both will select an outline of the text.
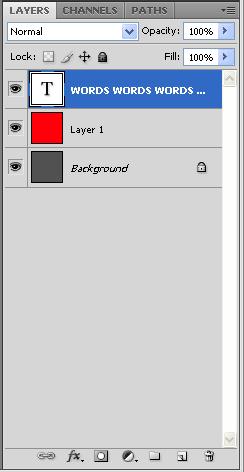
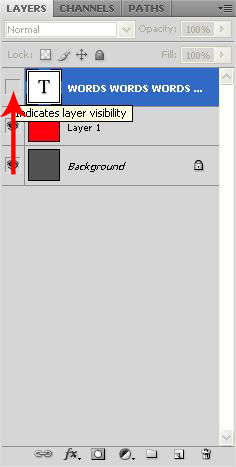
7. Turn the visibility of the text layer off by clicking the eyeball symbol next to the preview image.

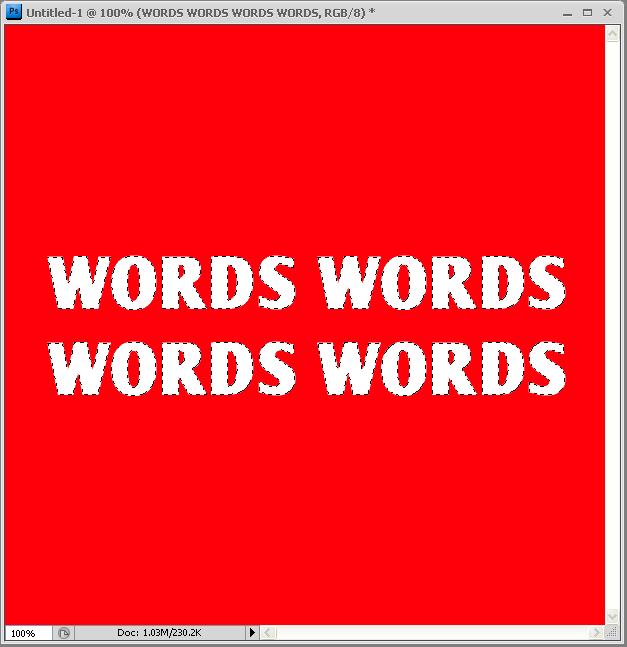
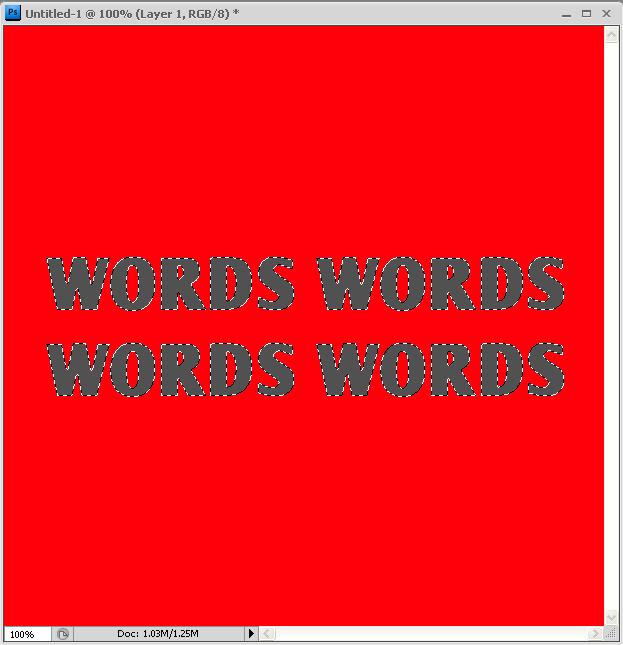
8. Select the second layer you made (the layer below the text layer) and press the Delete key on your keyboard.
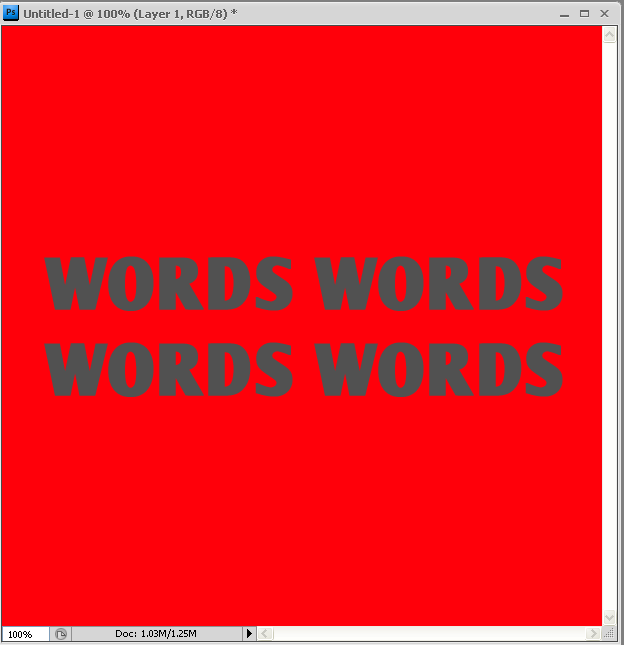
9. Old the Ctrl button on your keyboard and then press the D button on your keyboard to deselect the outline.
Editor’s Note:
The more interesting the background the better. Here’s a quick example I crafted using the above directions…
