
Anyone that started going deeper in the more advanced uses of a computer ran into something called a Virtual Machine. By definition, the Virtual Machine is an emulator that enables you to run an operating system without having to install it on your drive.
To put that in simpler terms: it is an operating system within an operating system. The virtual machine itself is an application, so it uses the hardware on your computer to simulate a real machine for the operating system that you intend on using.
There are many advantages to using a virtual machine. Once of them the ability to test an operating system without formatting your drive. For example, if you are interested in migrating from Windows to Linux the first obstacle would be the number of distributions. So instead of formatting your drive until you find the right one, you can run them in a virtual machine, saving you a lot of time in the search for the right one for you. Another implementation is security. Since the virtual machine emulates real computer like conditions, security experts are infecting the operating system on the virtual machine and are able to test and monitor all kinds of viruses without the risk of infecting the computer where they are working.
Today, there are number of virtual machine applications that you can use. Among the most commonly used ones are VirtualBox, VMWare and Parallels 13. If you are reading this articles it is highly likely that you are doing this for the first time, so it would be recommended to go with VirtualBox since it is free and easy to use.
Installing the virtual machine
1.Download the VirtualBox application
2.Once the download is completed, run the installer
3.On the introduction click “Next”
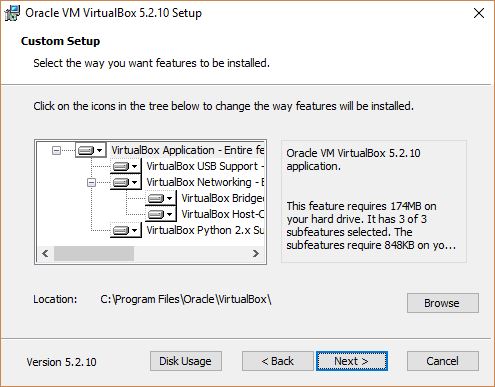
4.The next step is where you select the installation location by clicking on “Browse” and navigating to where you want it installed. It is recommended not to change any other settings. Click “Next”
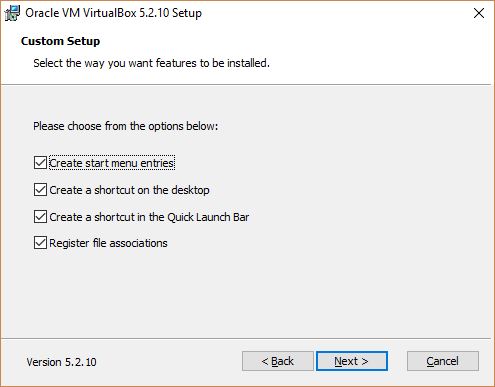
5.This is where you select the settings for the shortcuts and file associations. If you are not sure, leave them as they are. Click “Next”
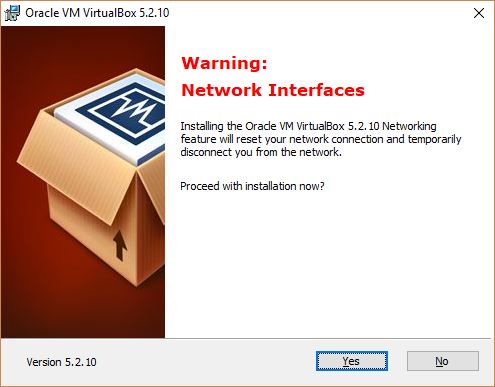
6.A warning will inform you that during the installation process you will be disconnected from the network. Click “Yes”
7.This is the final step before the installation. Click “Install”
8.Once the installation process is completed you can close the window and run the virtual machine
Setting up the virtual machine
9.The next step is to download the operating system. Regardless of which one you want to run on your virtual machine, you need to download the ISO file
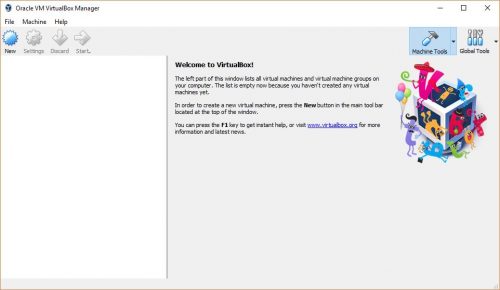
10.When you finish downloading the operating system you can run the VirtualBox
11.In the top left corner click on “New”
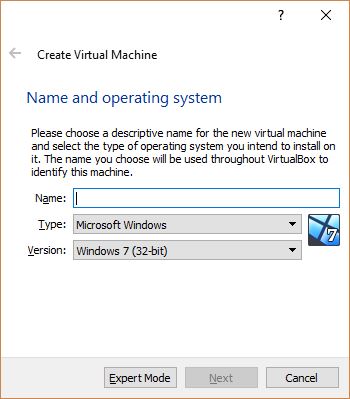
12.A small window will open where you will need to give your virtual machine a name and select the type and version of the operating system that you want to run and click “Next”
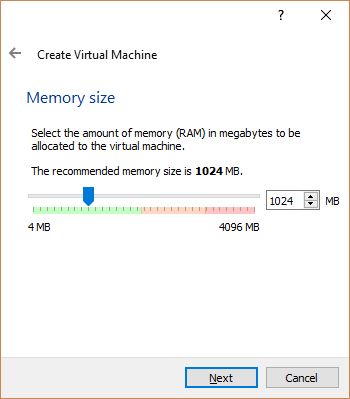
13.In the next section you will need to select the amount of RAM that you want to assign to your virtual machine. Move the slider to the left or right or enter the amount of RAM in MB. Click “Next” when done
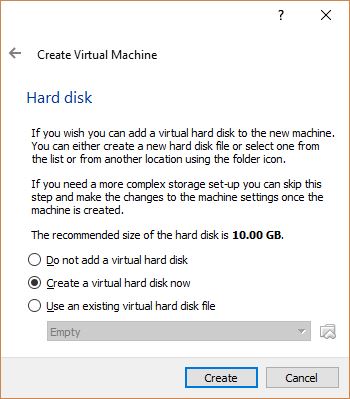
14.After setting up the RAM you will need to set up the disk. As mentioned before, if this is the first time installing a virtual machine, don’t change anything, just click “Next” and make sure that you have the minimum amount of free space available on your hard disk
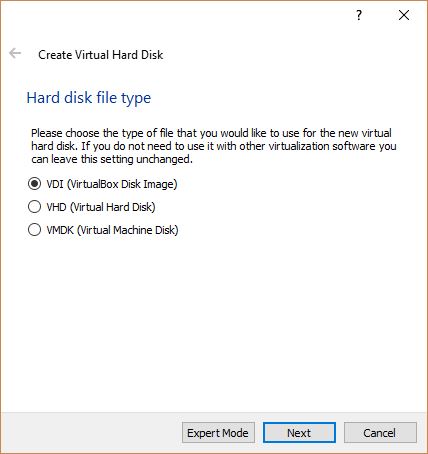
15.The same rule applies for the hard disk type, leave the setting on VDI and click “Next”
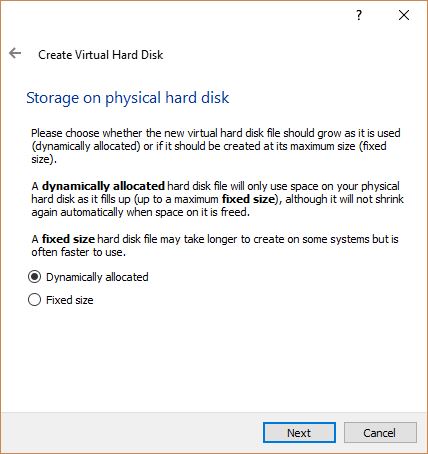
16.The storage is something that you will need to select based on your needs. A dynamical size means that the operating system will automatically get more space from your drive when you start filling it up, but once you release some space it will not shrink. The fixed size on the other hand means that the operating system on the virtual machine will only get as much as you allocate. In most cases, it would be best to use a fixed size. Click “Next”
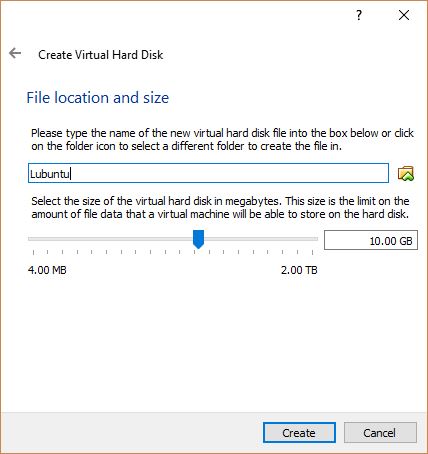
17.The final step is to select the size of the disk for the virtual machine. This is if you have selected fixed size in the previous step. Using the slider select the amount that you need, or enter the number in GB. Click “Create”
The process of creating the virtual machine may take a few minutes, after which you will be returned to VirtualBox’s main section. On the left side you will see the virtual machine that you just created, so in order to run it, all you need to do is select it and click on “Start”. Whenever you start the virtual machine for the first time, you will need to load the ISO file that you downloaded.

Note: the steps are for users that have never created a virtual machine and are the easiest. if you are an advanced user, create the machine with the settings that suite you the best.
Frequently Asked Questions and Answers
Q: How many virtual machines can I run?
A: As much as your hardware can. You are limited by the storage, RAM, CPU and GPU power. Bear in mind that since you are running an operating system within an operating system you might not get the same feel on the virtual machine as you would if you had it installed on your drive.
Q: Can I run a virtual machine on older Windows?
A: Yes, VirtualBox will work on older versions of Windows. It is also available for Linux and Mac OS