Photoshop’s wonderful Patch Tool will let you retouch your image to remove common skin imperfections. This is a common, uncomplicated task that anybody who uses Photoshop can accomplish.
Skin imperfections including pimples and moles frequently draw the viewer’s eye away from the focal point of the picture. Even if complete perfection is not the goal, knowing how to remove such distractions can greatly add to the quality of the work.
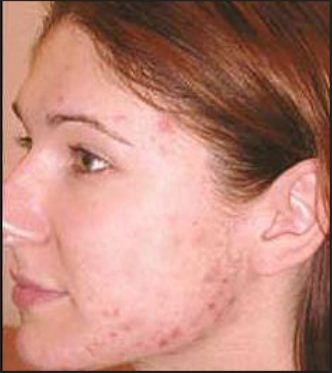
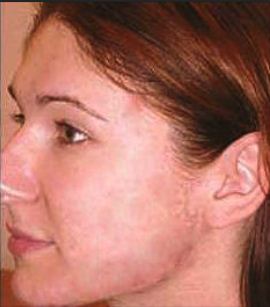
Below is the starting image that is going to be used as an example during this tutorial. Let’s get started.
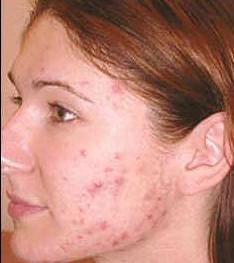
1. Launch Photoshop. For this tutorial I am using CS6, but any version past CS4 will work.
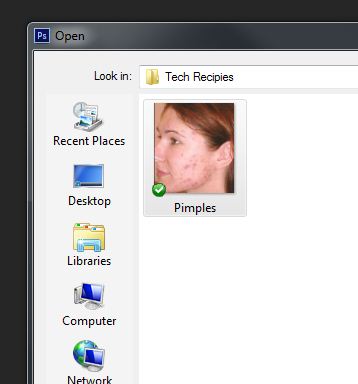
2. Then go File -> Open and load the photo that you will be using.
3. Next you will have to unlock the layer by double clicking on the Background layer in the layers palate.
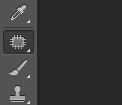
4. Then you will select the Patch Tool from the left hand side toolbar.
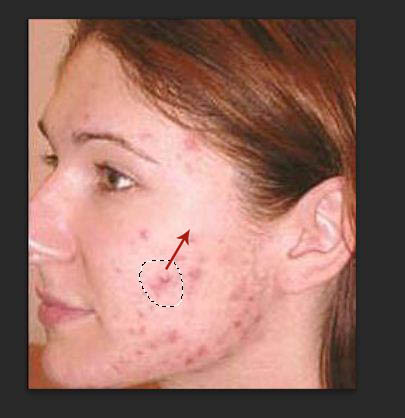
5. Using the patch tool select one of the bigger pimples to get started.
6. Having the pimple selected, drag the selection to some clear skin on the face.
7. Repeat the patch tool until the face is starting to look good.
8. You may notice that the photo is still not perfect, but it definitely looks better than when we started.
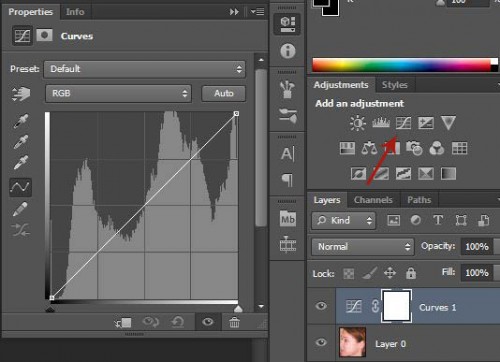
9. Select curves from the adjustments pallet.
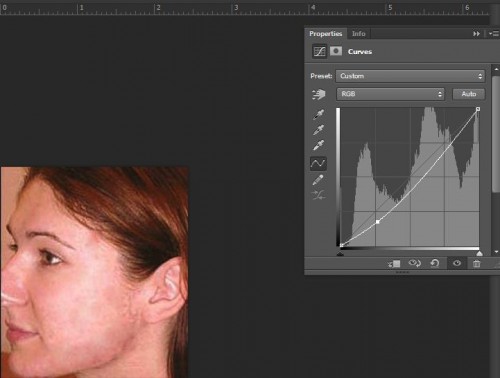
10. Adjust the curves until the lighting seems to fit your image correctly. Then close the palate, and save the image.
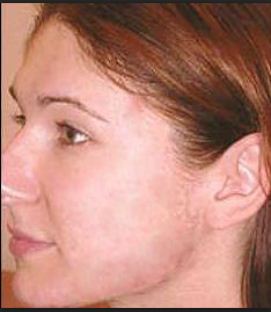
Certainly our final photograph is not perfect; however, our picture has been dramatically improved with the use of one simple tool and some mild color adjustments.

