
Every year mobile phone manufacturers are developing new phones. Depending on the manufacturer, some develop only flagship devices, while other develop budget and midrange devices as well. If you are one of the ones that have this year’s flagship device in your pocket, then you won’t need to read this article.
Whenever you buy a budget phone or have an older model you are faced with a problem where the hardware can’t always cope with the modern applications. This means that you may not be able to play the latest games, don’t have the fastest CPU for running application, don’t have as much storage and RAM as flagship devices, mediocre camera. In general you are not getting the best thing on the market. The same thing applies for using an older device. Regardless if you bought the phone 3 years ago as a flagship[ device, the truth is that it no longer works as one.
The daily driver that I’m using at the moment is HTC One M8. When it was released in 2014, HTC advertised it as a flagship device, which it was. 4 years down the road the performance of the phone is nowhere near today’s flagship devices. Especially the camera, which is today’s topic for a tutorial.
If you are the type of person that generally holds back on posting photos to social media mostly due to your average camera quality and you are not interested in moving the photos from the phone to your computer for editing, Adobe has a portable version of Photoshop for smartphones. Even though this is not the full featured Photoshop that you have on your computer it is still packed with a lot of features. You have the basic ones for crop, rotate and resize, as well as some additional features for adding effects on your photos and a manual mode where you have a full freedom over your photo.
1.Open the store on your phone
2.In the search bar type in “Adobe Photoshop Express”
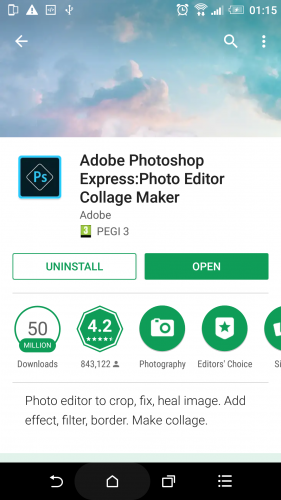
3.Install the application
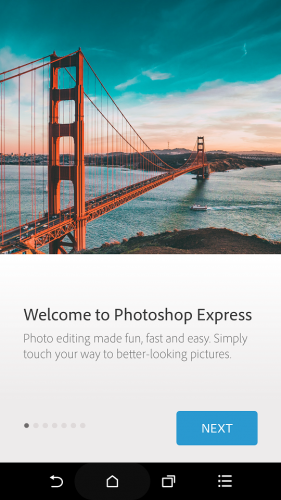
4.During the initial launch of the app you will have a brief tutorial on what you can do with the app
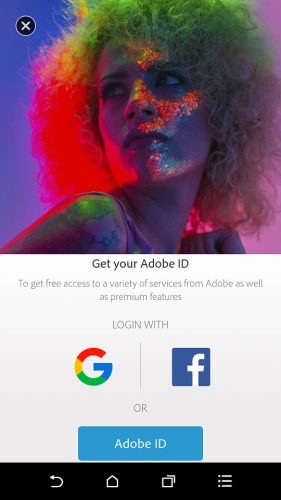
5.The final step is to log in using your Google, Facebook or Adobe ID account. Note: it is recommended to log in in order to get a few more features on the app and you also might be required to provide permission for the application to access your storage in order to be able to edit them
Once you are logged in and you have provided access to the storage you can start editing the photos
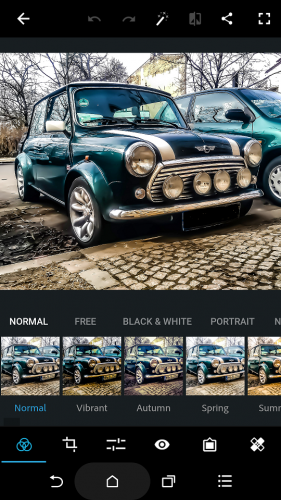
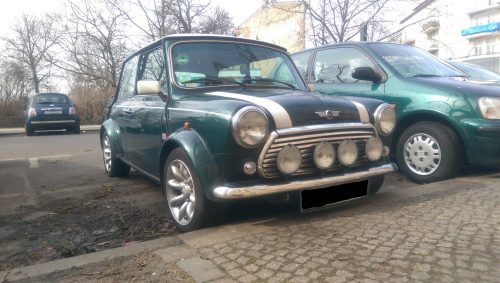
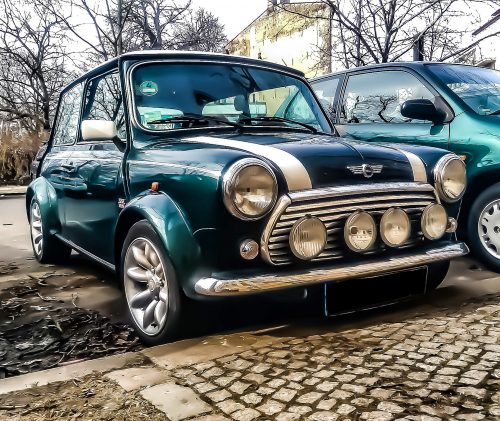
The first step is to select the photo. As you can see, the photo of the Mini Cooper doesn’t look like a photo taken with a flagship. This is where the manual corrections will help a lot.
The first tab is where you can select an effect. If you swipe to the right you will see a lot of effects that you can use.
The second tab is where you can crop and rotate with a bunch of possibilities.
The third tab is the most important one that will enable you to improve the quality of your photos taken with your low quality camera. There are a lot of values that you can change in this section that well improve the quality of your photo, we will not go into detail for each one in this article (read tomorrow’s article for more details) and we can’t give you an exact value for each setting because different cameras provide different quality of photos, so go ahead and try to play around with the settings and see what values work best for you. Just as a “teaser” here is a sample photo taken with my phone, the original photo is on the top, the edited one is on the bottom.
Among the other features, you have the ability to remove red eyes, add bezels and use a healing tool, similar to the one on the Photoshop application that you have on your computer.
Stay tuned for tomorrow’s article where we do into greater details on the settings and you may expect.
Frequently Asked Questions and Answers
Q: I use an iPhone. How can I use the app?
A: The application exist on the Apple Store. In order to install it you need to open your Apple Store and search for “Adobe Photoshop Express”
Q: When I changed a few values on the manual mode I got some pixels with strange colors. Why do they appear?
A: Since you are editing a JPEG image it is normal to get certain pixels with colors that don’t belong there and don’t fit the neighboring pixels. This means that you need to go back to the settings and tone down certain settings that have caused this.

