
Since its initial release in mid-2015, Windows 10 stirred up a lot of chatter about its new and improved features in regards to the previous versions of Windows. With every major update the list of new features grew more and more.
One of the many features that got the users excited, especially linux users and developers, was the introduction of the Linux Bash Shell. Users got this feature with the Anniversary Update released on August 2nd 2016.
For the users not acquainted with this feature: this means that you will be able to execute any linux command within Windows 10 without having to run a virtual machine and install linux on it, or having to install linux as a separate operating system on your hard drive. This feature doesn’t mean that you will have a full version of linux on your Windows PC. You will only be able to execute linux commands on Windows without the need of virtual machines or emulators, courtesy of Microsoft and Canonical.
Unfortunately, the bash shell is not enabled by default on Windows 10, so in order to use it you must enable it first, and you can only get it if your Windows has the Anniversary Update or other newer versions and it will not work under older versions of Windows, such as 8/8.1, 7, Vista etc.
How to enable Linux Bash Shell on Windows 10.
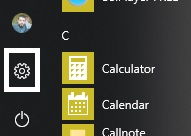
1.Open settings by opening up the start menu either by clicking on the windows icon on the left of the taskbar or by using the Windows key on your keyboard
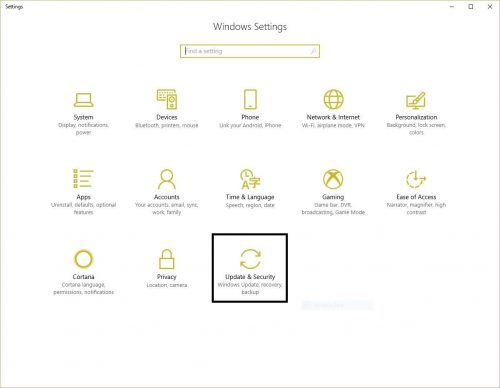
2.Go to “Update & Security”
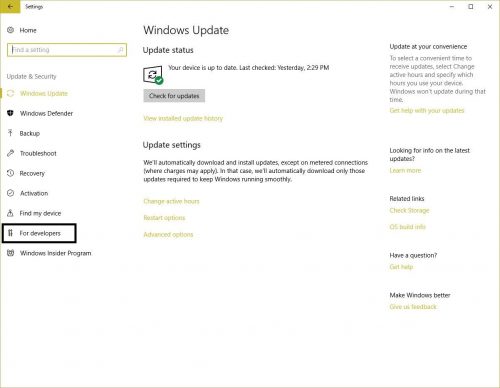
3.From the left side panel select “For Developers”
4.In the middle select “Developer mode”
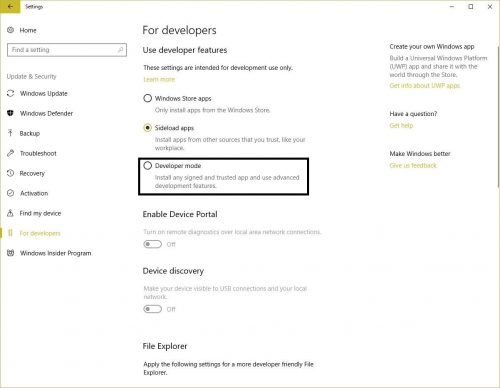
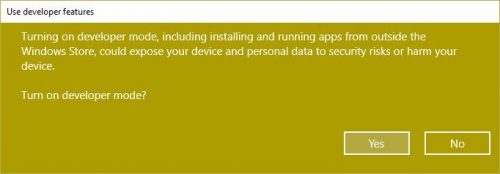
5.A window will pop up asking you if you are sure that you want to enable developer mode, due to security risks that might occur if you install applications from untrusted sources (which we will not be doing in this situation). You will need to click on “Yes”. You might need to wait a few minutes for the Developer Mode package to be installed.
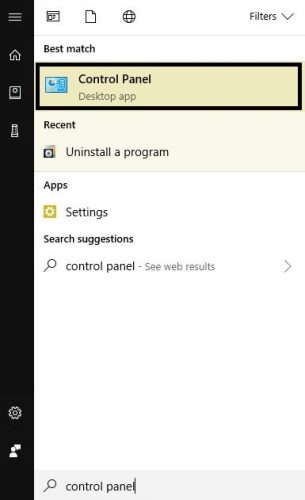
6.When the package installation is completed, you will need to navigate to the Control Panel. You will need to go in the start menu, either by pressing the Windows key on your keyboard or clicking the Windows icon on the left side of the taskbar, and type in “control panel”
7.By default, Windows sorts the settings as categories, so in the upper right corner under “View by” you will need to select “Large Icons”
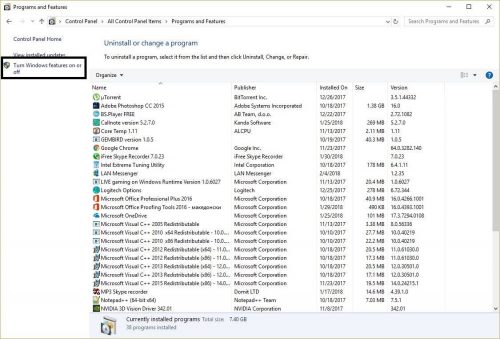
8.Once you do that, navigate to “Programs and Features”

9.In the next window, from the left side click on “Turn Windows features on or off”
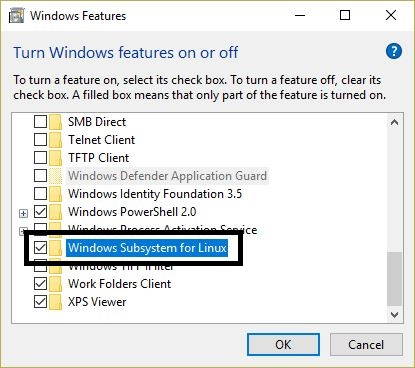
10.On the next window you will need to scroll all the way to the bottom, tick “Windows Subsystem for Linux” and click on “OK”
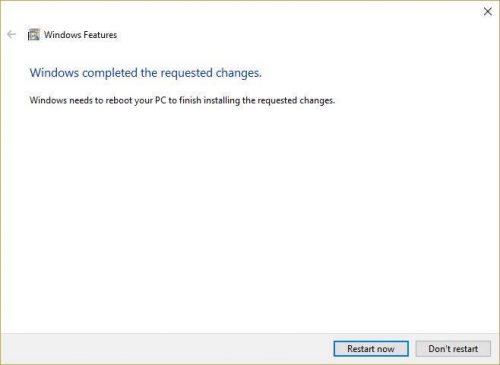
11.The installation process will take a few minutes, after which you will be prompted to restart your PC. Click on “Restart now” and wait for the Windows to reboot, but before you do, make sure that you have all your work saved before clicking on the restart button.
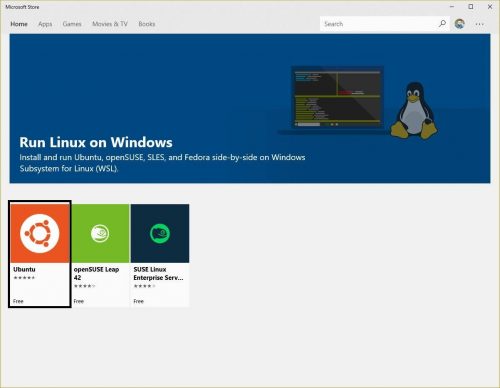
12.Once Windows boots up, open up your browser and navigate to this URL: https://aka.ms/wslstore
13.The Windows store will open up where you will be able to choose which Linux flavor you like the most. In this case, we installed Ubuntu. Click on Ubuntu.
14.On the next window click on “Get”. The installation process takes a couple of minutes to be completed, after which you will be notified in the notification area.
15.When the installation process is completed, you will need to click on “Launch” in the same window, which will open up a terminal like window and will start the installation process. Unlike the previous process, this one last a little bit more.
16.When the installation process is completed, in the terminal window you will need to enter a username and a password (you will be required to retype the password) after which your user will be created and you can start using the linux bash shell.

Next time you want to use the linux terminal, all you would need to do is open the start menu and type in “bash”.
Frequently Asked Questions and Answers
Q: I am concerned about the security while enabling developer mode. Can I disable it?
A: The security concerns when enabling developer mode are only in situations when you install applications from untrusted sources. If you want to disable the developer mode just follow steps 1 to 4 and on the 4th step and select either “Windows Store Apps” or “Sideload Apps”

