
Screen recording on the iPhone used to be a tricky one. One needs to have a jailbroken device or has to do complicated procedures just to get a recording of the iPhone’s screen. With the introduction of iOS 11, iPhone now allows screen recording on the device without any third-party application. This article will discuss the step-by-step procedures on how you can record iPhone screen.
Apple used to be too strict in allowing screen recording of their devices. They made sure that no third-party app in the App Store can record the iPhone’s screen. Now, almost ten years after the introduction of the first iPhone, Apple has finally allowed users to record their phone’s screen. iPhones running iOS 11 have the screen-recording feature embedded natively into the device. Developers are expected to create apps that offer more features. For now, let’s discuss how you can record an iPhone’s screen without jailbreaking or downloading other third-party apps on your device.
Method 1: Record iPhone Screen Only
To capture and record your iPhone’s screen, do these steps:
1.Wherever you are on your screen, pull up the Control Center by making an upward swiping motion from the lowermost part of the display to the upper part of it.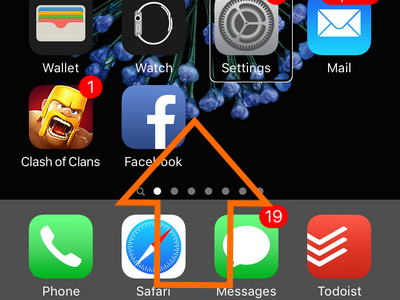
2.From the Control Center, tap on the Record button.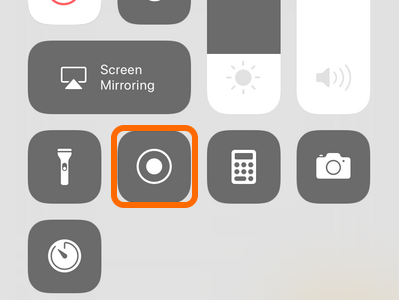
3.After tapping, the button will turn red indicating that the recording has started.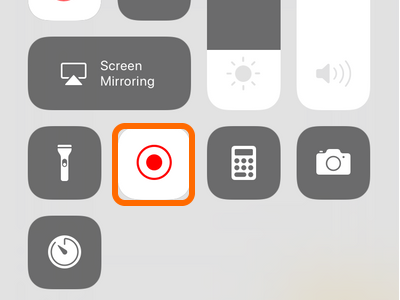
4.Hide the Control Center by swiping the Control Center down or by tapping the Hide button.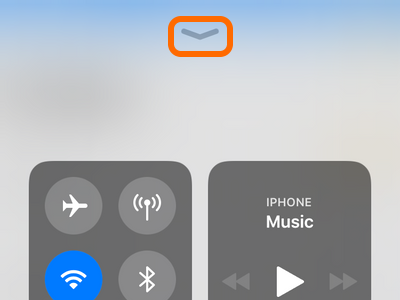
5.Your iPhone’s status bar will change to color blue as an indicator that a screen recording is on going.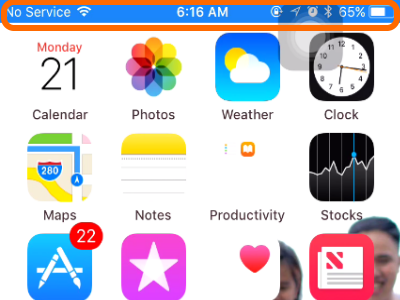
6.To stop the recording, pull up the Control Center again.
7.Then tap on the Record button. The button should turn to gray again indicating that the recording has stopped.
8.Recorded videos are automatically saved to your Camera Roll in the iPhone’s Photo app.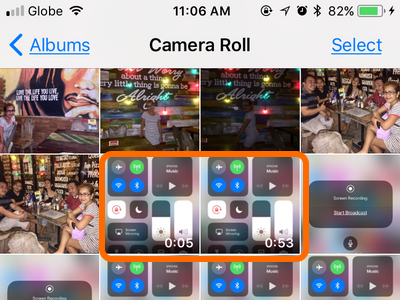
Method 2: Record iPhone Screen With Audio
If you want to create a video tutorial with an explanation, you need to enable audio recording on your iPhone. By default, iPhone only records the screen leaving any audio input unrecorded. To record iPhone screen with audio, follow these procedures:
1.Wherever you are on your screen, pull up the Control Center by making an upward swiping motion from the lowermost part of the display to the upper part of it.
2.From the Control Center, tap and hold on the Record button. Keep holding for a second or two until a screen pops up.
3.Once the Screen Recording page pops up, tap on the Microphone icon.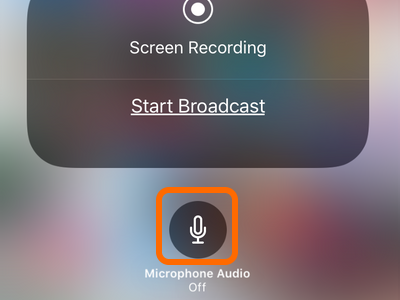
4.Recording of audio is enabled once the Microphone icon turns red.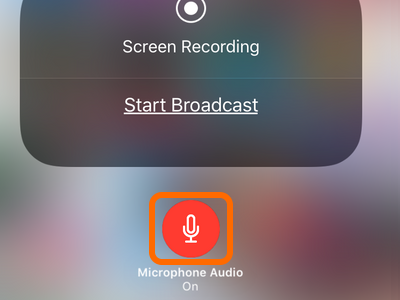
5.Tap on Start Broadcast to start your iPhone screen recording. Recording of screen and audio will now start.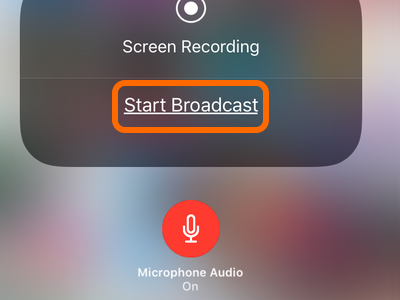
6.Tap anywhere on the display to go back to the Control Center. You should see that a recording is on going since the Record button is turned on.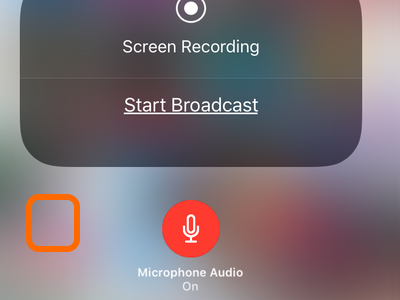
7.Swipe down to hide the Control Center. You can also tap the Hide button to hide the Control Center.
8.Open an app, a game, or do anything. Recording of screen and audio inputs will start. Your iPhone’s status bar will change to color blue as an indicator that a screen recording is on going.
9.Once you are done with the recording, pull up the Control Center.
10.Tap on the Record button to stop the recording. The button will turn gray when your phone is not recording.
11.Access your recorded files from your Camera Roll in the iPhone’s Photos app.
Frequently Asked Questions
Q: I followed your steps, but I cannot find the recording button.
A: The screen recording feature is only available for iPhones on iOS 11. Check if your iPhone is running iOS 11 by going to Home > Settings > General > About. Check if the version is at least 11.0.
Q: I am still on iOS 10. How can I update my phone to iOS 11?
A: You can update your iPhone to the latest available OS by going to Home > Settings > General > Software Update.
Q: I was able to record my iPhone’s screen, but the audio recording did not save even if I enabled it.
A: If you followed the procedures above on recording with audio on, there might be a problem with your phone’s microphone. Try to make a call and check if the other line hears your voice if not, then your iPhone’s microphone is defective. You can use a headset with a microphone as a workaround for your broken iPhone mic.
Q: I recorded my iPhone screen and left it a while to idle. When I came back the phone was already locked, and the recording stopped. What happened?
A: iPhone will automatically stop recording once your screen locks. The recorded minutes before the screen locked will be saved into your Photos app.
Q: My recording stops unexpectedly, what should I do?
A: Your iPhone’s storage may be full. Check if your device still has enough storage capacity by going to Home > Settings > General > iPhone Storage. You can also check our detailed article on how you can free up space on iPhone without deleting anything.
Q: My phone runs slowly when it is on recording mode, is this normal?
A: No. The iPhone’s recording function is designed to run smoothly and not interfere with an app’s speed. If your iPhone is running slowly when recording is on, then your iPhone may have some internal issues. Your phone may be running out of space or may need a restart. Try to reboot the device and see if it resolves the issue. If a reboot doesn’t fix the problem, try to reset your phone. You can follow our article on how to reset your iPhone without losing data.
You just learned how to record iPhone’s screen. If you bumped into an issue with any of the steps above, let us know in the comments section.
If you like this tutorial, these handpicked articles by the author may also interest you:
● Record iPhone and iPad Screen Using Your Mac

