
You might find you need to resize an image for many reasons. Sometimes, you need to adjust a photo’s dimensions to get it ready for printing. Other times, you may need to reduce the resolution of a group of photos to make the file smaller so that they can be emailed. All these tasks are easily accomplished using Preview, Mac’s default application for viewing images.
Use Mac’s Preview App to Resize Images
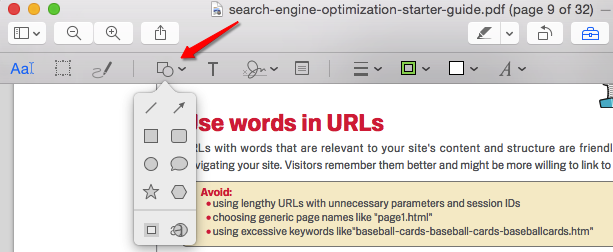
1.Open the image in Preview, and open up the Markup Toolbar by clicking the toolbox icon from the main toolbar. Next, click the resize icon.
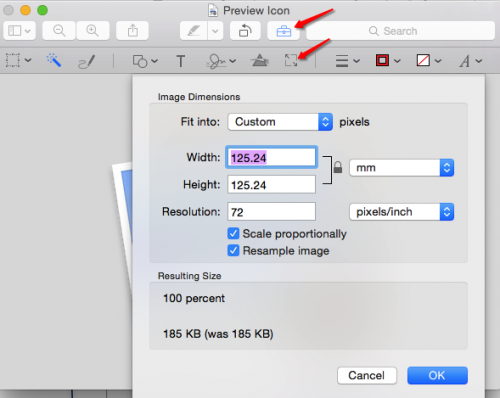
2.There are two checkboxes that you should set before resizing your image.
Scale Proportionally: Check this box if you want the image proportions to stay the same as you resize your image. If this box is not checked and you increase the image width, your image will come out looking stretched.
Resample Image: This has to do with the amount of detail saved in your image. Checking this box and reducing the dimensions or resolution will result in a less detailed image that takes less memory (which may or may not be what you want).
3.To change the unit you are using, choose a unit from the drop down menu to the right of Width and Height. You can choose pixels, inches, cm, or mm. You can also choose percent to scale your image proportionally (i.e., shrink your image by 50%).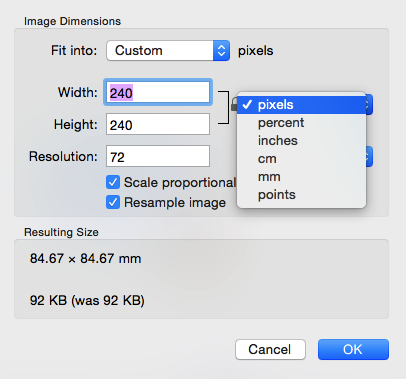
4.You can use the top drop down menu to resize your image to a preset size. Note that if you have “Scale Proportional” checked, your image will not fill the whole area.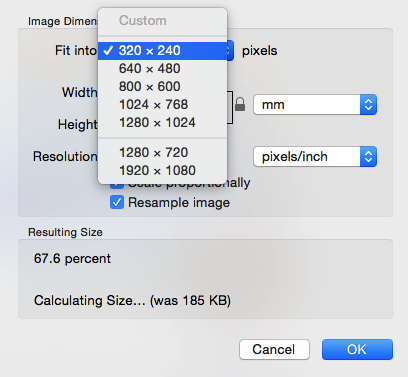
5.You can change the resolution in pixels/inch or pixels/cm. You can think of resolution as the amount of detail in your image. Higher resolution means higher detail, but it comes at the cost of higher file size. It is a common practice to reduce the resolution to decrease your file size before sharing them. Increasing the resolution will make your image larger but slightly blurry.
6.To resize a batch of multiple images at once, open them all in the same Preview window. The easiest way to do this is to hold down shift or command to select multiple files in finder and then double-click on one of them to open all the selected images in Preview. There will be a panel with a thumbnail for each image on the left side. Click the first thumbnail, and then hold shift and click on the last thumbnail. This will select them all. Now, when you click on the resize icon, your changes will be applied to all images.

