
Campaign mode in Battlefield Hardline includes collectible items in each episode. Here is how to find them all in Mission 1: Back to School and Mission 2: Checking Out.
By collecting all of the collectible items in the game, players can unlock the following trophies:
Keep Digging, Detective: Complete Any Case File
True Detective: Complete 3 Case Files
World’s Greatest Detective: Complete All Case Files
Episode 1: Back to School
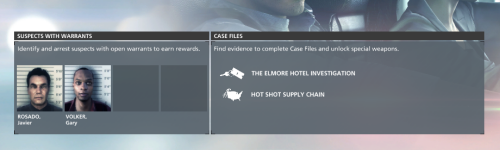
Before the mission starts, you will see a brief overview of warrants and case files (evidence) in Mission 1:
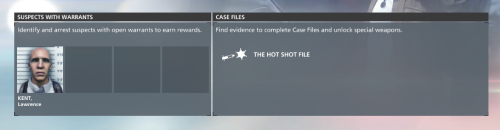
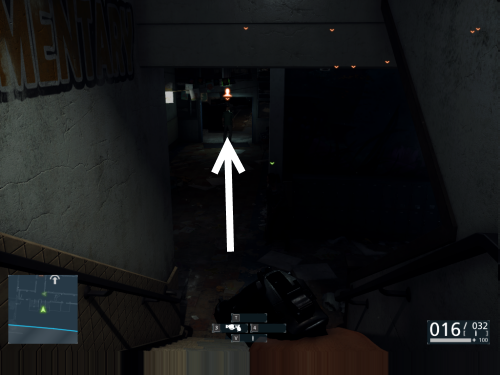
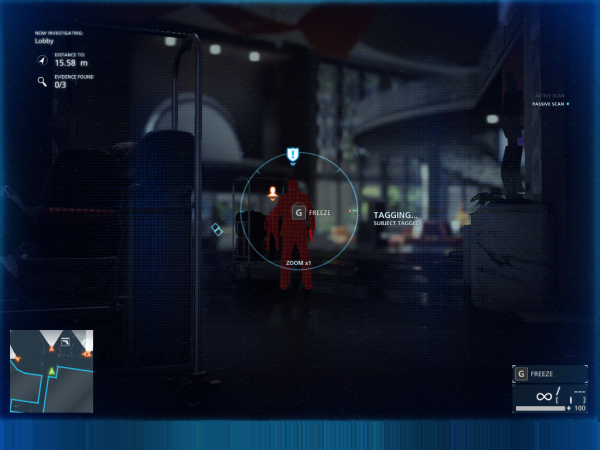
The guy with the warrant is the one guarding the entrance. After you go downstairs to find Tyson, you will see him. This is part of the tutorial. Freeze him, and then capture him.
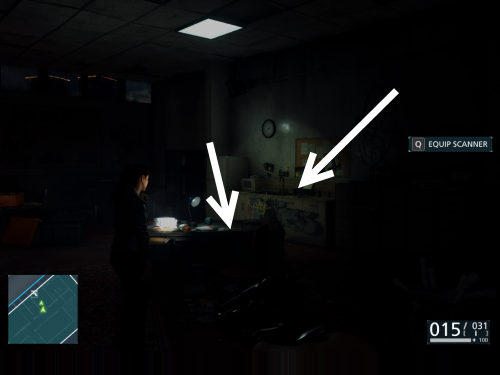
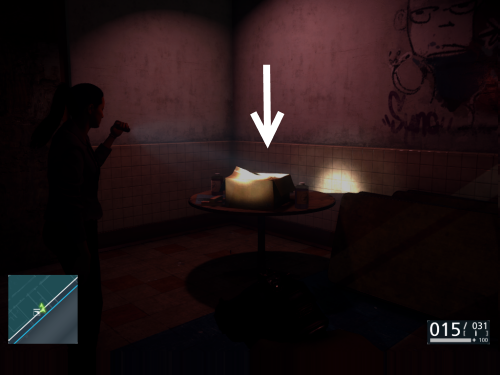
Ledger and Money and Surveillance Photo of Stoddard
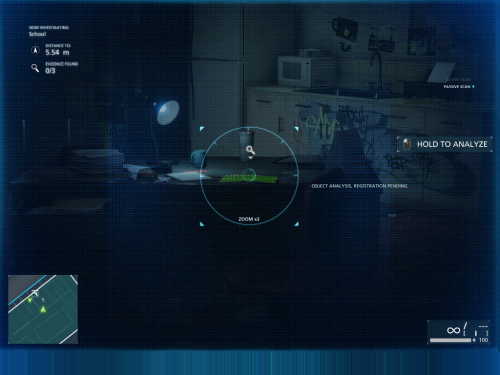
The first two pieces of evidence can be found in a room where Khai asks you to equip the scanner. One is on the table, and the other one is near the sink.
Box of Hot Shot
The last piece of evidence in this episode is inside the box in the nearby room. Use your scanner to analyze it.
Episode 2: Checking Out
Here are the warrants and case files to look for in this mission.
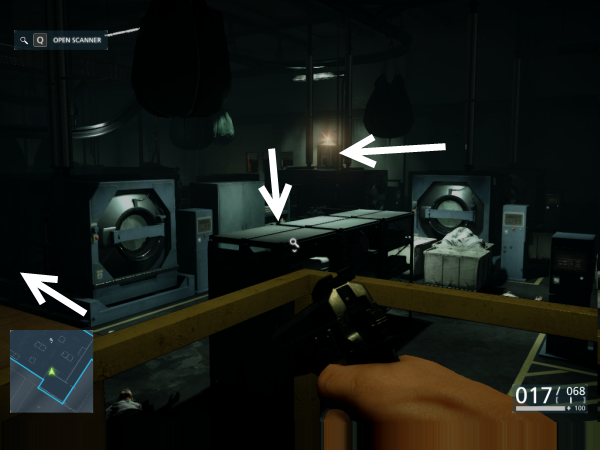
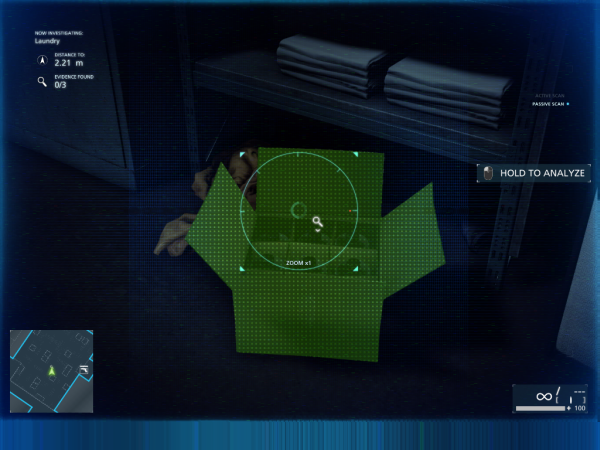
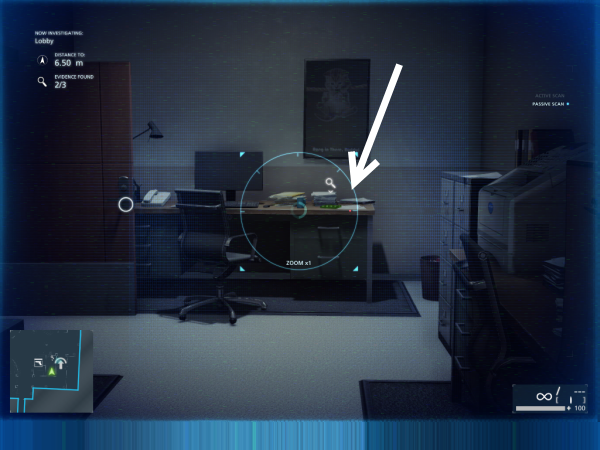
The first three pieces of evidence can be found in the laundry room. I have marked the first one with the magnifying glass.
Box of Hot Shot
Drug Purchase List
From the marked location, go to the right until you see the restroom. The second piece of evidence is on the desk.

Care Instructions Memo
The last one is to the left of the magnifying glass. Behind the machine, you will see a Hawaiian shirt. Use your scanner to analyze it.

Vial of Hot Shot
When you enter the lobby, you will face a lot of guards. Use your scanner to analyze the guide carrying the evidence. After you have identified him, it is your choice to arrest him or take him down.
In my case, one of the guards spotted me, so I have to take down the entire guard team. I am still able to search his body for the evidence though.
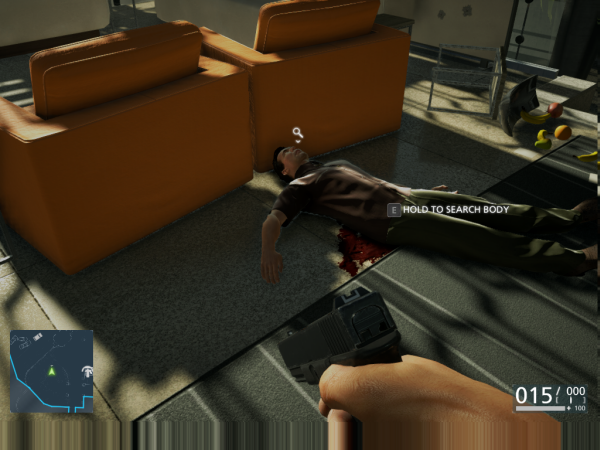
Tablet with IM Client
From the initial path to the lobby, turn right.
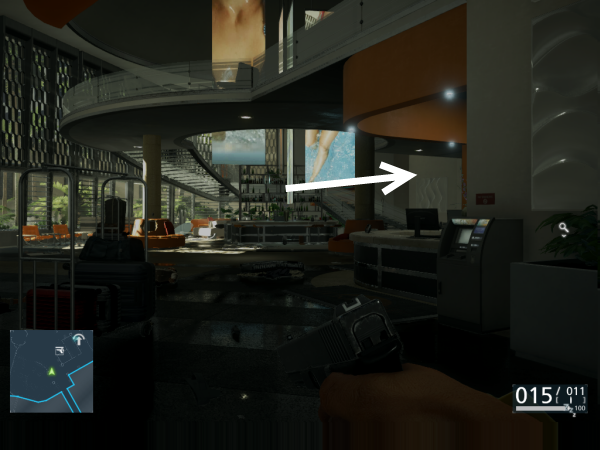
The next piece of evidence is placed on the photocopier.
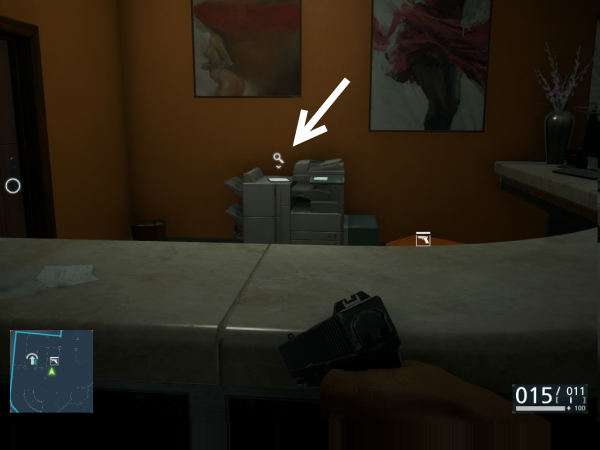
Answering Machine
The last piece of evidence is located on the desk in the next room.

