
Pick out colors from a photograph and store them in a custom color swatch. The follow techniques work in both Adobe Photoshop CS6 and CC
If you use Photoshop, chances are you have seen the Swatches tab before. This is a collection of colors that are easily accessible for your projects. By clicking on any of the squares (or swatches), you automatically set that color as your foreground color. This not only helps speed up workflow, but it also allows you to save colors you like and organize projects based on colors.
In this tutorial, we will see how to pick out colors from a picture and then save the colors we picked into a new color swatch that we can use anytime.
1. Let us get on the same page and rearrange our workflow. Go to Window -> Workspace -> Essentials (Default).
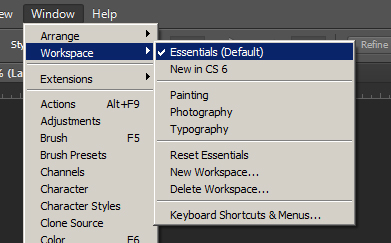
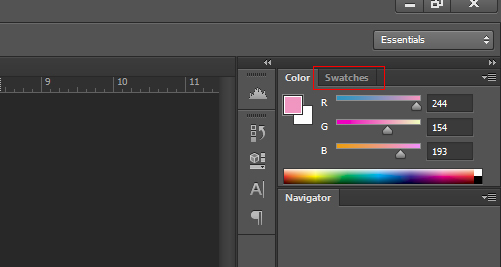
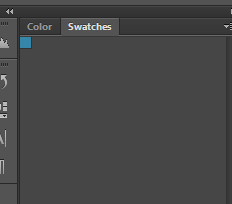
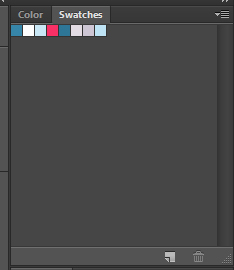
The top-right of your screen in Photoshop should look like this. You can click the Swatches tab to view the default Photoshop swatch set.
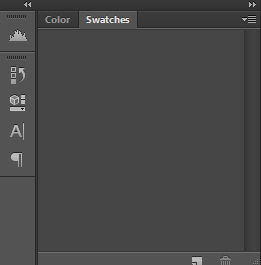
2. To create a new color swatch, we first need to delete all the existing colors from the default palette. Photoshop does not have a feature to do this all at once, so we have to do a little work here. One by one, cut each color from the current swatch by holding down alt + clicking on the color. After some clicking, your color palette should be completely empty.
3. To select colors, open an image. Select the Eye Dropper Tool (i key shortcut), and left-click anywhere on your image. If you hold down the left mouse button, you will see a circle which gives a preview of the color in the top half. You can also hold down the left mouse button and drag all around your image. As you drag, the color over which you hover your Eye Dropper Tool will be displayed.

Once you have selected a color, your foreground will change to that color.

4. Now, we will add this color to the empty swatch. Hover your mouse over the swatch area, and a paint bucket icon will appear. Click, and the following box will pop up:
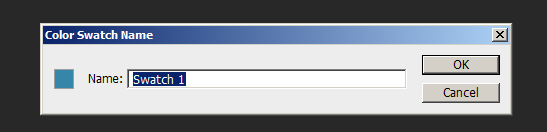
You can give your color a name or just leave it as the default. Hit OK, and the color will be added to your palette.
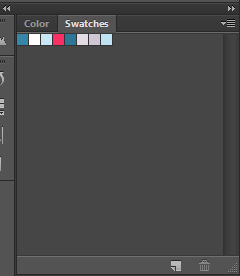
You can continue to add colors this way until you have a substantial set.
5. We will save our new color swatch so that we can use it again later. In the top right of our swatch panel, click the drop-down arrow, and select Save Swatches.
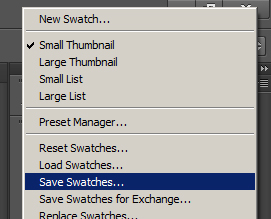
Give your new swatch file a name, and be sure to save it with a .ACO extension in your default swatches folder for Photoshop.

6. To go back to the default Photoshop Swatch set, click the drop-down arrow in the top left of the swatches panel, and select Reset Swatches.
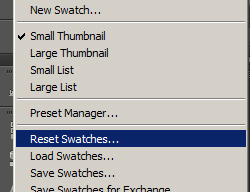
A pop up window will ask if you want to replace the current color swatches with the default. Click Ok.
7. If we want to load the swatches we just created, we can click the drop-down arrow in the Swatches panel and scroll all the way down in the drop-down list. Simply select the swatch you saved a few steps back.
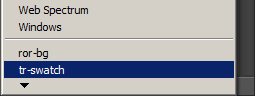
Here are the ones created in this tutorial.
If at first you do not see your newly saved swatch set listed in the drop-down menu, restart Photoshop, and then check again.

