
When you have a large collection of data in an Excel spreadsheet, you may find you need a simple method for manipulating the data or for comparing the data to that of another spreadsheet. Fortunately, Excel includes some powerful features that, when used in combination, will save time and make your job easier.
In this example, there are two Excel files in which I will compare the data.
To do that, first open both Excel files.
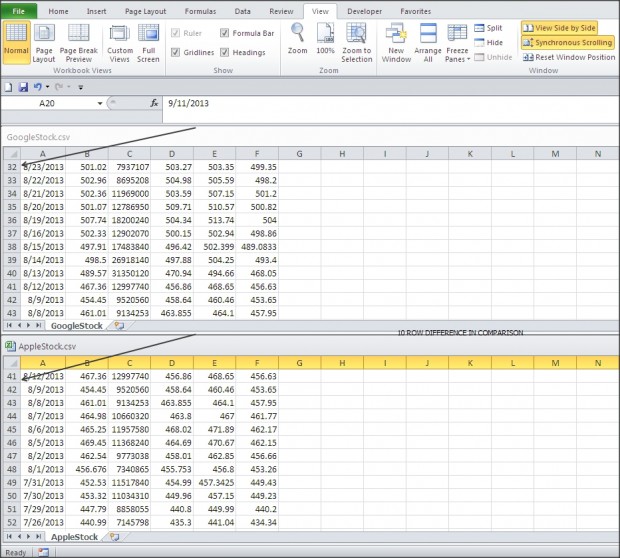
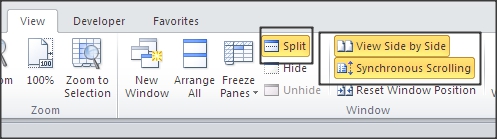
Then go to View and click View Side by Side which will give you an option to view both Excel files in horizontal, vertical, cascade, etc. Choose the view that best suits your needs.
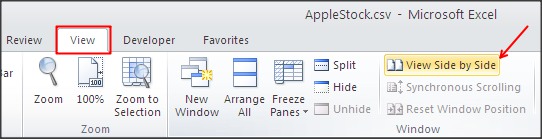
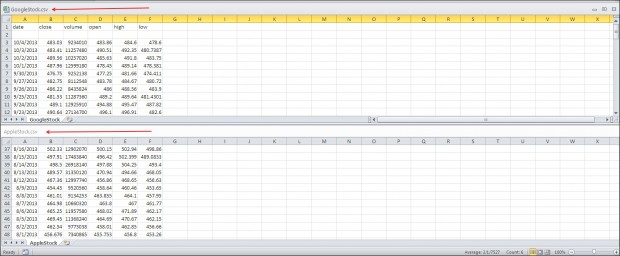
Here, I have opted to view them horizontally. The active window is a GoogleStock.csv file. As you can see, the row column is highlighted in orange.
Now, let us say you want to compare the data of both of these files. Usually, in the first GoogleStock file window, you would scroll where you want and then go to the next file and do the same. This is very time-consuming unless your data comparison requires static view.
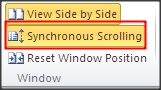
However, in my case, I want to compare the data simultaneously, throughout the Excel files. To do that, there is an option called Synchronous Scrolling, which is under View Side by Side. Just click Synchronous Scrolling. This option lets you scroll both files at the same time.
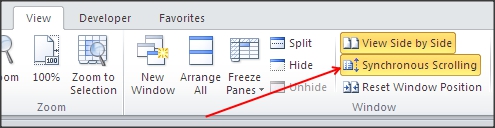
When you scroll, you will see both windows are scrolling at the same time so that comparing the two is quite simple.
That is a common task, but what if you want to compare these files starting from a different row and yet still scroll simultaneously? To do that, we first need to set the row starting point in each Excel file.
Before selecting the row starting point, make sure that you have turned off Synchronous Scrolling. When it was turned on, this section will be highlighted in orange.
When this is disabled, the highlights will disappear.
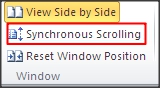
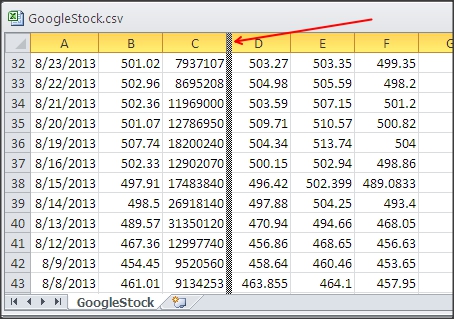
Now, select the first file, and scroll until you find where you want to set a starting point. Select the row by clicking on it. Do the same thing for the other file. When selecting the row starting point, it will appear as the example below.
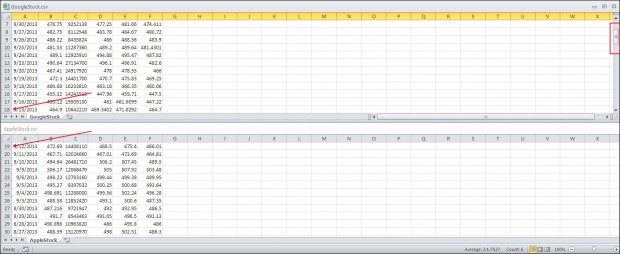
In this example, I set my row starting point for the first file at row 10 and for the second file at row 20.
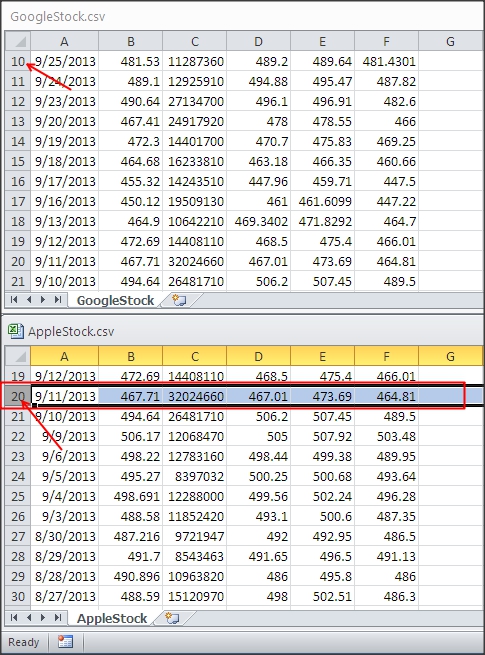
Next, you need to activate Synchronous Scrolling by clicking on it again. When scrolling, you can see it starts from row 10 and 20 and moves forward. Both files have a 10-row difference.
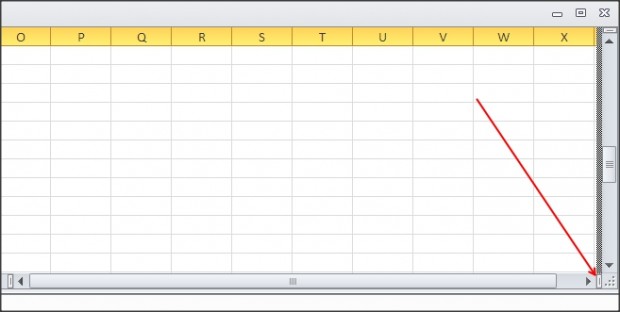
Let us say this is still not enough, and you want to do a comparison with four different views. Here, you can use the Split Window option. To use this option, go to the active window near the horizontal or vertical scroll bar arrow, and mouse over that small vertical/horizontal line. Your mouse pointer will change to drag mode. Then, you hold down your mouse and drag it to the left or right to the point where you want to split your window.
1. Hold on to the point where it is represented below.
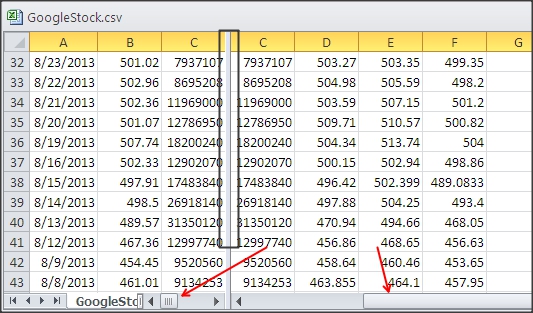
2. Hold and Drag it to the left to the point where you want to split the view into two windows, and just let it go. Here, I want to split it to Column C.
3. Once split, it will appear as the following.
Repeat the same steps in the other Excel file. When you are finished, your screen should be similar to the one below. You can scroll at the same time and have four different views.
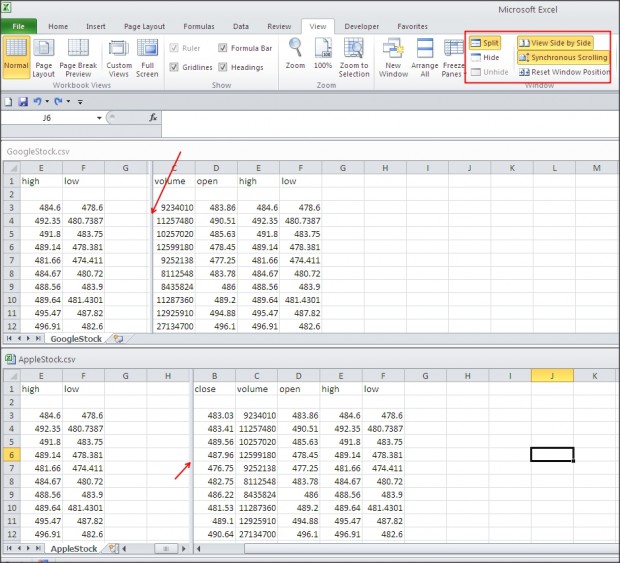
In addition, you can click on Freeze Panes to keep the heading intact or a particular column intact when you are scrolling through tons of data.
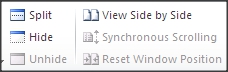
To return to Normal View, click on all the orange-highlighted options which are enabled under the View menu.
This is how it looks with the view options enabled.
This is the view options disabled with return back to a single screen.

