
Eye-catching text is important for any project. Flaming text often provides an overdose of eye candy. This tech-recipes tutorial will cover the creation of the proper layer styles to build text which will appear to be en fuego. I am using Photoshop CS6 but similar steps will work on prior versions.
Additionally, you will need an image or a texture of some flames to complete this tutorial. Grab your favorite and let us get started.
1.First, fill your background with black, and then type in your text one letter at a time. Make sure that you use white for your lettering. You can pick any font you would like. 
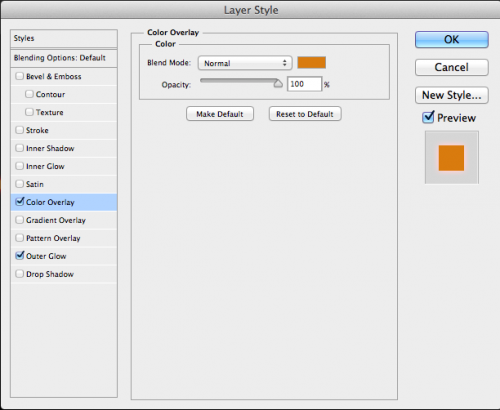
2.Now, apply some Layer Styles. Start with Outer Glow. Set your values to those you see on the screen shot below, and move on to the next layer style. 
Set Color Overlay to a darker orange/brown as I have below.
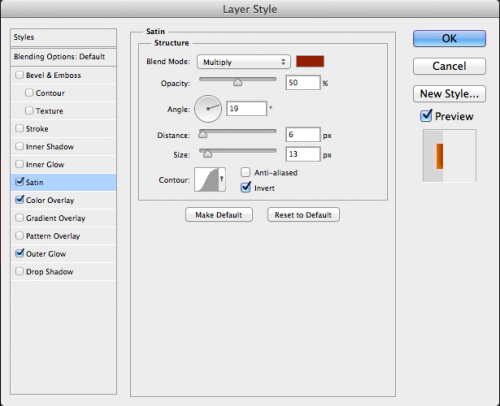
Now, we move on to the Satin layer style. For this one, you should have something similar to my settings below.
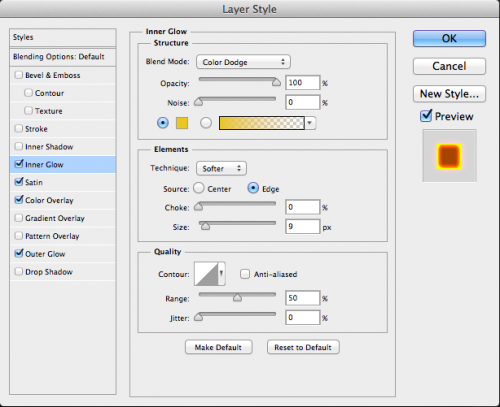
Inner glow settings are also seen below. Do not worry if you are not matching my values 100%. You will achieve great results if you have at least similar values. After you have finished with the layer styles, click OK.
3.Now, you can right-click on the letter you just did and copy layer styles. Then select the next letter, right-click in and “Paste Layer Style.” Repeat for every letter you have. This will make your text look identical to the style of the first. 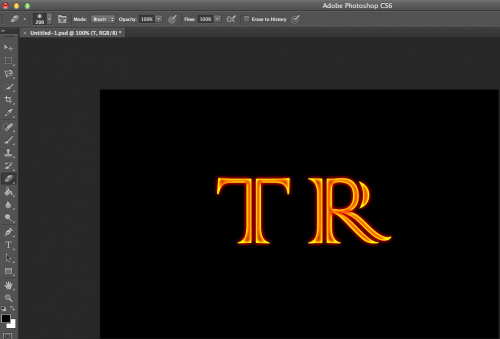
4.At this point, you can load your fire image and drag it on top of the text layers. 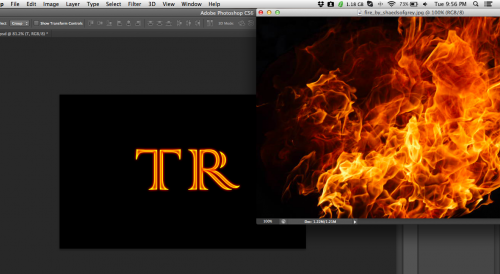
5.Go to the channels palate, and click on the green channel while holding down the Ctrl key. This should make a selection of some of the flames.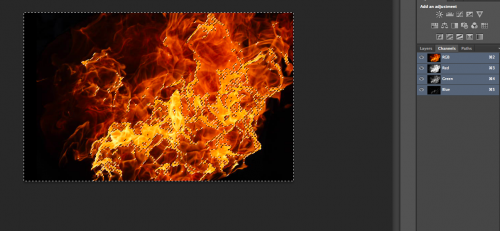
6.Now, invert the selection by pressing Ctrl + Shift + I, and then hit delete. This will delete all of the flaming parts we do not want. Move the flames around until you are satisfied with their positions. 
7.Now, using the eraser tool (Soft tip, roughly 200px big), erase away at some of the unwanted flames. 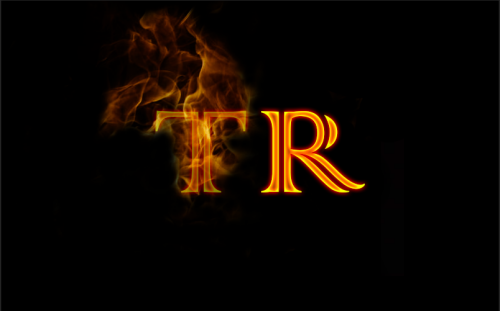
8.Repeat the process for every letter you have for a nice flaming effect. Remember, that the more time you put into this, the better the final result will be. 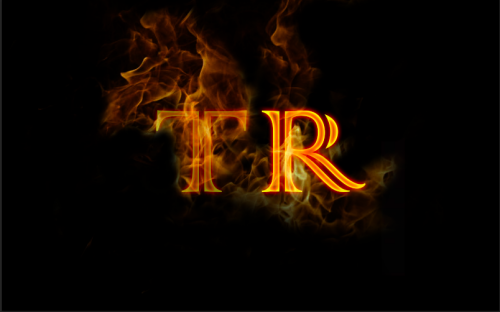
9.Now, set the letter opacity to around 45%, and enjoy your final result! At this point, you can also choose to place your flaming text on a more interesting background rather than on a simple black fill. I will let you play around with that. Do not be shy. Experiment and you will be surprised with the results from this simple technique. Good luck!

