
If you are in a call with your friend using Skype and your friend decides to share his screen with you, the screen will automatically show up on your side. This may cause uncomfortable situations when you are in public or at work. Fortunately, you can configure the program to display a notification and let you decide whether to display the screen or not. Continue reading to find out how.
Please note that this option is available in Skype Metro for Windows 8 only.
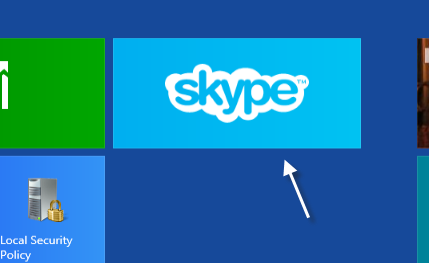
1. Launch Skype from the Start screen. You can use the search function to find it more quickly. To do that, just type Skype while in the Start screen.
2. When the app is loaded, press Win key + I, and choose Options from the Settings list.

3. In the Options list, find the Incoming video and screen sharing option.
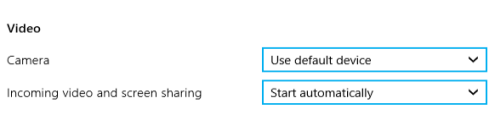
4. By default, this option is set to Start automatically. Click on the box, and change it to Ask. When you are done, just close the page. The setting will be automatically saved.
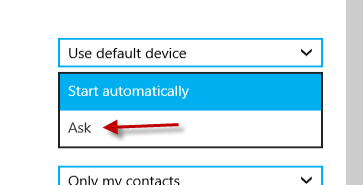
5. From now on, whenever somebody shares a screen with you, a message will pop up and ask you if you want to display it or not.


